Difference between revisions of "Microbit"
| Line 1: | Line 1: | ||
| + | |||
| + | == intro == | ||
| + | |||
| + | |||
This is the page which contains my program for the Online Station Skill "Microbit Programming". | This is the page which contains my program for the Online Station Skill "Microbit Programming". | ||
| Line 26: | Line 30: | ||
---- | ---- | ||
| + | |||
| + | |||
| + | == Starting page == | ||
| + | |||
https://microbit.org | https://microbit.org | ||
| Line 32: | Line 40: | ||
---- | ---- | ||
| − | Introduction videos from the bbc: | + | |
| + | == Introduction videos from the bbc: == | ||
| + | |||
https://microbit.org/get-started/first-steps/set-up/ | https://microbit.org/get-started/first-steps/set-up/ | ||
| Line 39: | Line 49: | ||
I think the downloading of the hex file of the code and dragging it into the microbit disk is always a bit ...slow. Many steps, many clicks. | I think the downloading of the hex file of the code and dragging it into the microbit disk is always a bit ...slow. Many steps, many clicks. | ||
---- | ---- | ||
| − | bluetooth download | + | |
| + | == bluetooth download (upload) == | ||
| + | |||
So why not try this: https://microbit.org/get-started/user-guide/web-usb/ | So why not try this: https://microbit.org/get-started/user-guide/web-usb/ | ||
Revision as of 15:42, 9 April 2020
intro
This is the page which contains my program for the Online Station Skill "Microbit Programming".
The microbit is a microcontroller of the BBC, presented to all the school children of Great Britain.
In my opinion the microbit is one of the examples of "the next generation" of microcontrollers, the Arduino being the former generation.
Lot's of microcontrollers nowadays, some versions of the Arduino included, have many sensors, neopixels, led displays built in.
This avoid a lot of extra wires and means you can start working with these sensors right away, without practicing the wiring and the soldering.
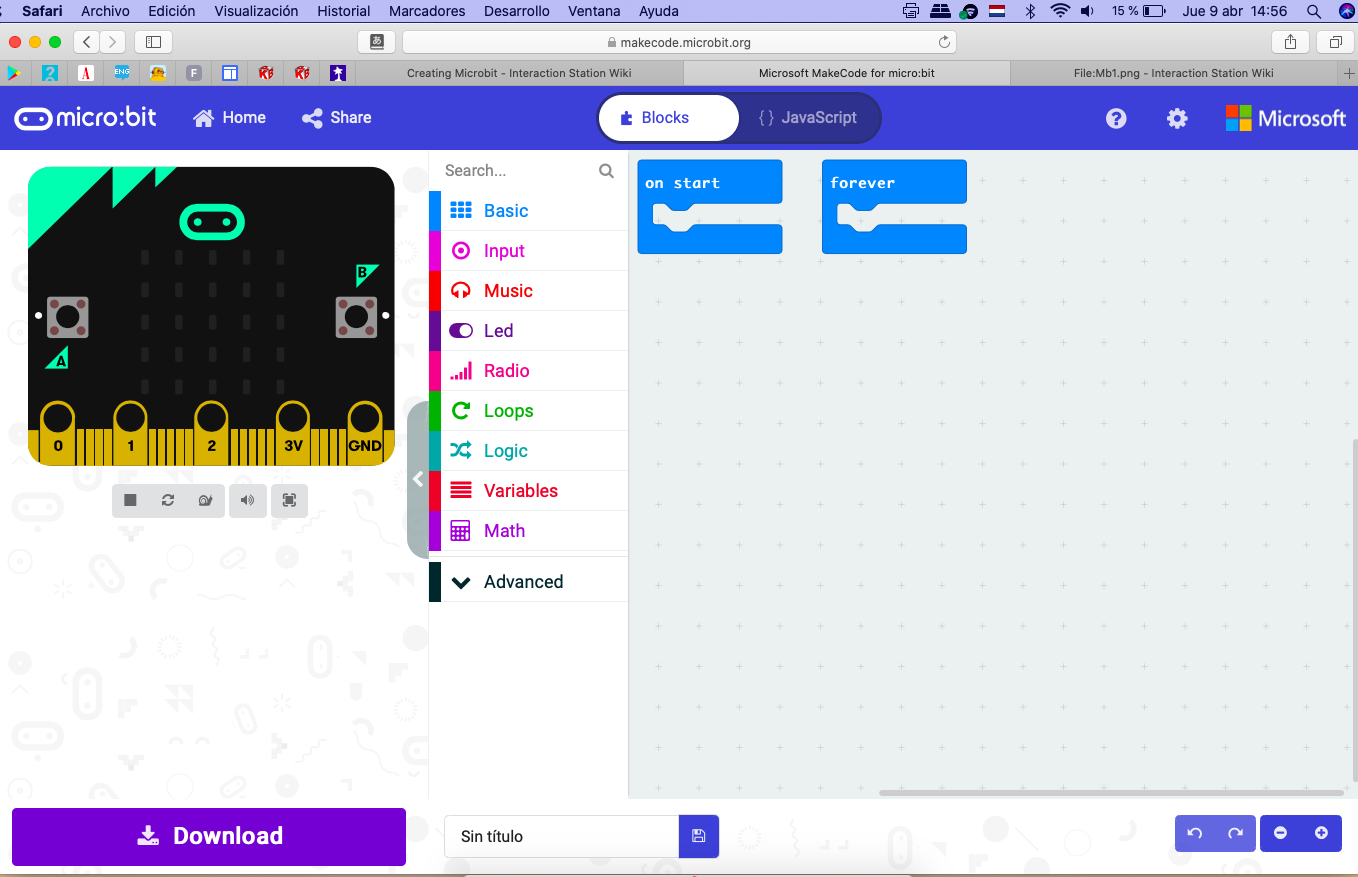
Programming can be done in a drag and drop way of code blocks.
The microcontroller itself is still the microcontroller comparable to the ATMEGA328, or others ATtiny85, etcetera.
You can also program the microcontroller in Micropython -if a lot of extra memory is included, oftentimes 2MB!
Micropython programming costs a lot of memory more.
Advantage: you can get results faster, avoiding wires, the device with sensors is more compact, often you can even show text. The microbit programming is done online, the simulator is directly besides it. Using the code blocks, in the simulator the parts are added automatically (for example sound - speaker, Bluetooth - another microbit)
Disadvantage: drag and drop coding has its limits. The built in sensors remain the same, while you can buy better sensor versions for your Arduino. In the end you have to learn coding anyway, there is no shortcut in learning a programming language - it takes time and patience.
Starting page
Introduction videos from the bbc:
https://microbit.org/get-started/first-steps/set-up/
drag and drop download of the hex file. Although this is an online programming course not really supposing you buy the microbit, if you have one: I think the downloading of the hex file of the code and dragging it into the microbit disk is always a bit ...slow. Many steps, many clicks.
bluetooth download (upload)
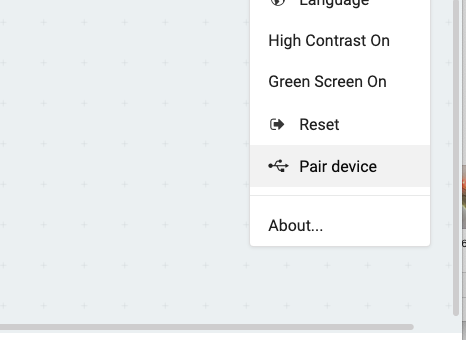
So why not try this: https://microbit.org/get-started/user-guide/web-usb/
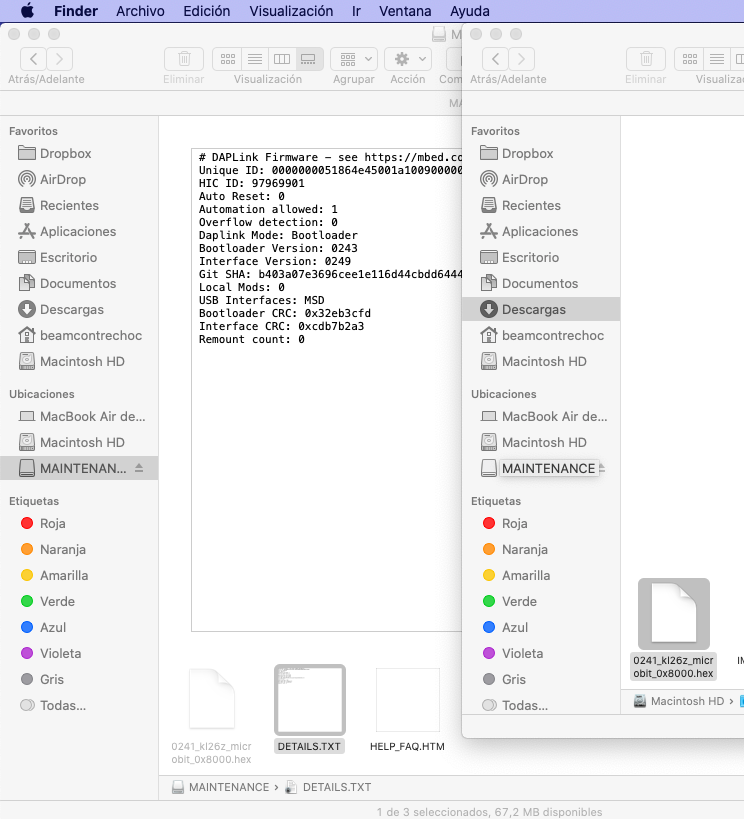
In Chrome, with the right firmware, it seems to go "fast"!
 But this is not the right firmware! (It must be the 250

What I like is the editor, together with the simulator:
First steps: immediate results. I have made a few screen video's showing how to generate some very easy results.
Directly show some text. Adding a behavior to an input button is "so easy"!
https://www.youtube.com/watch?v=FvmgzU7Dz2k
The light sensor:
https://www.youtube.com/watch?v=krgxXSAEYl0&t=28s
The temperature sensor:

