Difference between revisions of "RNN"
| Line 81: | Line 81: | ||
A few notes: | A few notes: | ||
| − | : The -checkpoint argument is to a t7 checkpoint file created during training. You should use the one with the largest number, since that will be the latest one created. Note: running training on another data set will overwrite this file! | + | : * The -checkpoint argument is to a t7 checkpoint file created during training. You should use the one with the largest number, since that will be the latest one created. Note: running training on another data set will overwrite this file! |
| − | : The -length argument is the number of characters to output. | + | : * The -length argument is the number of characters to output. |
| − | : This command also runs with CUDA by default, and can be disabled the same way as the training command. | + | : * This command also runs with CUDA by default, and can be disabled the same way as the training command. |
| − | : Results are printed to the console, though it would be easy to pipe it to a file instead: | + | : * Results are printed to the console, though it would be easy to pipe it to a file instead: |
Revision as of 15:32, 23 January 2018
Generating text using a "Recurrent neural network"
In this tutorial we will be using Justin Johnsons' implementation of a recurrent neural network (RNN) with a focus on generating text (https://github.com/jcjohnson/torch-rnn).
Getting started
Head over to the interaction station and sit behind the computer with the 'ml machineq' sticker. This computer runs a Ubuntu installation with (almost) every dependencies required to run some machine learning scripts/programs. In this tutorial I will be using blocks to make clear we are pressing some keys or typing some code. Example:
⊞
enter
This would mean you need to press the Windows (⊞) key, follwed by an 'enter'. A code block that begins with a dollar sign means you need to type the command in the terminal window we are using. Example:
$ python3 test.py
This would mean you need to type 'python3 test.py' in the terminal window, without the dollar sign, this is just for indicating we're talking about the terminal window. Found an error in the tutorial? Please email me at 0884964@hr.nl
RNN
1: Log in to the computer by using the 'interactionstation' account.
username: interactionstation
password: interactionstation
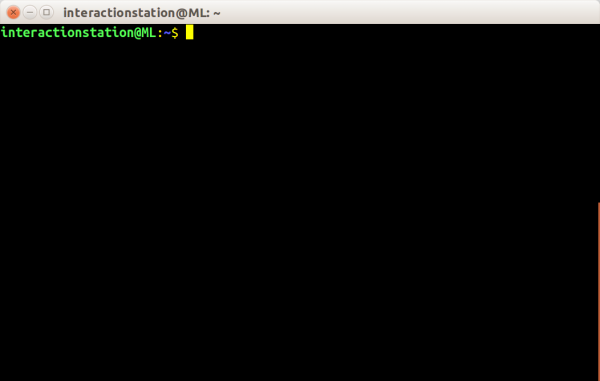
2: Start a new 'terminal' window by pressing the windows key (⊞) and typing 'term', followed by pressing 'enter'
⊞
term
enter
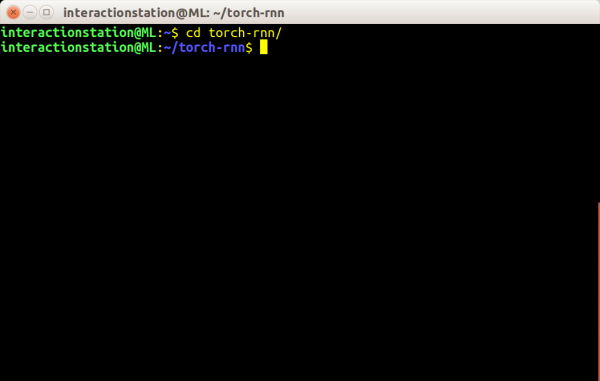
3: Navigate to the folder where the RNN script is stored (/home/interactionstation/torch-rnn)
$ cd torch-rnn
4: We’re ready to prepare some data! Torch-rnn comes with a sample input file (all the writings of Shakespeare) that you can use to test everything. Of course, you can also use your own data; just combine everything into a single text file.
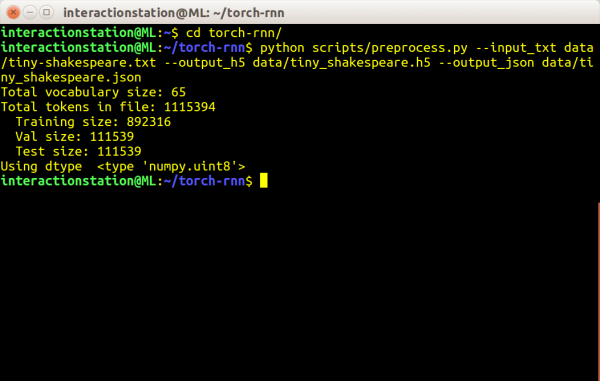
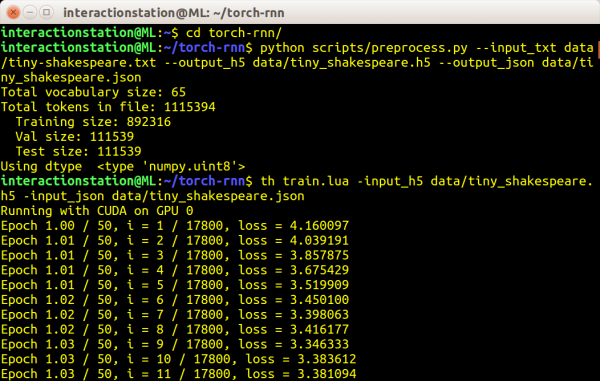
In the Terminal, go to your Torch-rnn folder and run the preprocessor script:
Note: if you want to train on your own text file, replace the '--input_txt' path to the location of your .txt file. For example: --input_txt /home/interactionstation/Desktop/sample_text_file.txt
$ python scripts/preprocess.py --input_txt data/tiny-shakespeare.txt --output_h5 data/tiny_shakespeare.h5 --output_json data/tiny_shakespeare.json
This will save two files to the data directory (though you can save them anywhere): an h5 and json file that we’ll use to train our system.
4: The next step will take at least an hour, perhaps considerably longer, depending on your computer and your data set. But if you’re ready, let’s train our network! In the Torch-rnn folder and run the training script (changing the arguments if you’ve used a different data source or saved them elsewhere):
$ th train.lua -input_h5 data/tiny_shakespeare.h5 -input_json data/tiny_shakespeare.json
It should spit out something like this:
Running with CUDA on GPU 0
Epoch 1.00 / 50, i = 1 / 17800, loss = 4.163219
Epoch 1.01 / 50, i = 2 / 17800, loss = 4.078401
Epoch 1.01 / 50, i = 3 / 17800, loss = 3.937344
...
If you have a really small corpus (under 2MB of text) you may want to try adding the following flags:
-batch_size 1 -seq_length 50
There are a lot more options available, try out all the different flags to get the best results for your dataset.
Optional flags
- -batch_size 50
- Batchsize - didn't get very good results with this over 128...
- -max_epochs 50
- The higher the epoch, the longer the network trains - often resulting in better texts
5: Getting output from our neural network is a lot easier than the previous steps. Just run the following command:
$ th sample.lua -checkpoint cv/checkpoint_10000.t7 -length 2000
A few notes:
- * The -checkpoint argument is to a t7 checkpoint file created during training. You should use the one with the largest number, since that will be the latest one created. Note: running training on another data set will overwrite this file!
- * The -length argument is the number of characters to output.
- * This command also runs with CUDA by default, and can be disabled the same way as the training command.
- * Results are printed to the console, though it would be easy to pipe it to a file instead:
