Difference between revisions of "Using the CNC mill"
Jump to navigation
Jump to search
| Line 28: | Line 28: | ||
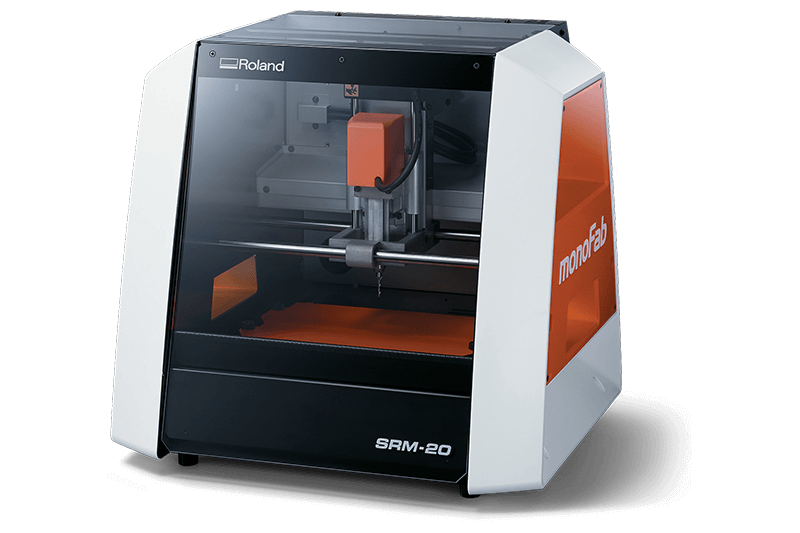
[[File:Srm20.png|800px|center]] | [[File:Srm20.png|800px|center]] | ||
[[Category:Making]] | [[Category:Making]] | ||
| − | [[Category: | + | [[Category:Machines and facilities]] |
Revision as of 10:41, 22 November 2022

1. Designing the PCB
There are several ways for designing PCB. For example you can use the following softwares:
- Fritzing (easy to use) https://fritzing.org/
- Kicad (more professional) https://www.kicad.org/
Lets start with Fritzing.

That looks already quite good. After you finished the PCBs you have to export it as a "Extender Gerber (RS-274X)"-Format! Select the folder where you would like to save it.

2. Generating the G-code
In this step you have to generate G-code with the Gerber files. G-code or sometimes called nc-code (numeric controll code) tells the CNC mill when to turn on the spindle or to which position it should move.
We will use FlatCam (http://flatcam.org/) to generate the G-Code.
- Start FlatCAM
- Click on [File] -> [Open Gerber ...]

- Select the ".gbl" (copper bottom) file
- Now select the file in the Project list and click on [selected]

3. Milling the PCB
