Difference between revisions of "Algorithmic Drawing"
| (23 intermediate revisions by one other user not shown) | |||
| Line 1: | Line 1: | ||
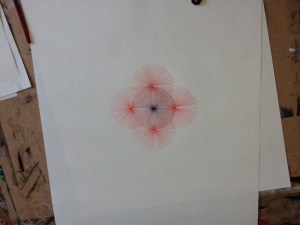
| + | [[File:Algo4.JPG|thumb|Algorithm designed and drawn by a student]] | ||
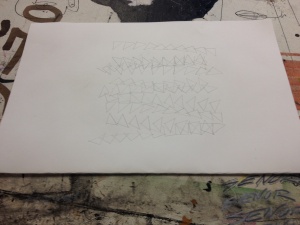
| + | [[File:Algo5.JPG|thumb|Algorithm designed and drawn by a student]] | ||
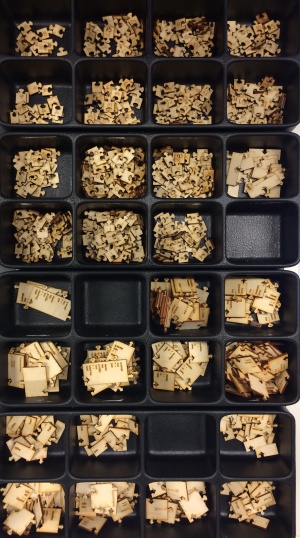
| + | [[File:turtleblocks.jpg|thumb|Laser-cut turtleblocks]] | ||
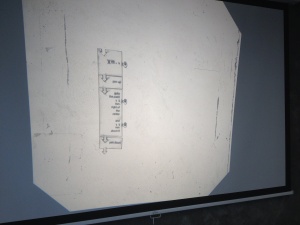
| + | [[File:Algo6.JPG|thumb|Using the overhead projector]] | ||
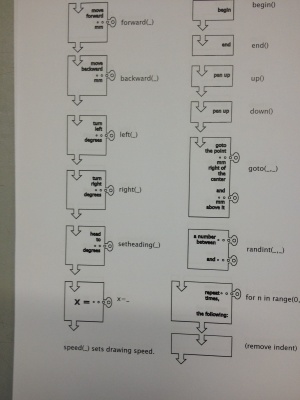
| + | [[File:Algo7.JPG|thumb|Using the cheatsheet to convert the blocks to python code]] | ||
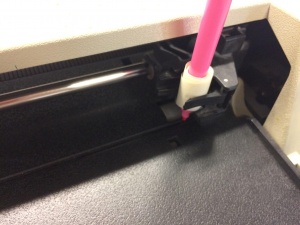
| + | [[File:penplotter.jpg|thumb|Inserting a filt-pen in the HP7475a]] | ||
| + | |||
== Introduction == | == Introduction == | ||
This series of lessons originated as a coorporation between the Drawing Station and Interaction Station. | This series of lessons originated as a coorporation between the Drawing Station and Interaction Station. | ||
| − | It gives the student an introduction to conditional design drawing technique, and programming fundemantals. The underlying theme is Analog & Digital. What is the essential difference between giving an assignment to a human, as opposed to a computer? See also: [http://code-it.co.uk/unplugged/jamsandwich Jam Sandwich Algorithm ]. | + | It gives the student an introduction to conditional design drawing technique, and programming fundemantals. The underlying theme is Analog & Digital. What is the essential difference between giving an assignment to a human, as opposed to a computer? See also: [http://code-it.co.uk/unplugged/jamsandwich Jam Sandwich Algorithm ]. We start by using analog tehcniques (pen, paper, geo triangles), then step by step move to the computer, and end where we began, in the analog domain, by using a pen plotter. |
| Line 20: | Line 27: | ||
*60 minutes [doing] python programming, meanwhile plottingh out the results. | *60 minutes [doing] python programming, meanwhile plottingh out the results. | ||
| − | + | Here's the [[:File:Lesbrief_Algoritmisch_tekenen.pdf | Lesbrief]] (in Dutch). | |
== 1: Conditional design == | == 1: Conditional design == | ||
| Line 30: | Line 37: | ||
== 2: Turtleblocks == | == 2: Turtleblocks == | ||
| − | + | * Basically an analog version of [http://www.scratch.mit.edu scratch]. See also: [https://www.tynker.com/blog/articles/ideas-and-tips/coding-at-school/from-block-coding-to-javascript-and-python-how-tynker-teaches-coding/ Tynker]. | |
| − | * Basically an analog version of scratch. | ||
* Make sure every student has 2 duplicates of every different puzzle piece. | * Make sure every student has 2 duplicates of every different puzzle piece. | ||
*The transparent version can be used for explaining the blocks with an overhead projector, which can be drawn upon too, using an overhead projector. We can simulate the whole turtle program in an analogue way. (You can also have a little paper triangle that can be moved around representing the turtle) | *The transparent version can be used for explaining the blocks with an overhead projector, which can be drawn upon too, using an overhead projector. We can simulate the whole turtle program in an analogue way. (You can also have a little paper triangle that can be moved around representing the turtle) | ||
| Line 45: | Line 51: | ||
For info on how to install and run the python code [http://www.github.com/mywdka/plotterturtle/ Python plotterturtle module] | For info on how to install and run the python code [http://www.github.com/mywdka/plotterturtle/ Python plotterturtle module] | ||
| + | |||
| + | Some programs written by students: | ||
| + | <gallery> | ||
| + | File:Algo1.png | ||
| + | File:Algo2.png | ||
| + | File:Algo3.png | ||
| + | </gallery> | ||
| + | (click to enlarge, click again to enlarge more) | ||
== 4: Pen plotter == | == 4: Pen plotter == | ||
| + | * Every time a student runs is program , a .plt file is generated. Collect the files using a USB stick, and plot them out on a computer that's connected to a plotter, using Chiplotle. [http://cmc.music.columbia.edu/chiplotle/manual/chapters/tutorial/intro.html See the part on HPGL Pipeline in the Quick Start Tutorial] | ||
| + | * For info on how to use the plotter, see the plotterlibrary github, and google for HP7475A plotter. Felt-tip pens can be inserted by making them a bit thicker with tape. | ||
| + | [[File:plotting.gif]] | ||
| − | + | [[Category:Plotters]][[Category:Making]] | |
| − | |||
Latest revision as of 09:27, 21 November 2022
Introduction
This series of lessons originated as a coorporation between the Drawing Station and Interaction Station. It gives the student an introduction to conditional design drawing technique, and programming fundemantals. The underlying theme is Analog & Digital. What is the essential difference between giving an assignment to a human, as opposed to a computer? See also: Jam Sandwich Algorithm . We start by using analog tehcniques (pen, paper, geo triangles), then step by step move to the computer, and end where we began, in the analog domain, by using a pen plotter.
For the four weeks open aanbod, the lessons schedule was:
- Week 1: First do some existing conditional design assignments, then make your own, and execute each other's. Discuss the results.
- Week 2: Create algortihms using the analog puzzle pieces, and execute each other's. Discuss the results.
- Week 3: Program the algorithm in python
- Week 4: Finish the program and plot it with a pen plotter. End presentation.
For a workshop, this can be pressure-cooked into 2 hours:
- 10 minutes [doing] conditional design assignment
- 5 minutes discussion
- 15 minutes [instruction] turtleblocks introduction
- 20 minutes [doing] create an algorithm
- 10 minutes [instruction] converting it to python
- 60 minutes [doing] python programming, meanwhile plottingh out the results.
Here's the Lesbrief (in Dutch).
1: Conditional design
- A nice reference is the "Workbook Conditional Design" that's available in the mediatheque.
- Here are some assignments that can be used for the short workshop: Conditional Design assignments
- For the long lesson series: Instructions .
- Results can differ, although nobody is "wrong"! Discuss this. Difference between programming a human and a computer.
2: Turtleblocks
- Basically an analog version of scratch. See also: Tynker.
- Make sure every student has 2 duplicates of every different puzzle piece.
- The transparent version can be used for explaining the blocks with an overhead projector, which can be drawn upon too, using an overhead projector. We can simulate the whole turtle program in an analogue way. (You can also have a little paper triangle that can be moved around representing the turtle)
- Let students draw their own and each others program, so they understand what's happening, executing the code line by line. They "play" the programmer, and "play" the turtle.
You can find the laser cut file here: Laser-cut Turtleblocks. The cheatsheet on how to convert in to python code is there too.
3: Python plotterturtle
- Some good python turtle examples are to easy to find on the web.
- Using the plotterturtle library, we make the code as clean and easy as possible (for instance, no need to create a turtle object)
- Introduce indentation and basic error handling (see if you can spot the mistake)
For info on how to install and run the python code Python plotterturtle module
Some programs written by students:
(click to enlarge, click again to enlarge more)
4: Pen plotter
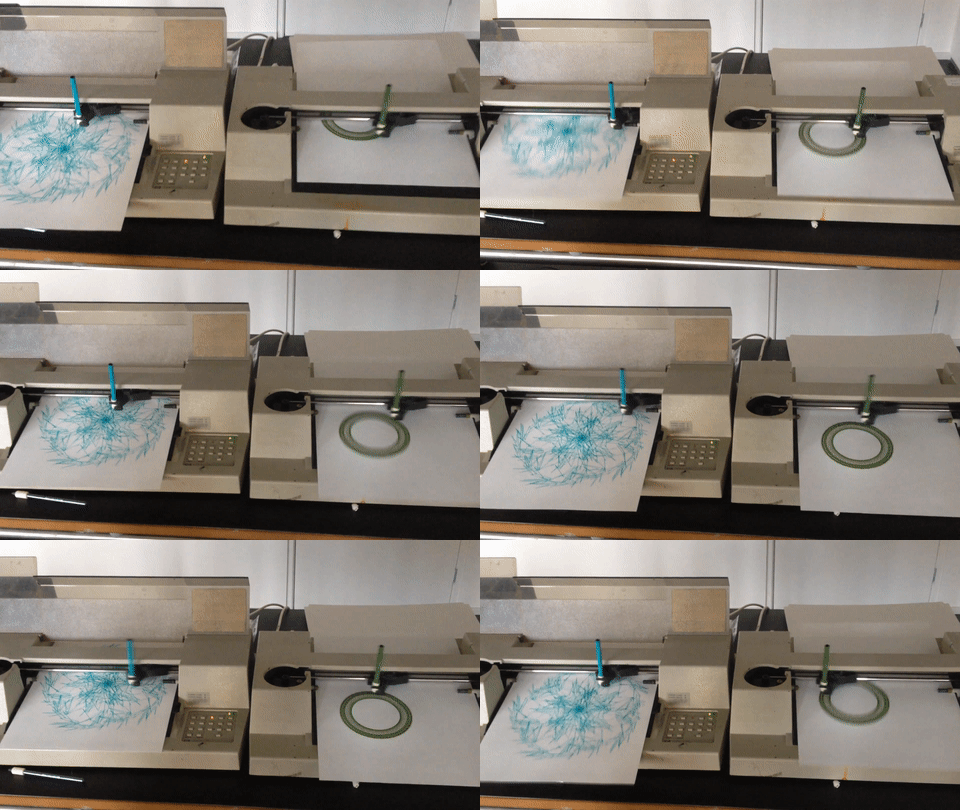
- Every time a student runs is program , a .plt file is generated. Collect the files using a USB stick, and plot them out on a computer that's connected to a plotter, using Chiplotle. See the part on HPGL Pipeline in the Quick Start Tutorial
- For info on how to use the plotter, see the plotterlibrary github, and google for HP7475A plotter. Felt-tip pens can be inserted by making them a bit thicker with tape.
