Difference between revisions of "LoRA training"
| (4 intermediate revisions by the same user not shown) | |||
| Line 8: | Line 8: | ||
Step 2: Create the folder structure<br> | Step 2: Create the folder structure<br> | ||
Create a folder on the desktop and name it (your name, or name of your project).<br> | Create a folder on the desktop and name it (your name, or name of your project).<br> | ||
| − | Download this zip file, and unzip it in the folder you just created. The zip will create the basic file structure, and a configuration file.<br><br> | + | Download this zip file |
| + | [[File:Folder structure and configuration file.zip]] | ||
| + | , and unzip it in the folder you just created. The zip will create the basic file structure, and a configuration file.<br><br> | ||
[[File:Folder structure 1.png]]<br><br> | [[File:Folder structure 1.png]]<br><br> | ||
| Line 64: | Line 66: | ||
[[File:Sd lora tab.png]]<br><br> | [[File:Sd lora tab.png]]<br><br> | ||
| + | Step 8: Play with your LoRA | ||
| − | You can use your LoRA in combination with different compatible checkpoint models. | + | You can use your LoRA in combination with different compatible checkpoint models.<br><br> |
| + | [[File:Change checkpoint model.png]]<br><br> | ||
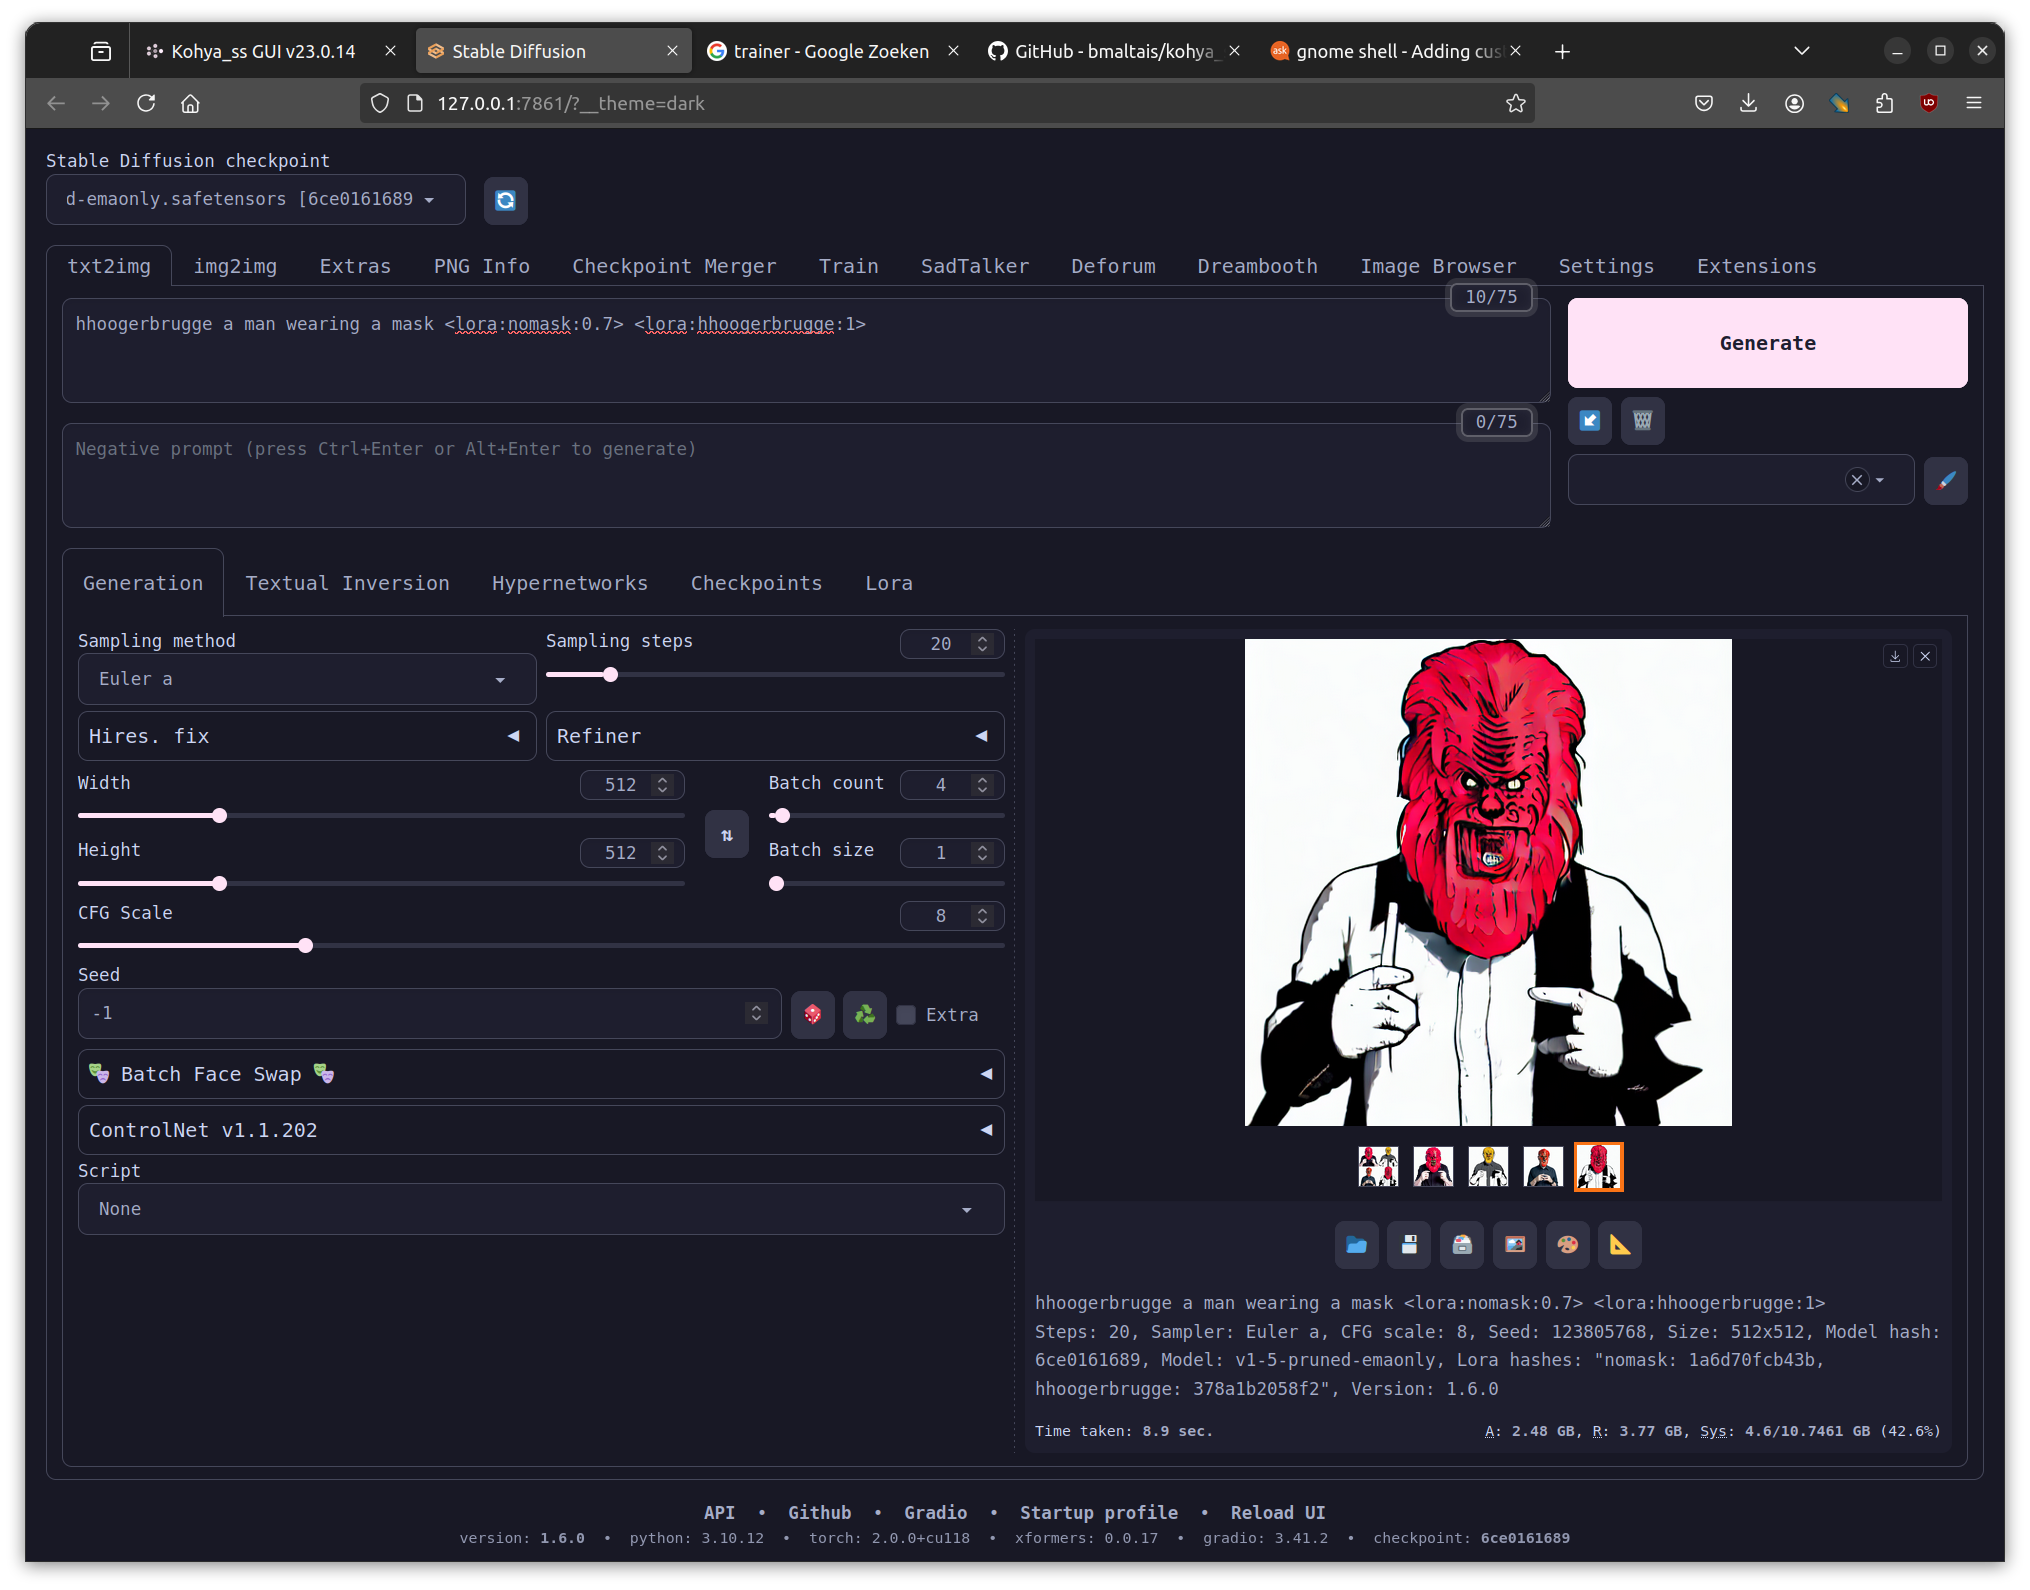
| − | You can also combine | + | You can also combine multiple LoRA models, and change the weight of the LoRA. Also see what happens when you change the cfg scale.<br><br> |
| + | [[File:Multiple LoRA's.png]]<br><br> | ||
| − | |||
| − | |||
| − | |||
Latest revision as of 22:55, 16 September 2024
Training a LoRA with Kohya
These instructions should work on the computers in WH.02.110
Preparing for training
Step 1: Collect the images you want to use for training
Step 2: Create the folder structure
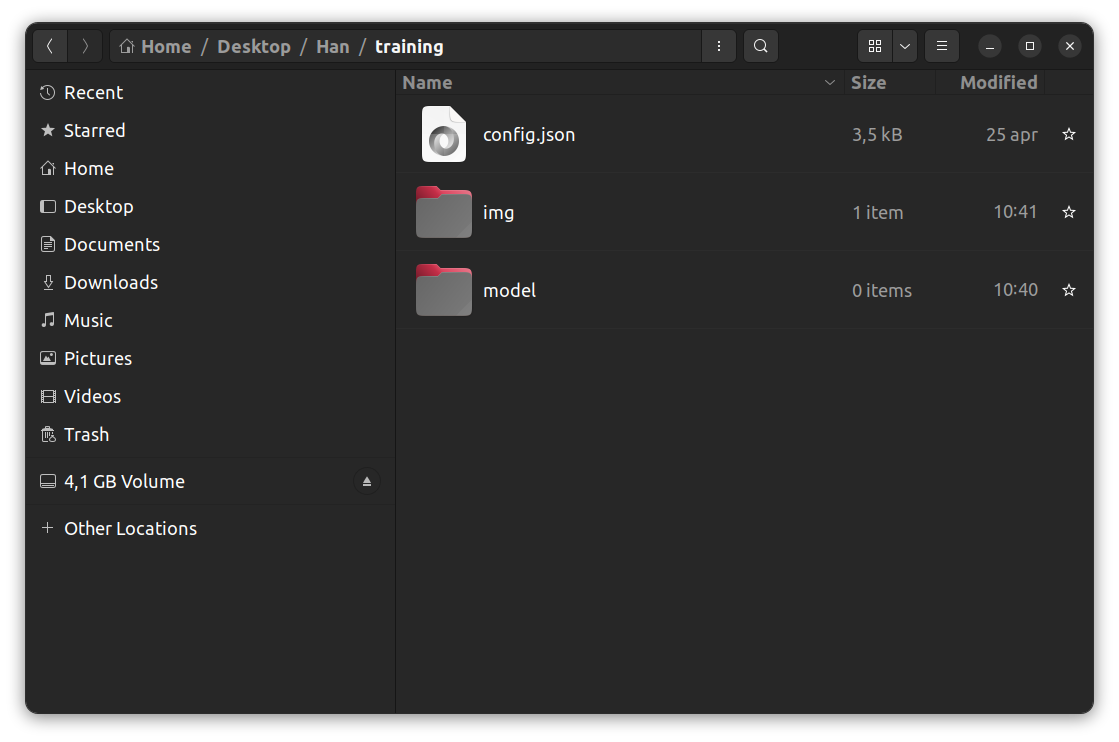
Create a folder on the desktop and name it (your name, or name of your project).
Download this zip file
File:Folder structure and configuration file.zip
, and unzip it in the folder you just created. The zip will create the basic file structure, and a configuration file.
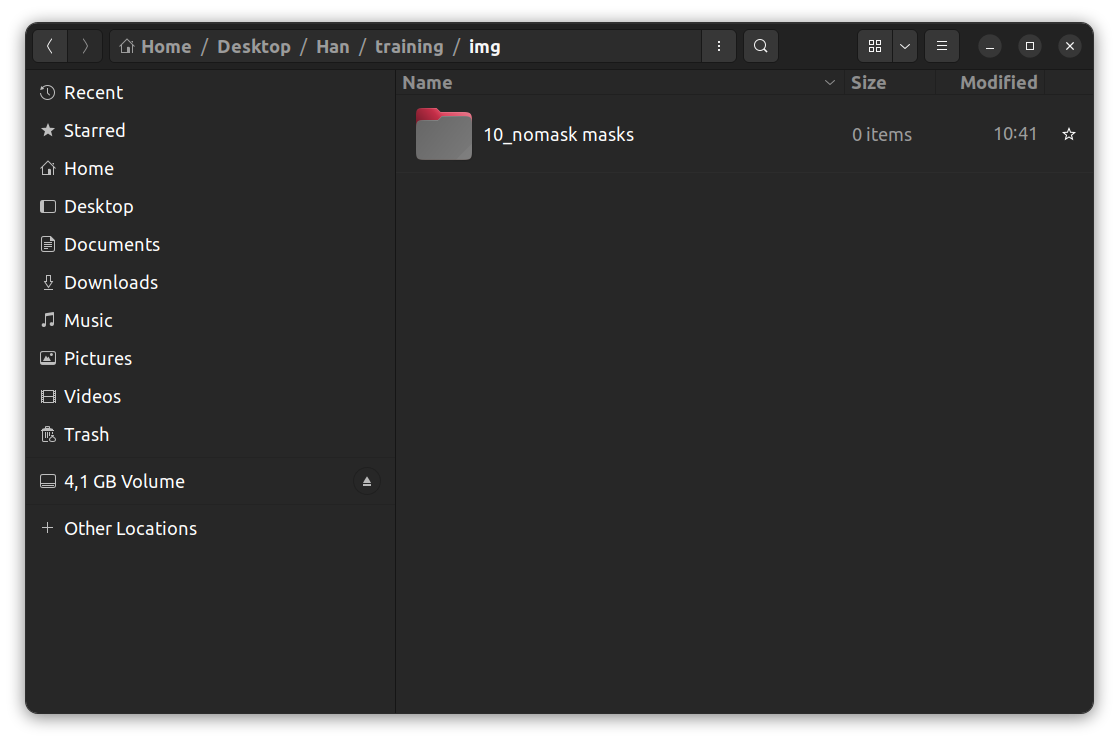
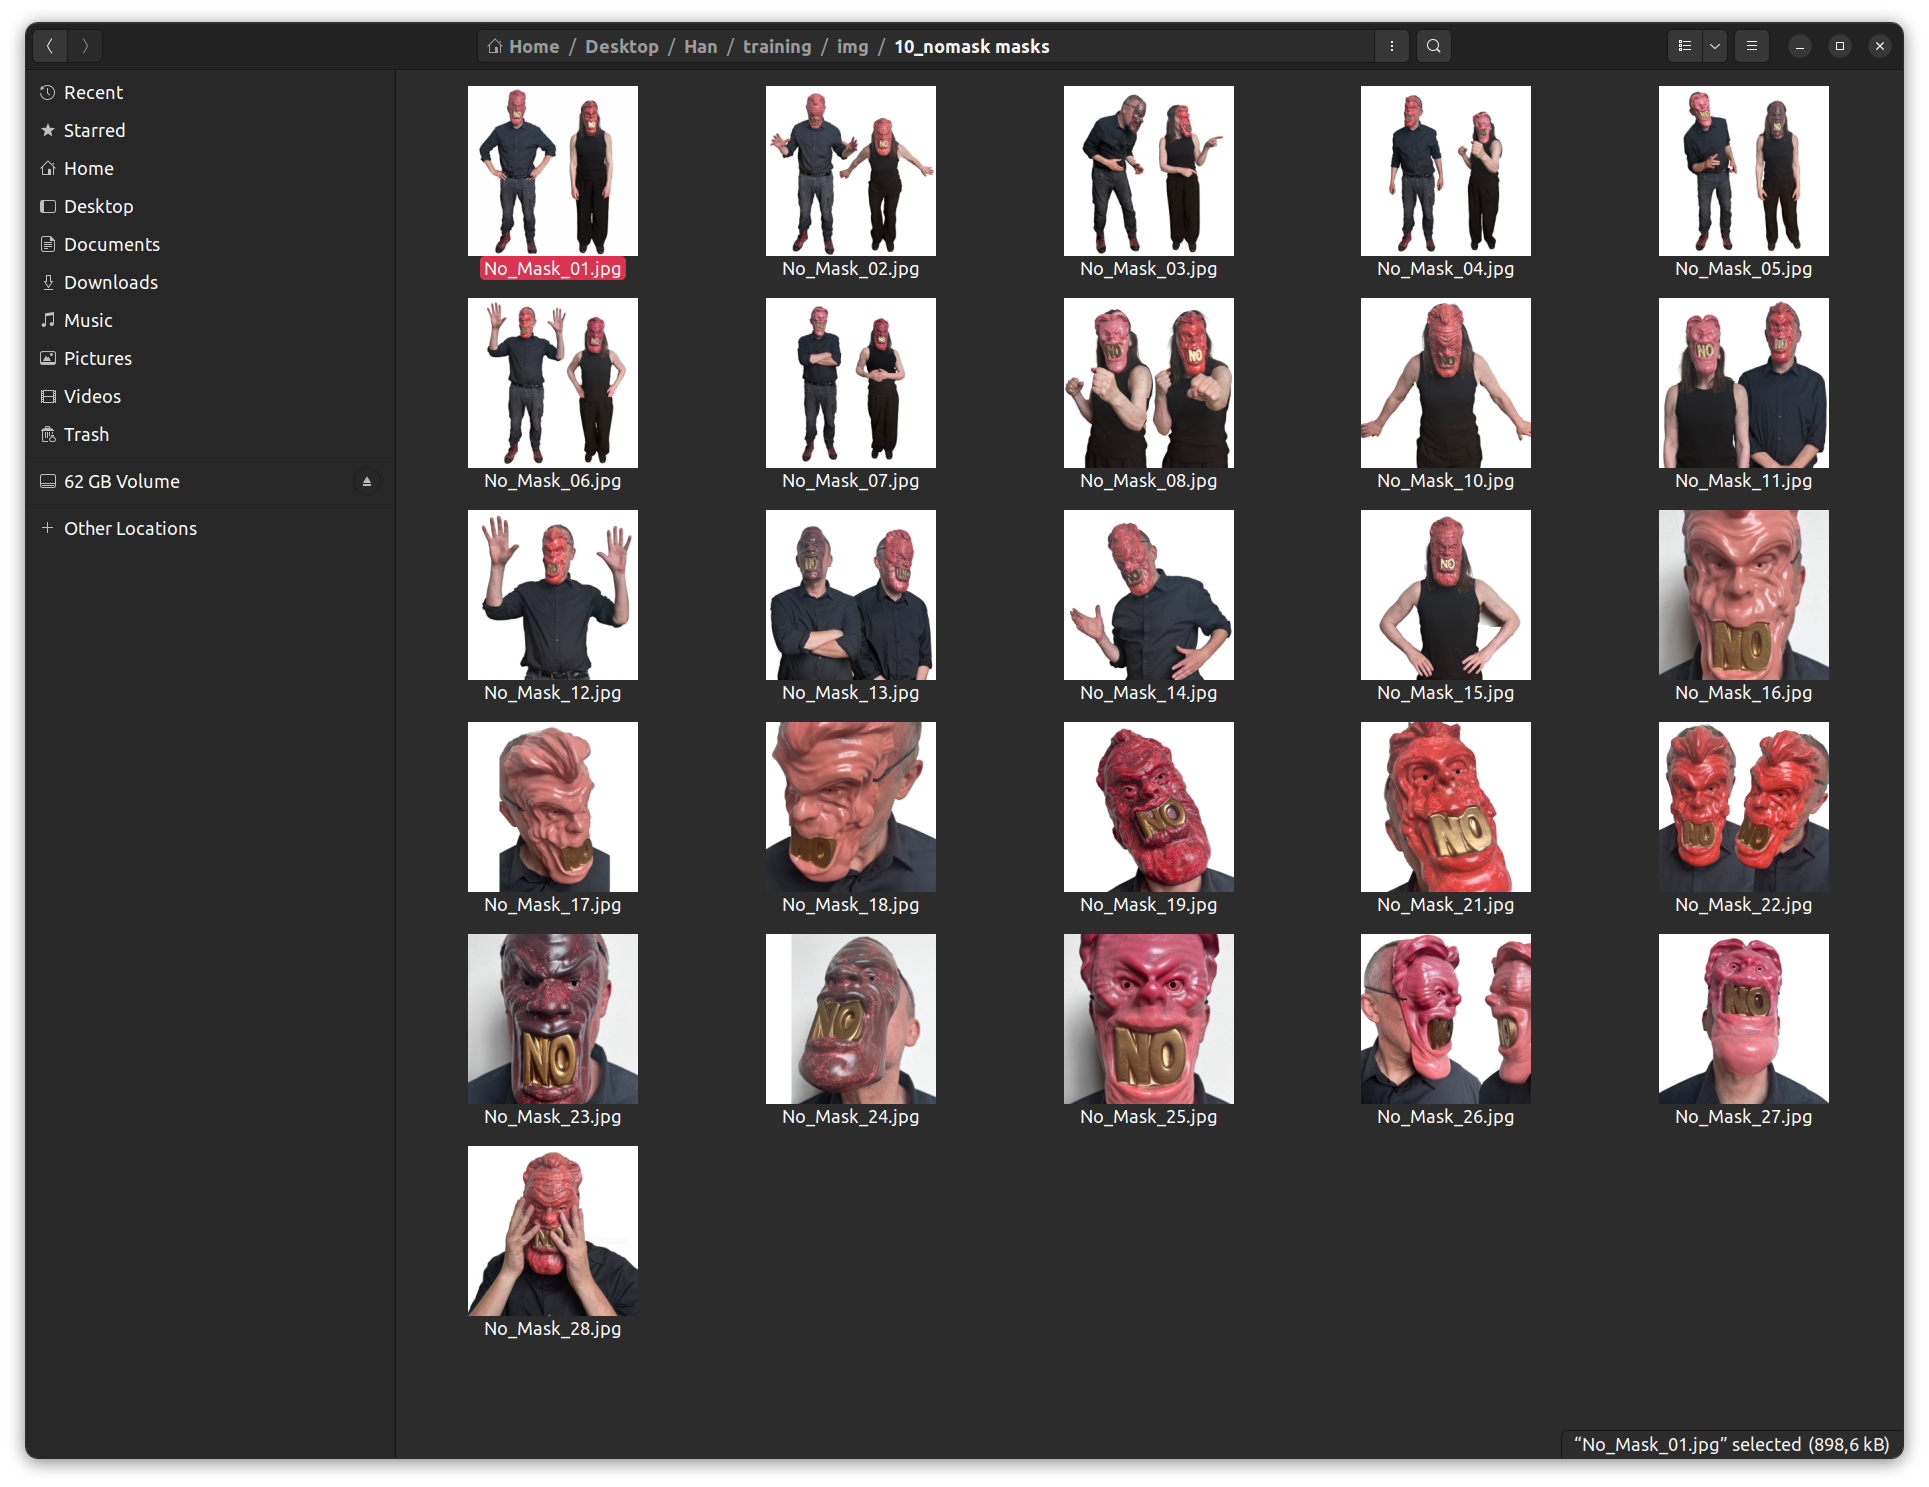
Inside the img folder, there needs to be another folder. The name of this folder has to be <REPEATS><underscore><TRIGGERWORD><space><CLASS>
Copy your images into this folder
Step 3: Create captions
We are now ready to create the captions for each image.
On the desktop find the kohya icon, and double click it.
![]()
A terminal window opens, and after a couple of seconds you should see a url (127.0.0.1:7860) that you can open in a browser to get a GUI.
In the GUI select the Utilities Tab, and inside that the Captioning Tab and there select BLIP Captioning.
Make sure the "Image folder to caption", points to the folder containing your images. Also put your trigger word in "Prefix to add to BLIP caption". Now click the "Caption Images" button
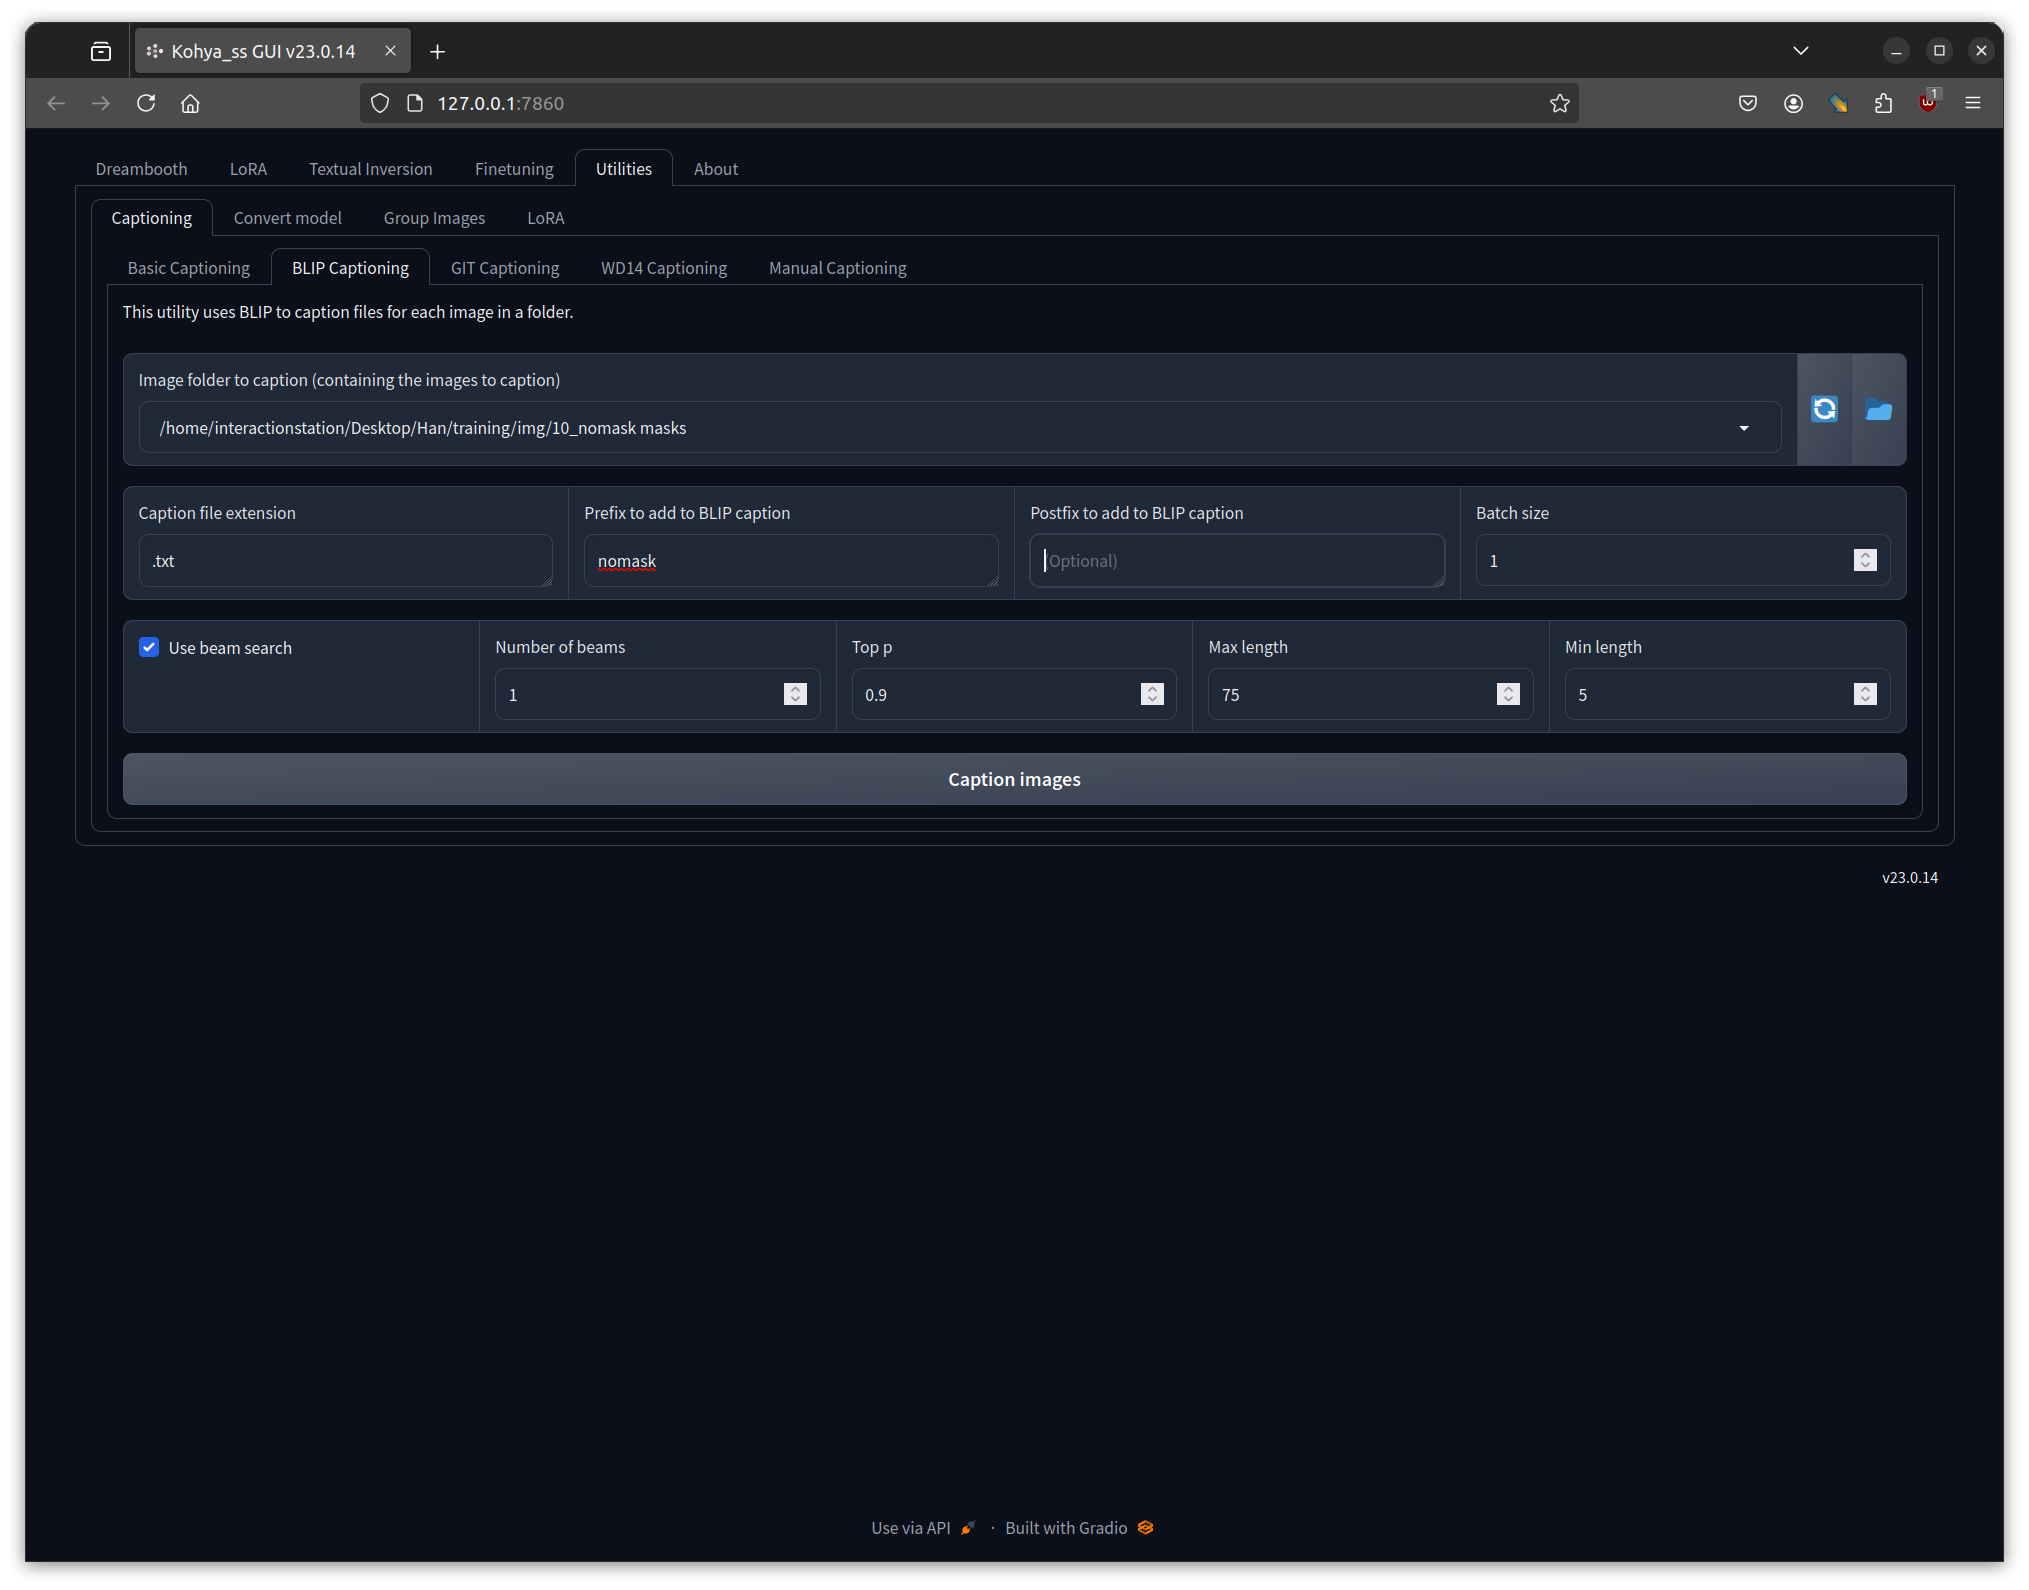
You won't see anything happening in the GUI but there should be some activity in the terminal
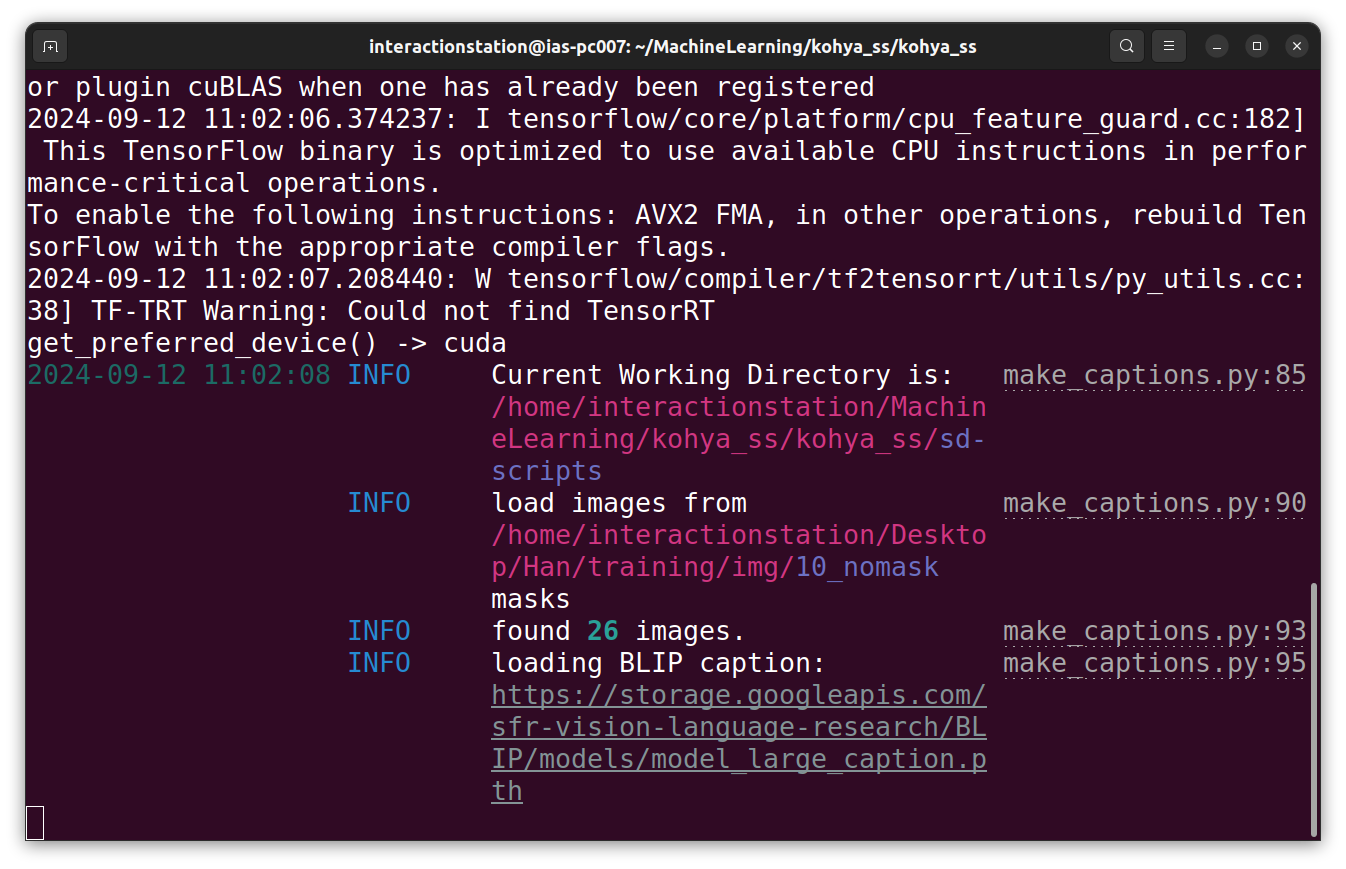
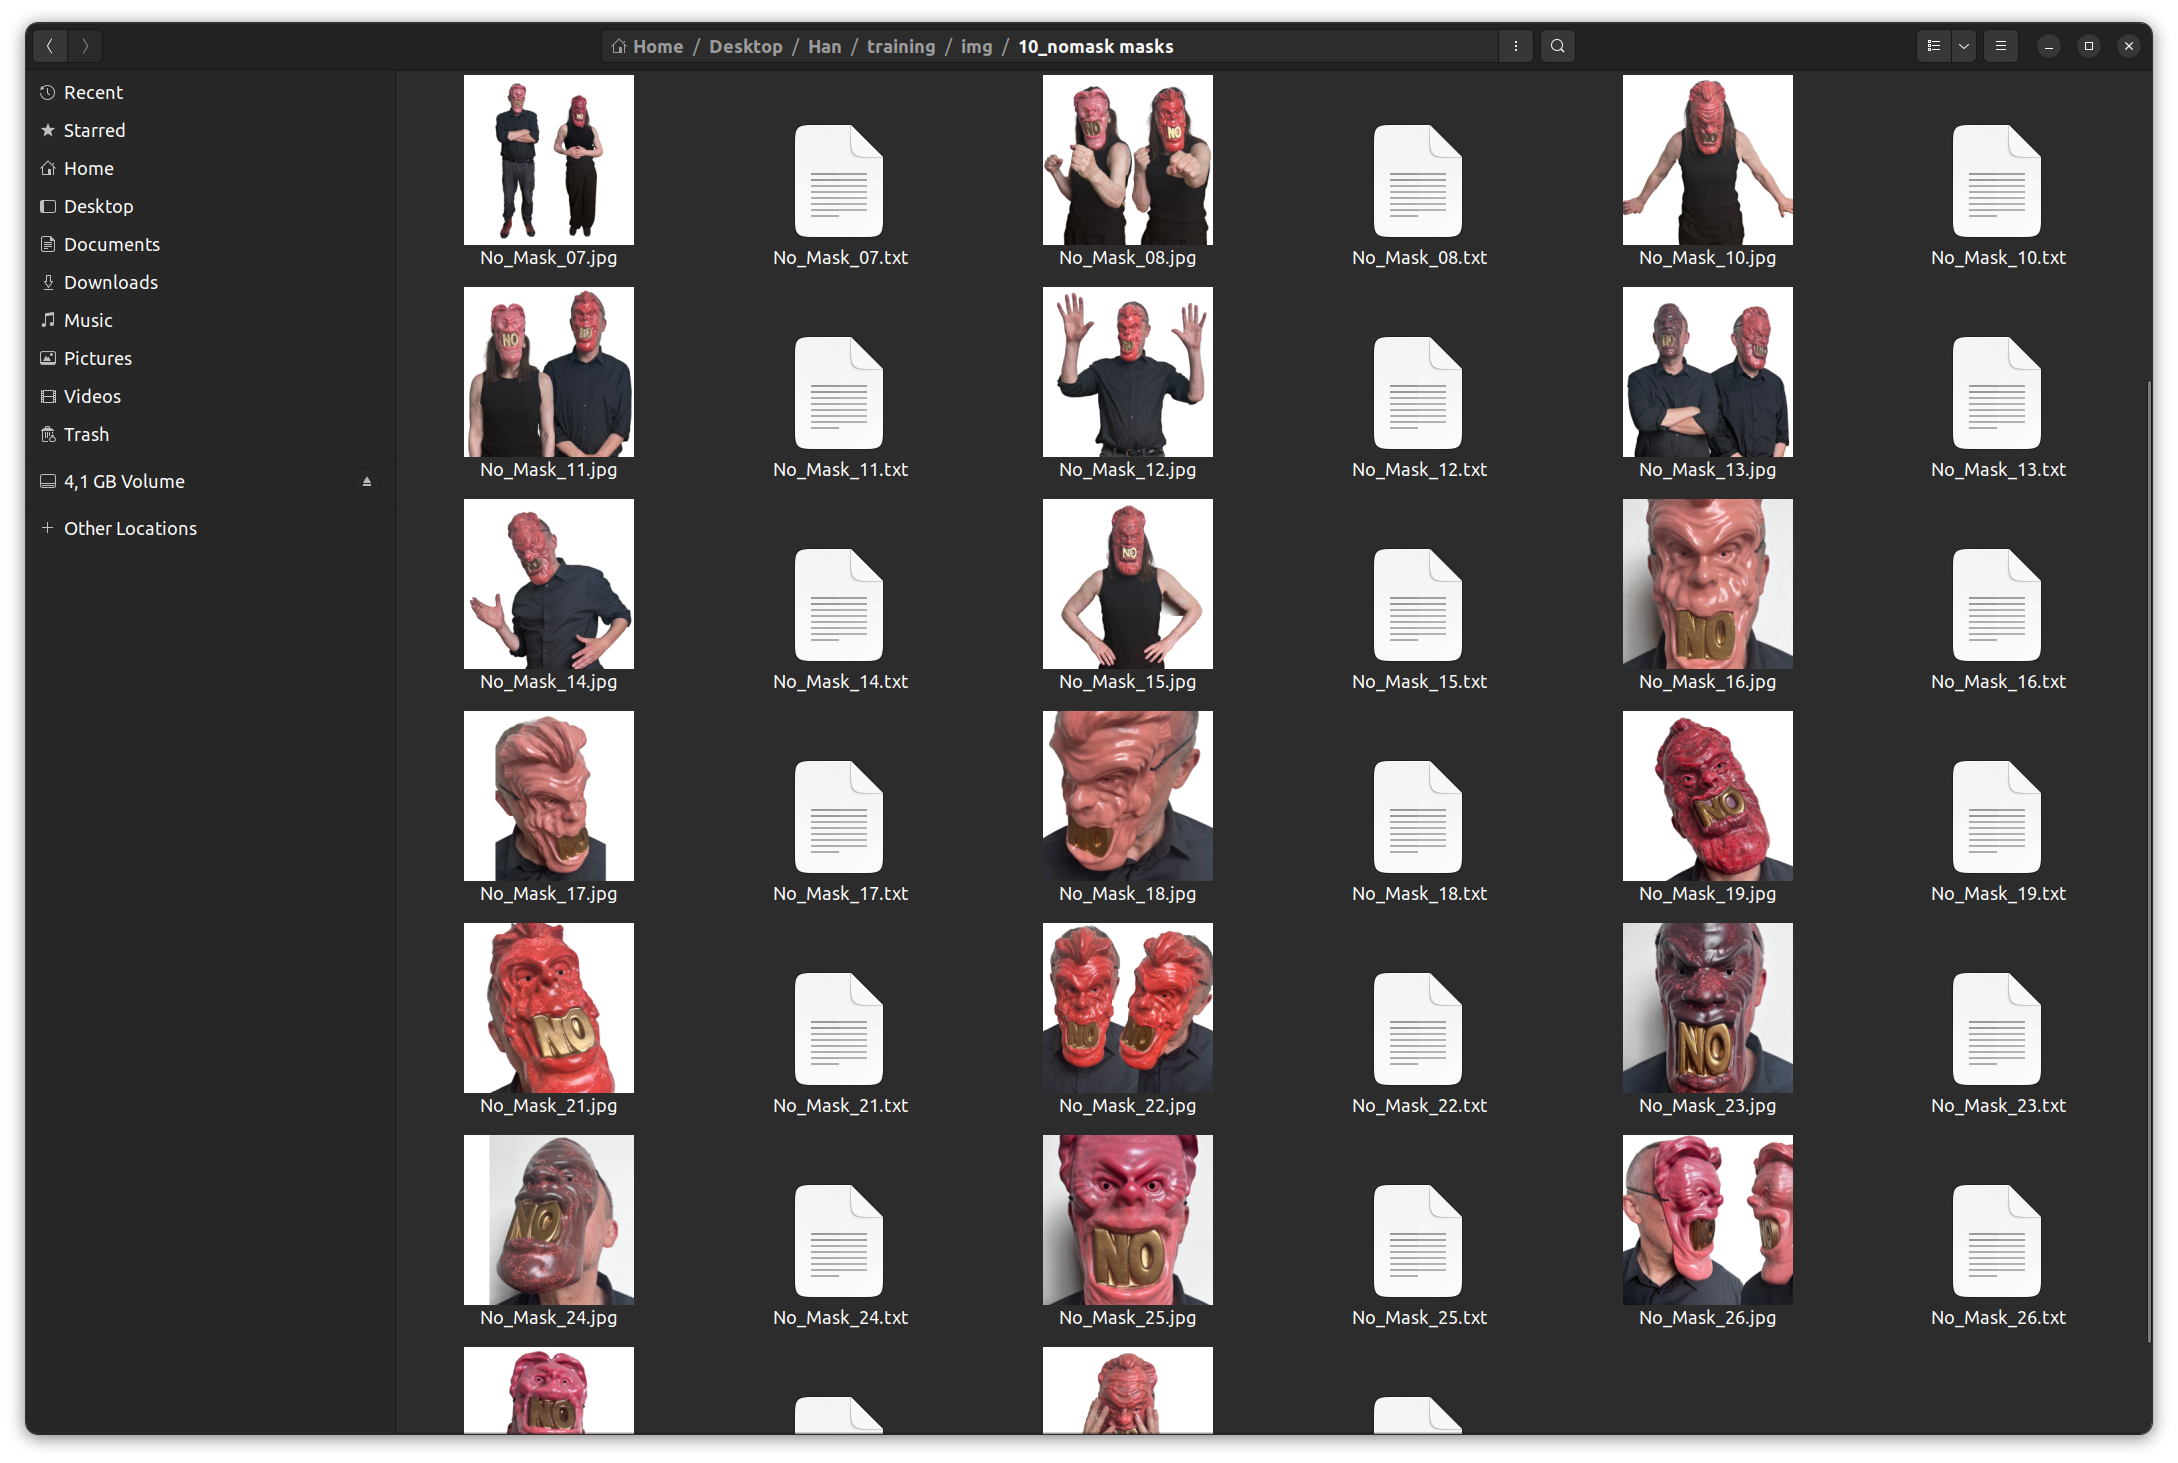
Training your LoRA
Step 4: Adjust the configuration If you didn't already launch the kohya software
Make sure you select the LoRA tab
Load the configuration file that you downloaded earlier.
We are going to leave it mostly at the default settings, but there are a few things we need to adjust.
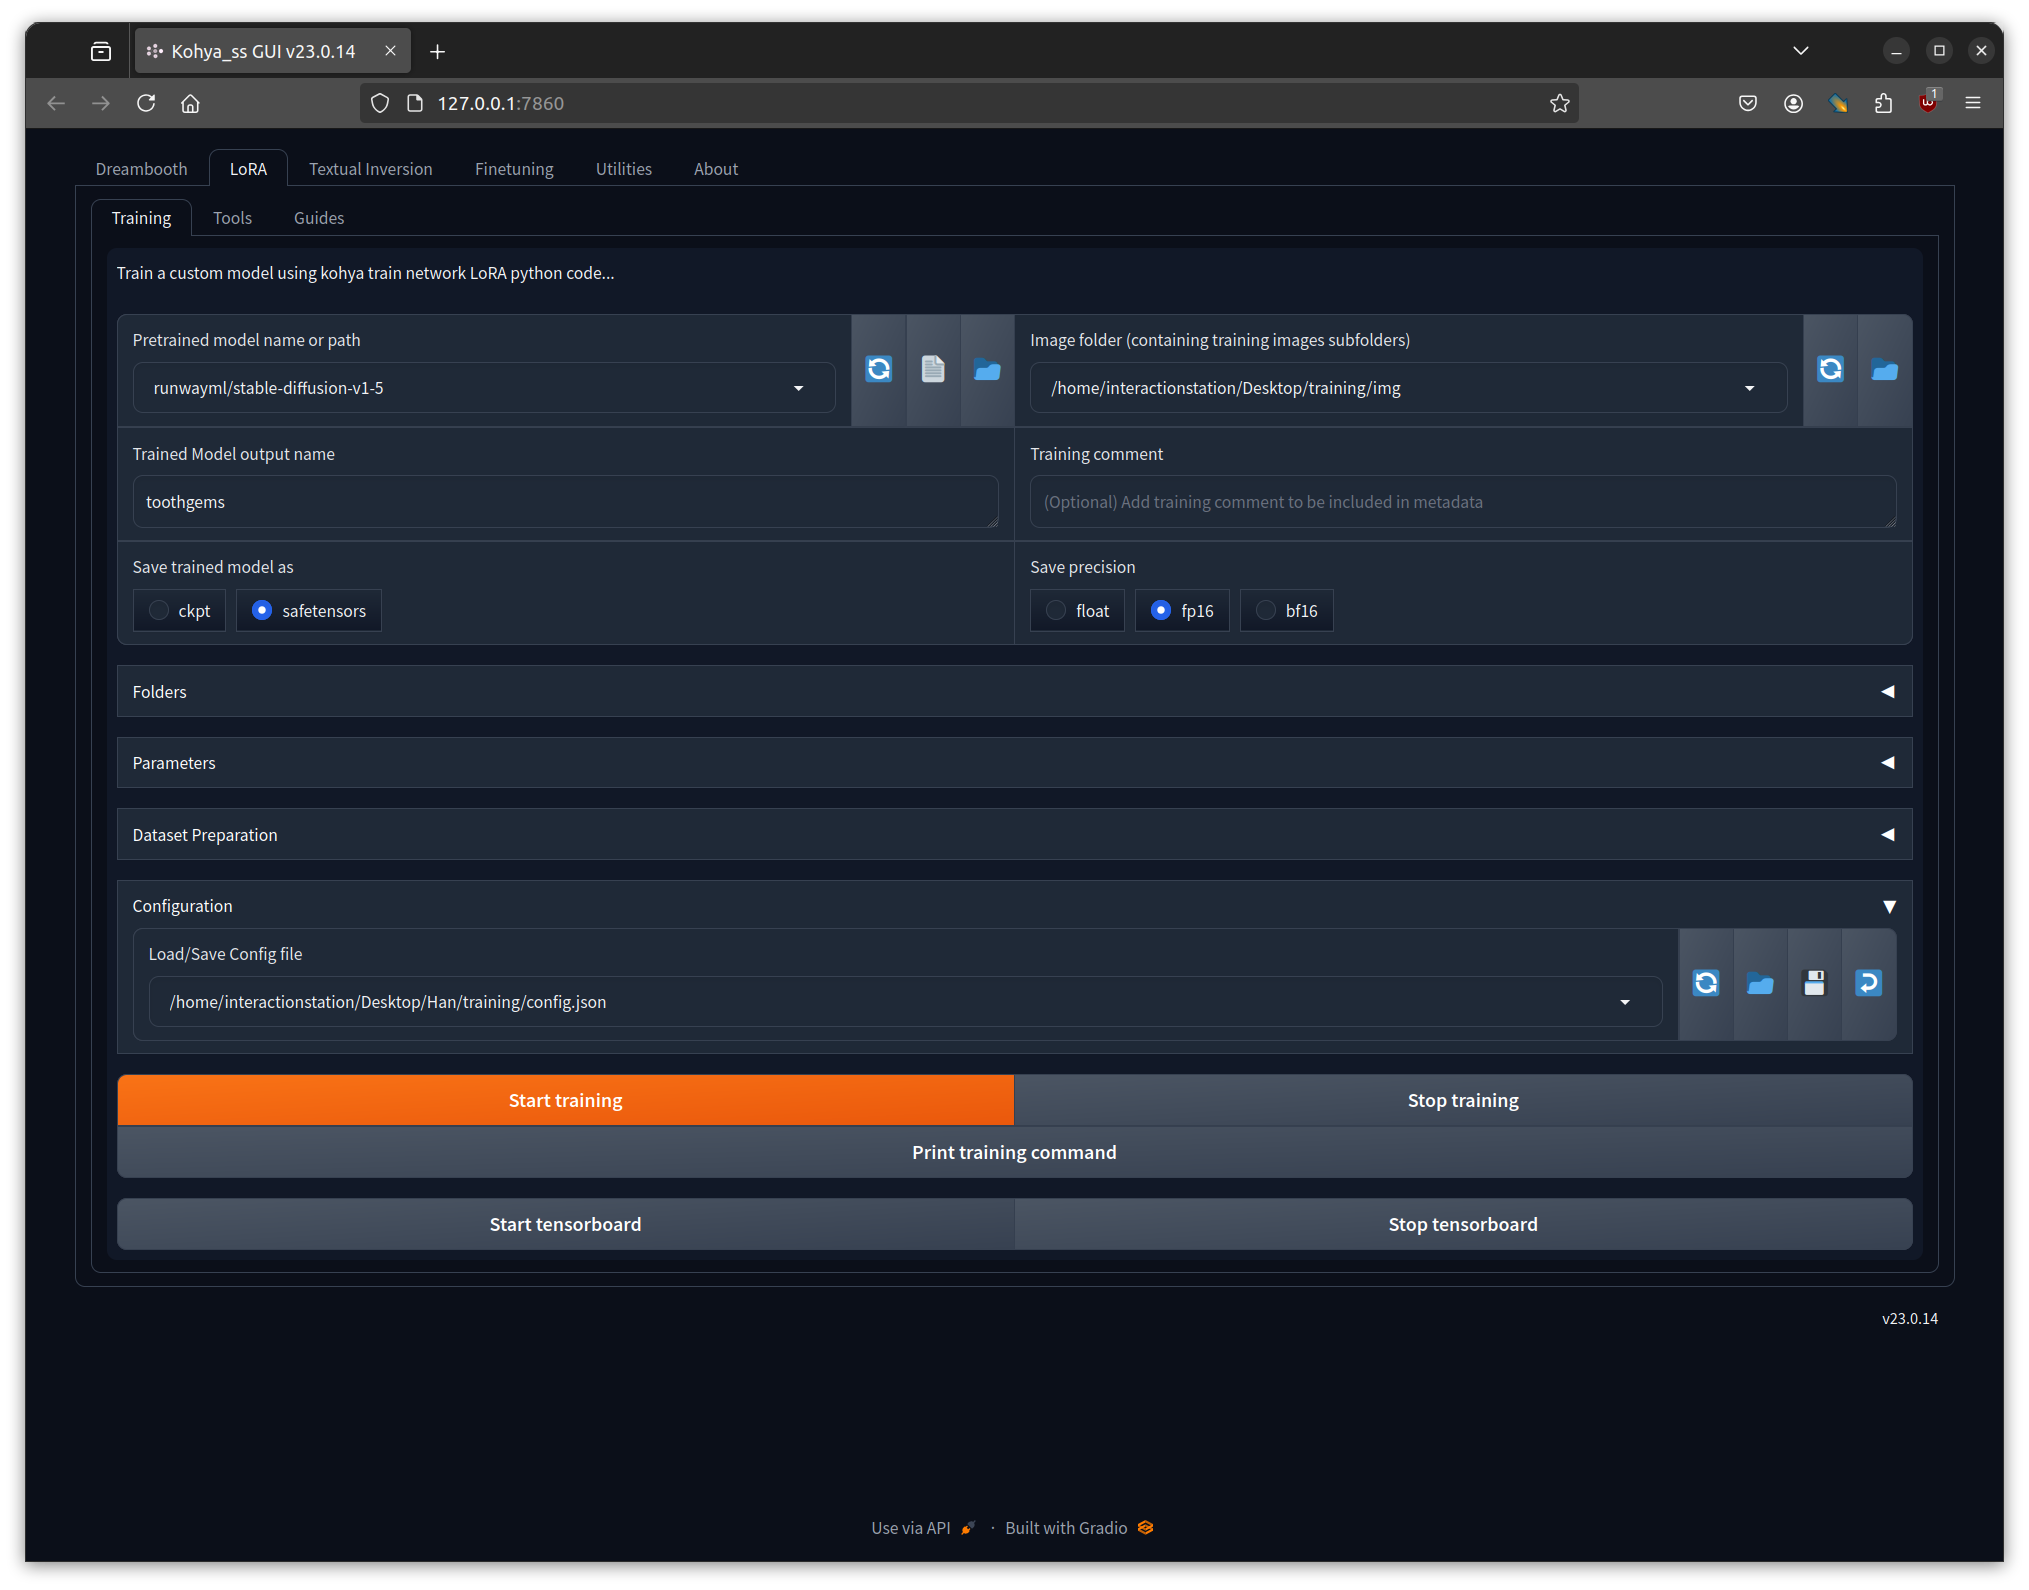
Change the model name to the name you want it to have, and make sure the paths to the image folder and model folder are correct.
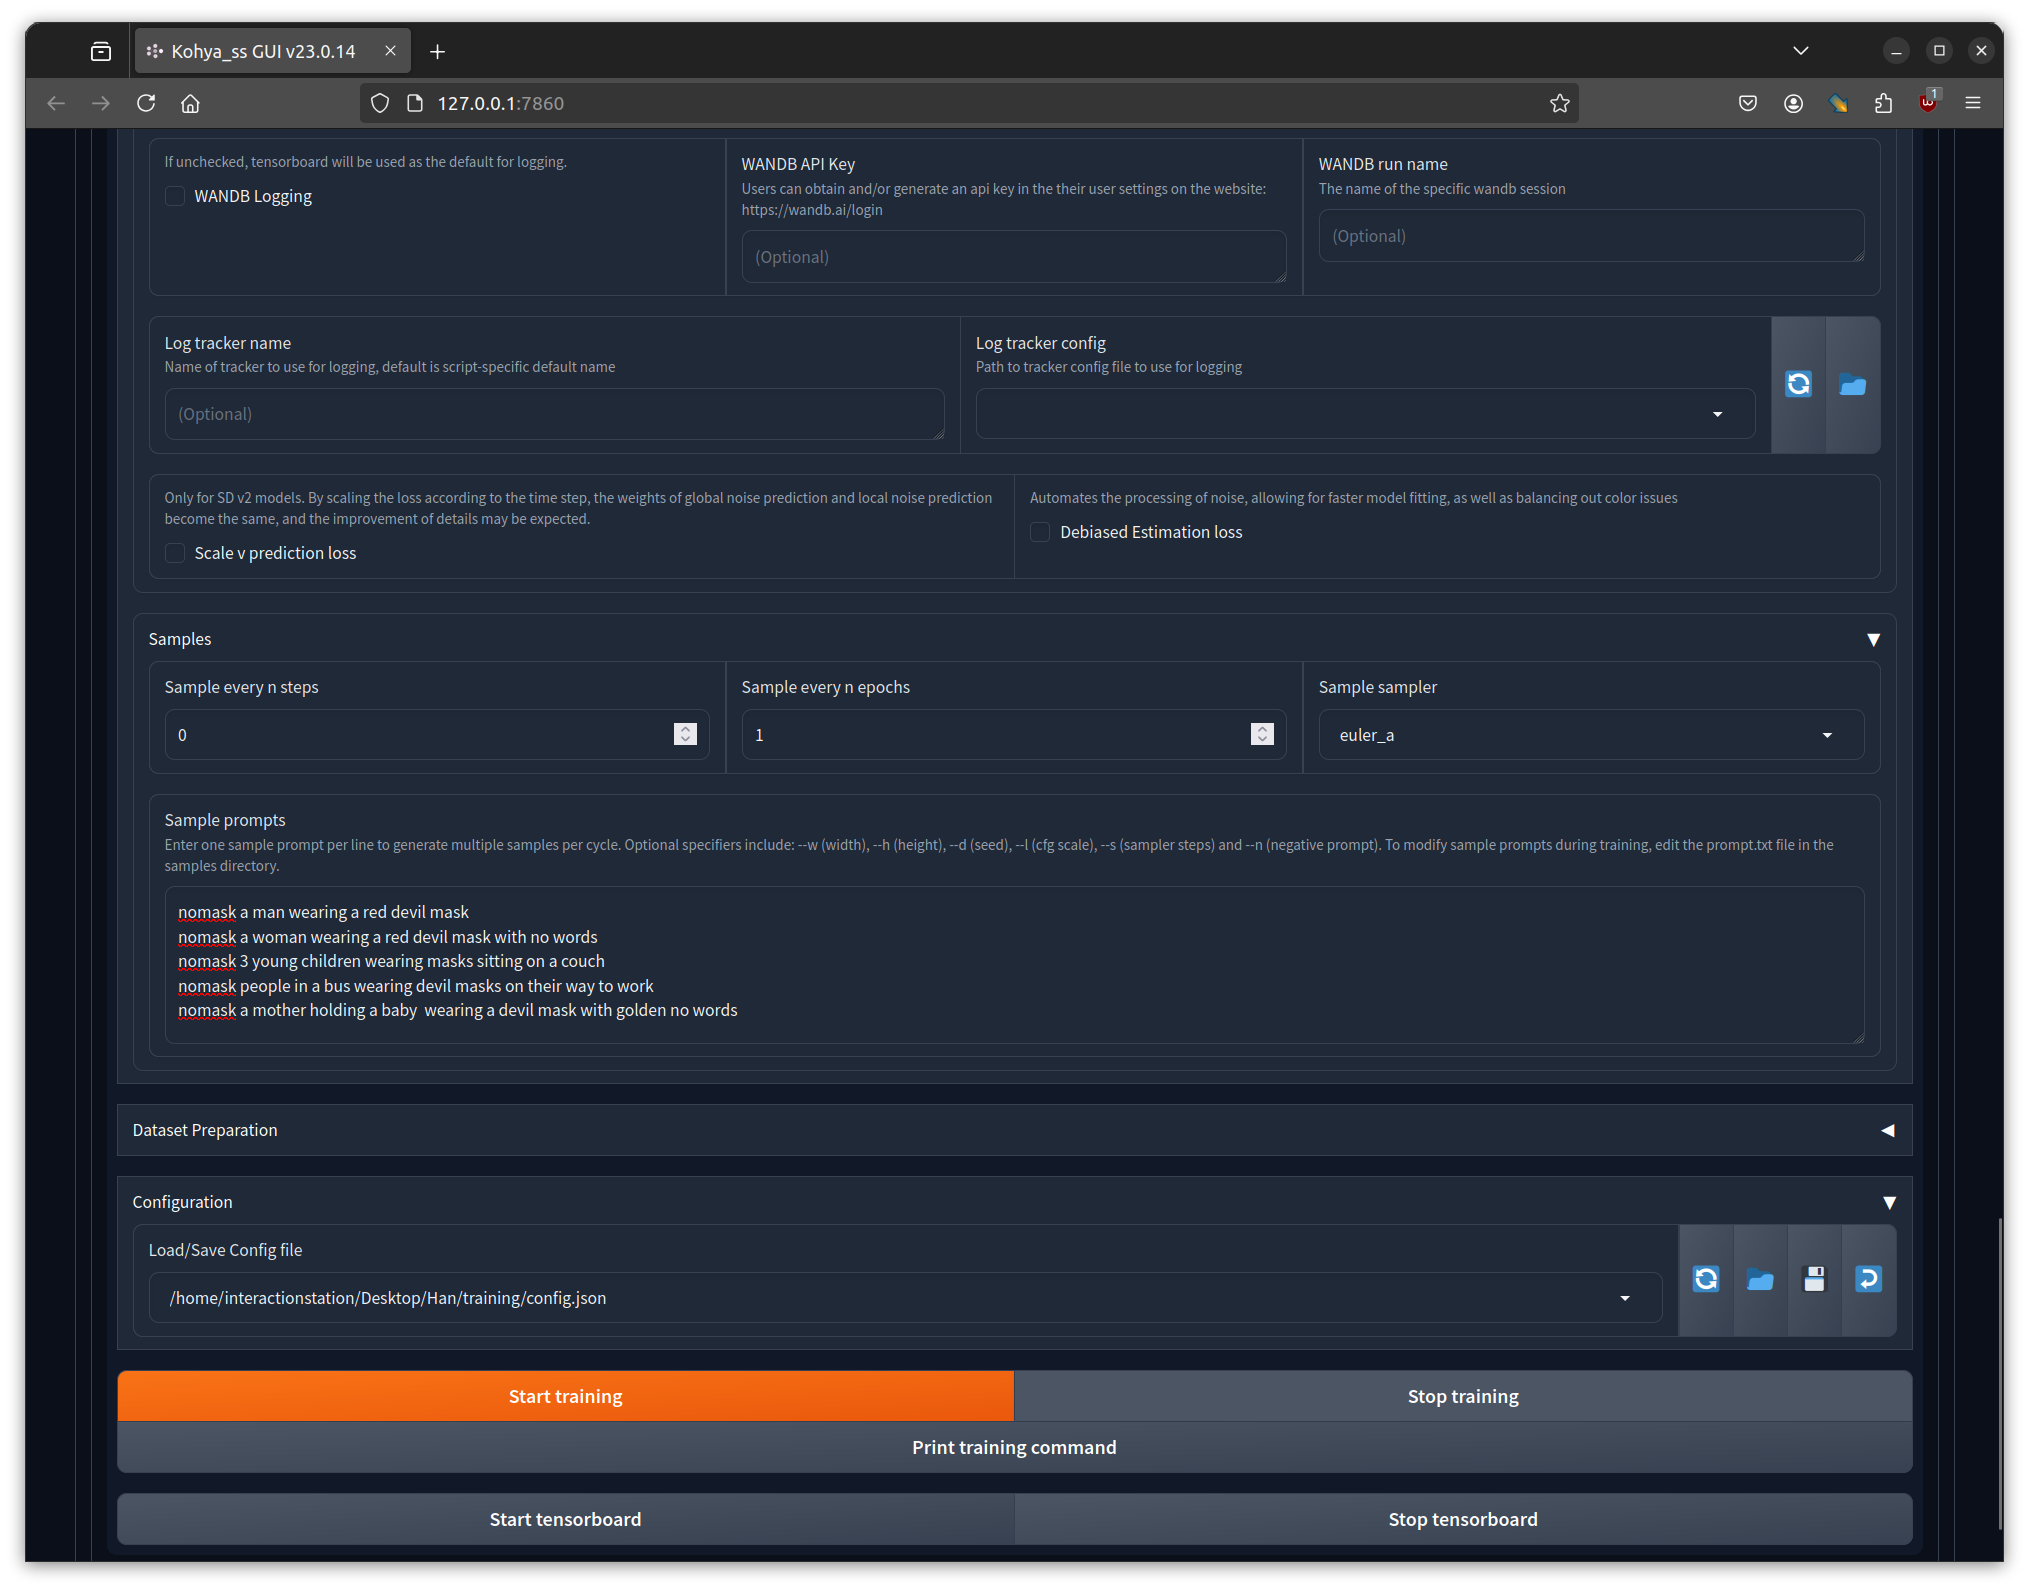
In the parameters section we can configure to generate sample images during training. Adjust the prompts so they use your triggerword and suit your purpose.
Step 5: Start training
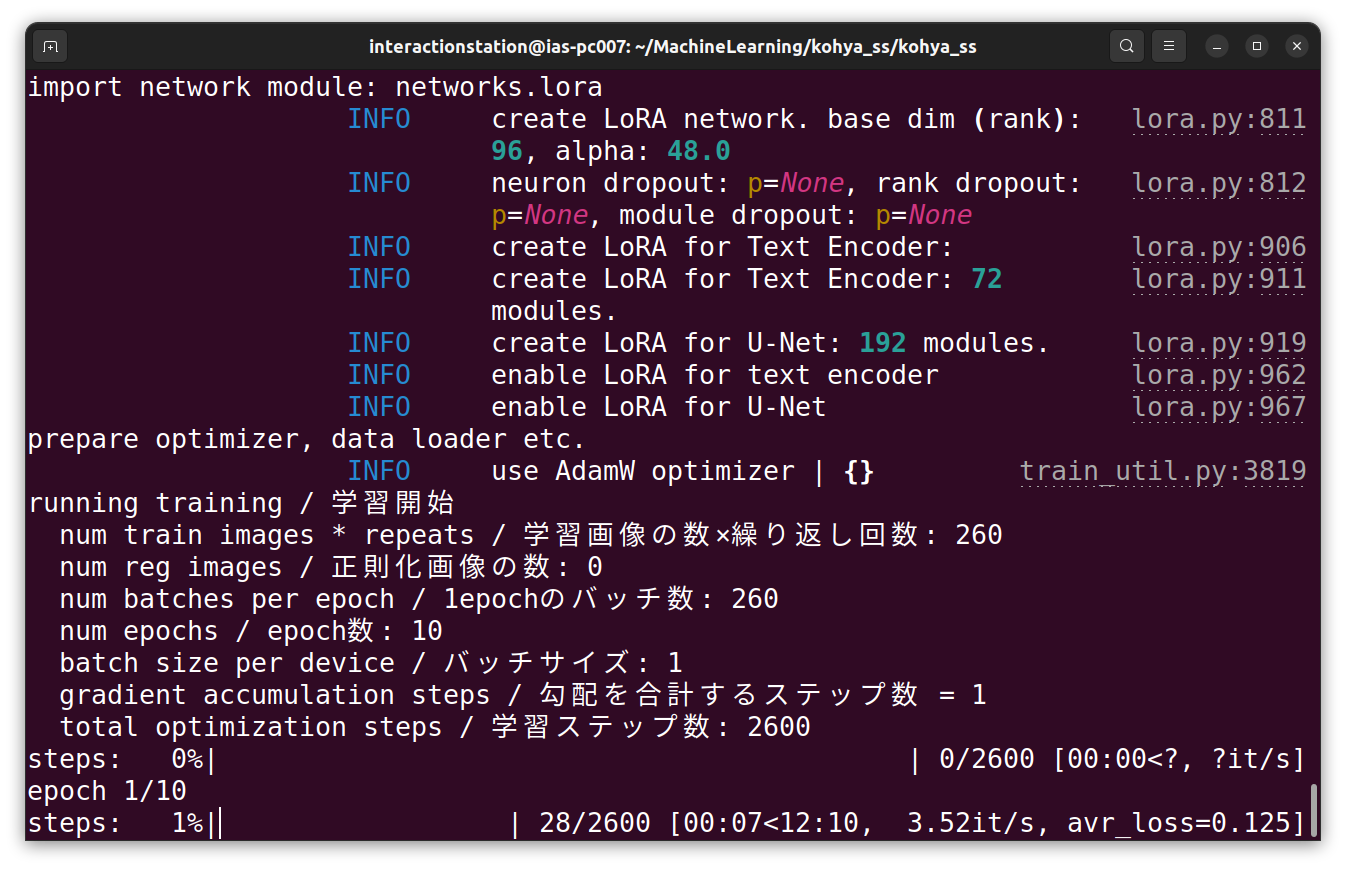
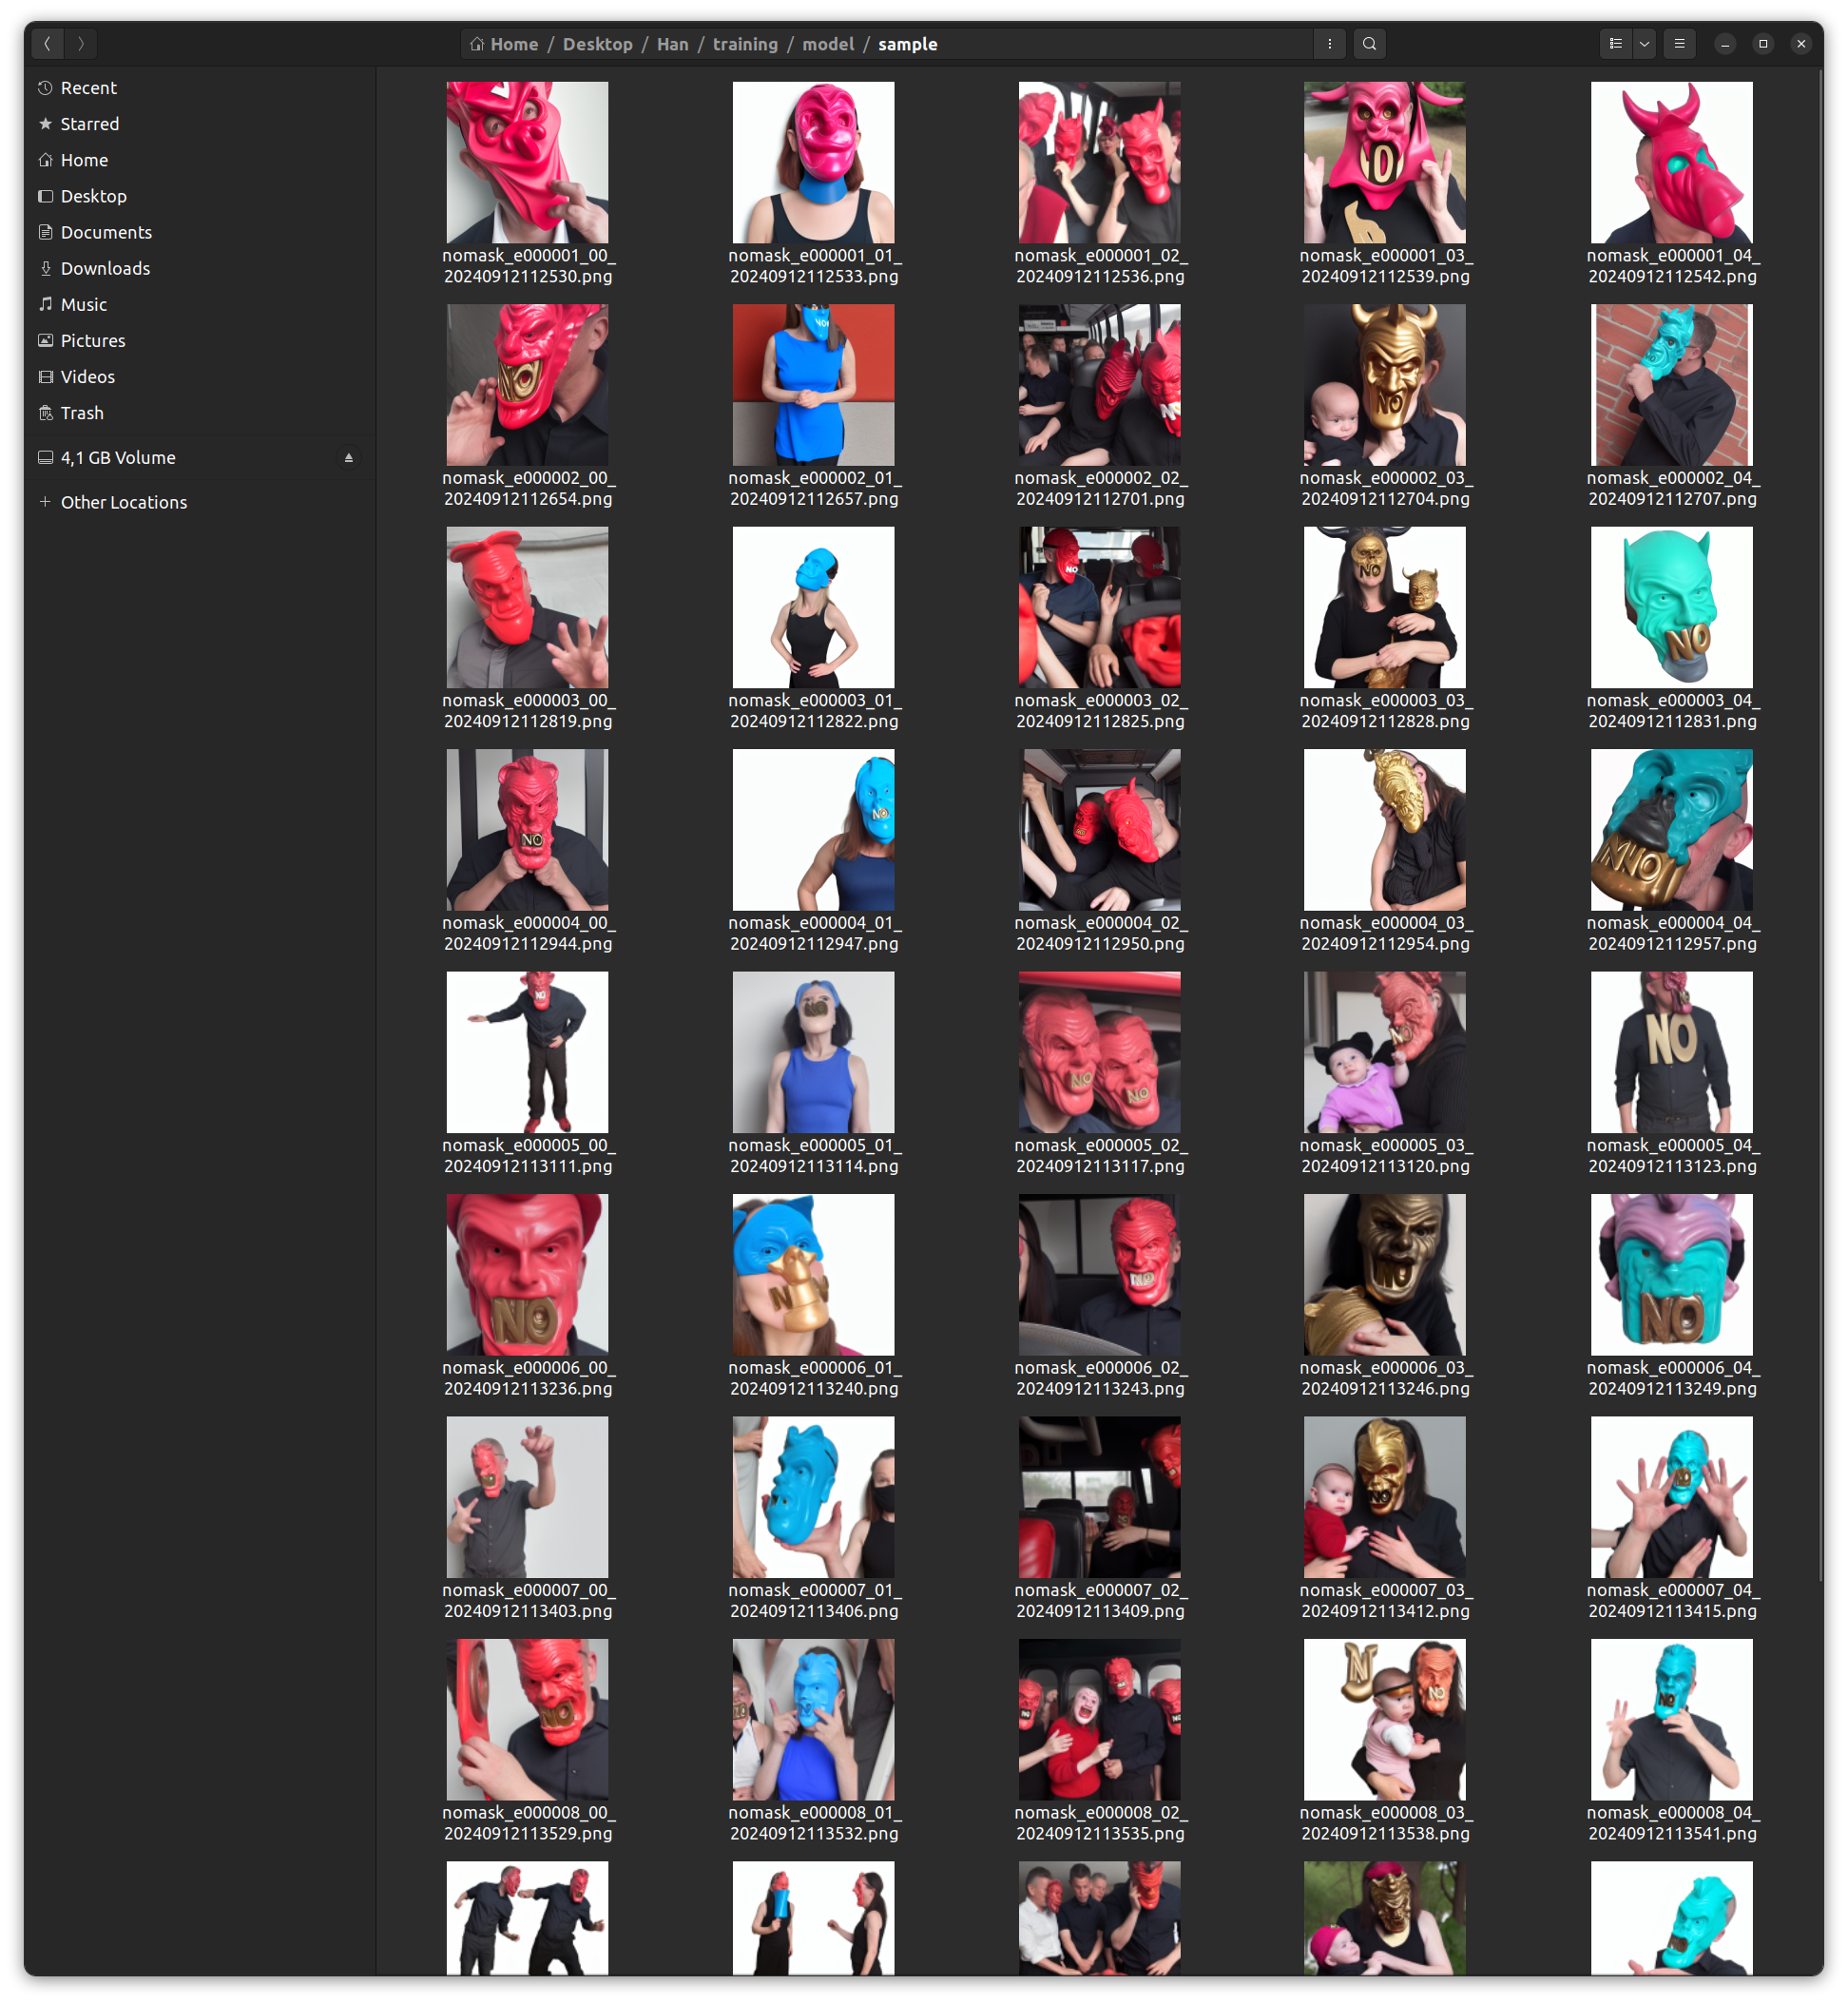
Hit the training button, and wait for the first samples to appear. (A sample folder will be created in the model folder)
Using your LoRA in Stable Diffusion WebUI
Step 6: Copy your LoRA to Stable Diffusion
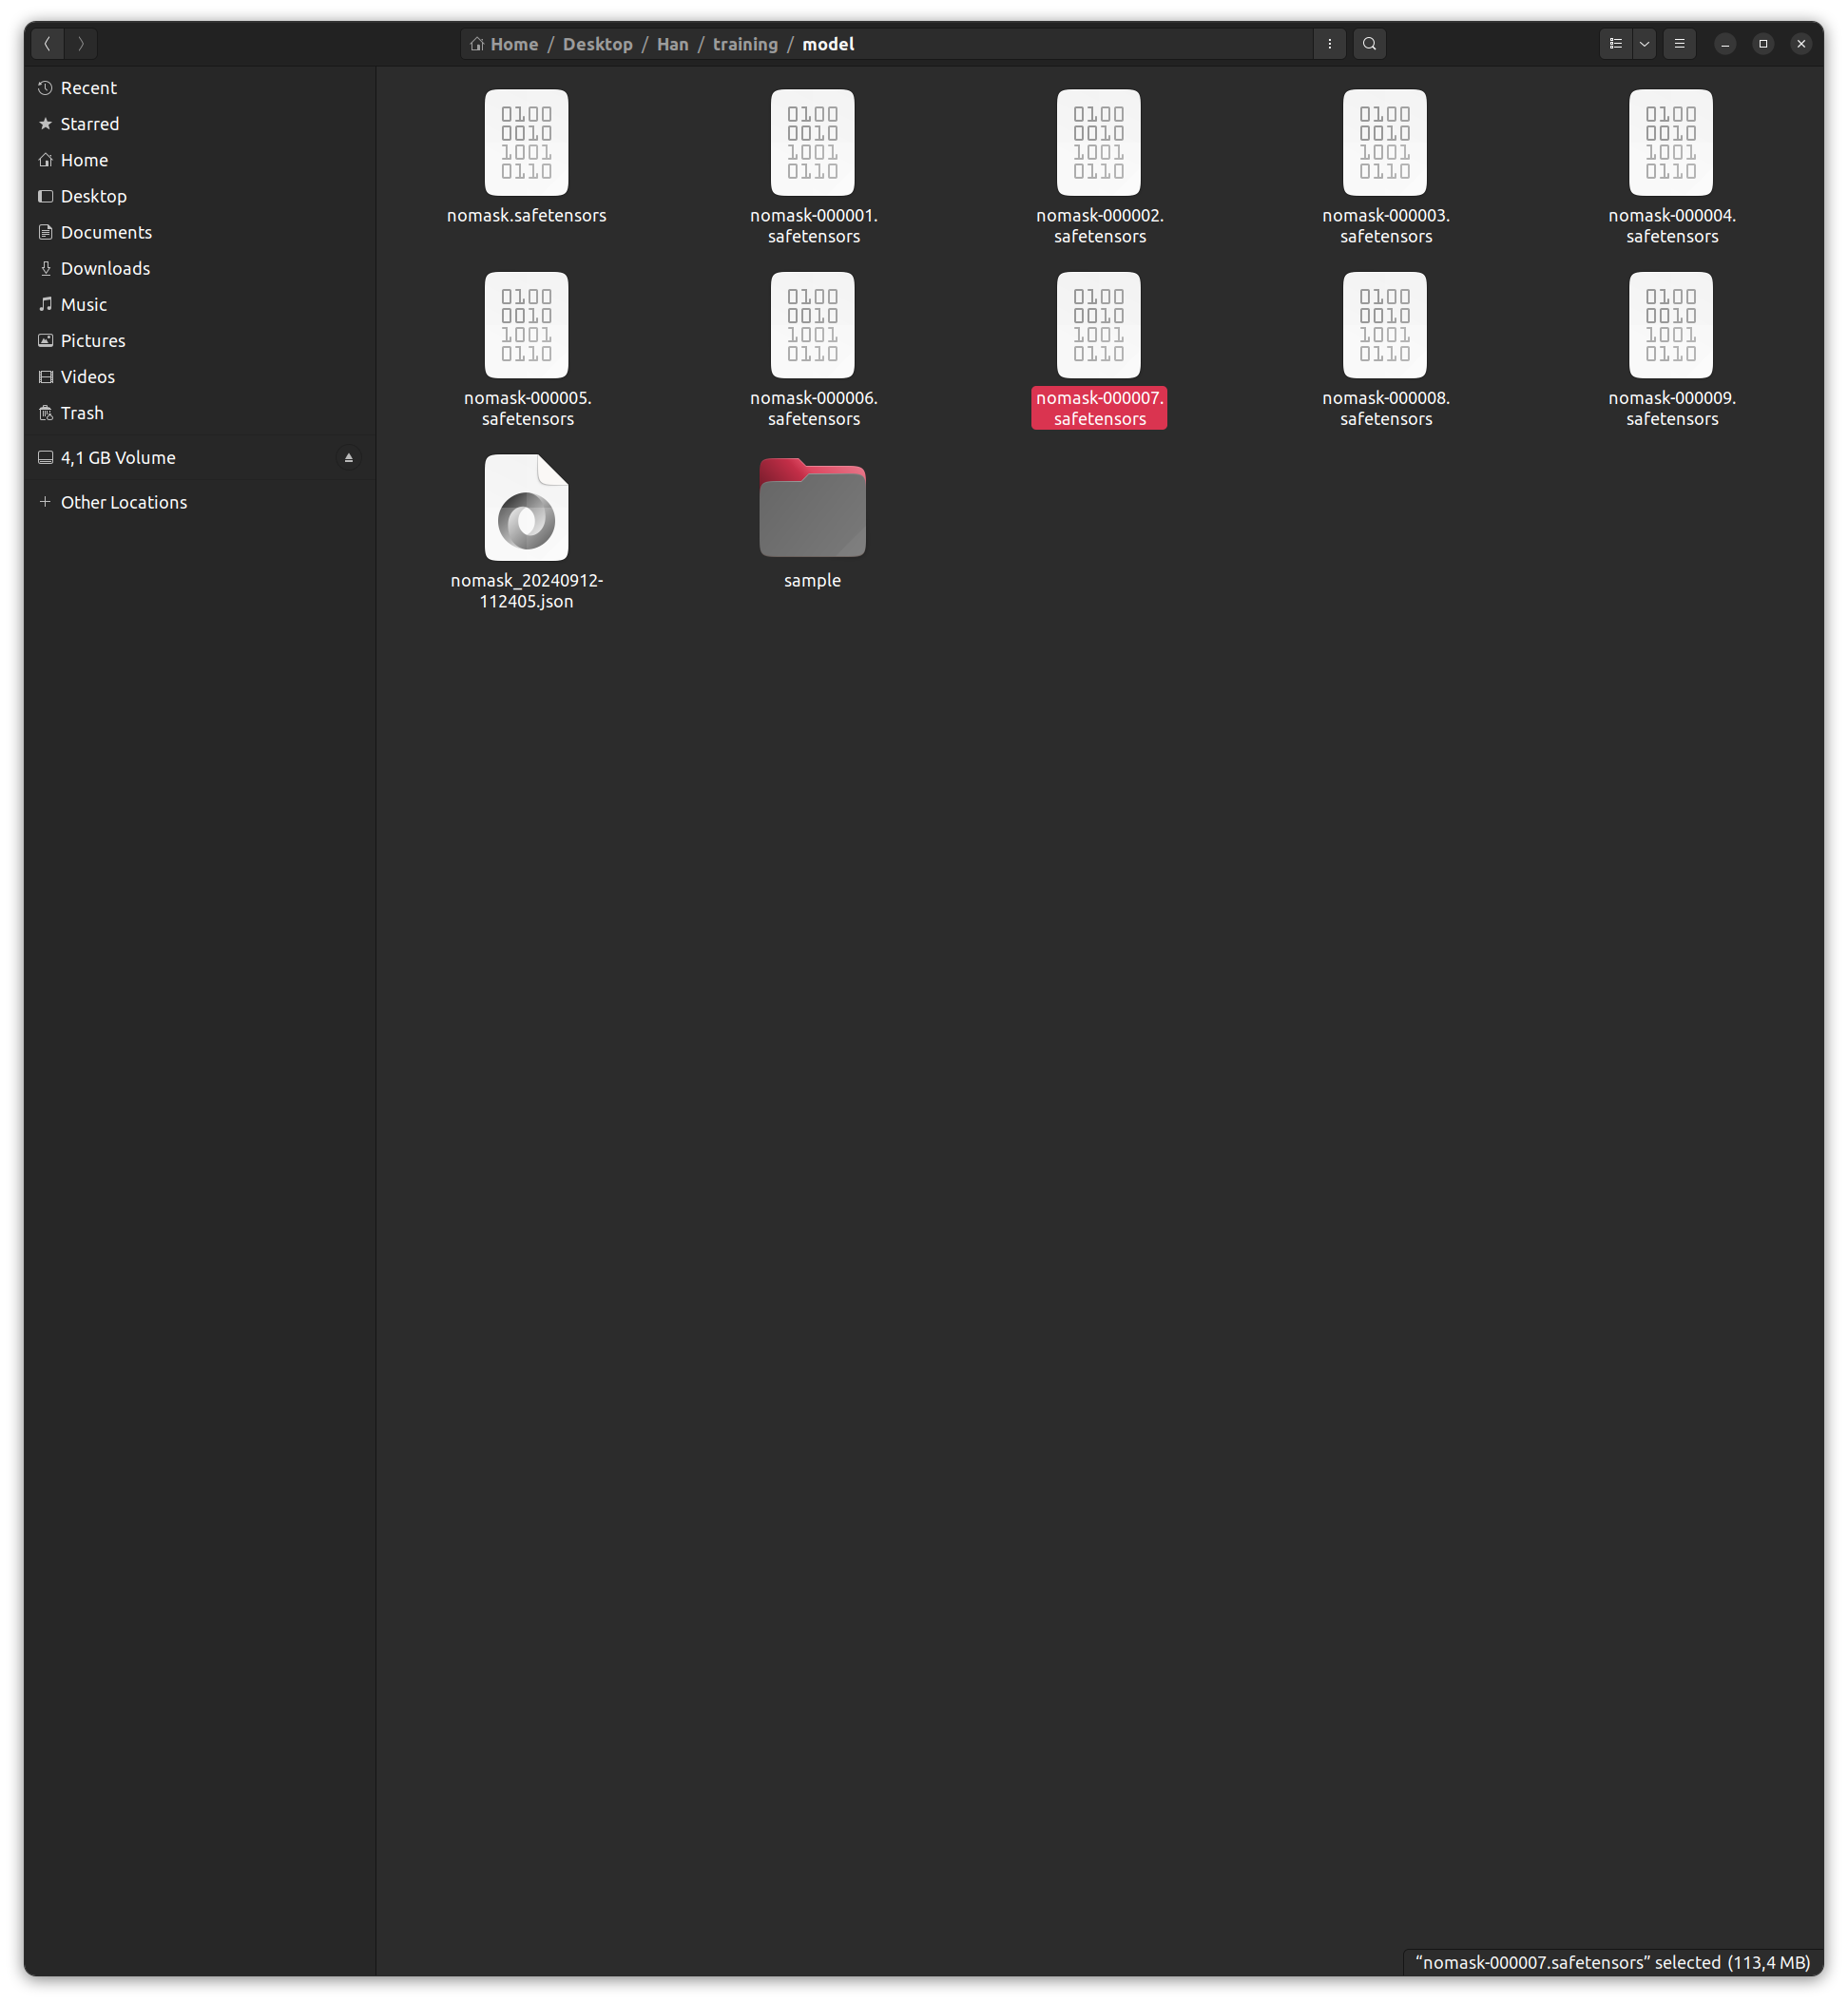
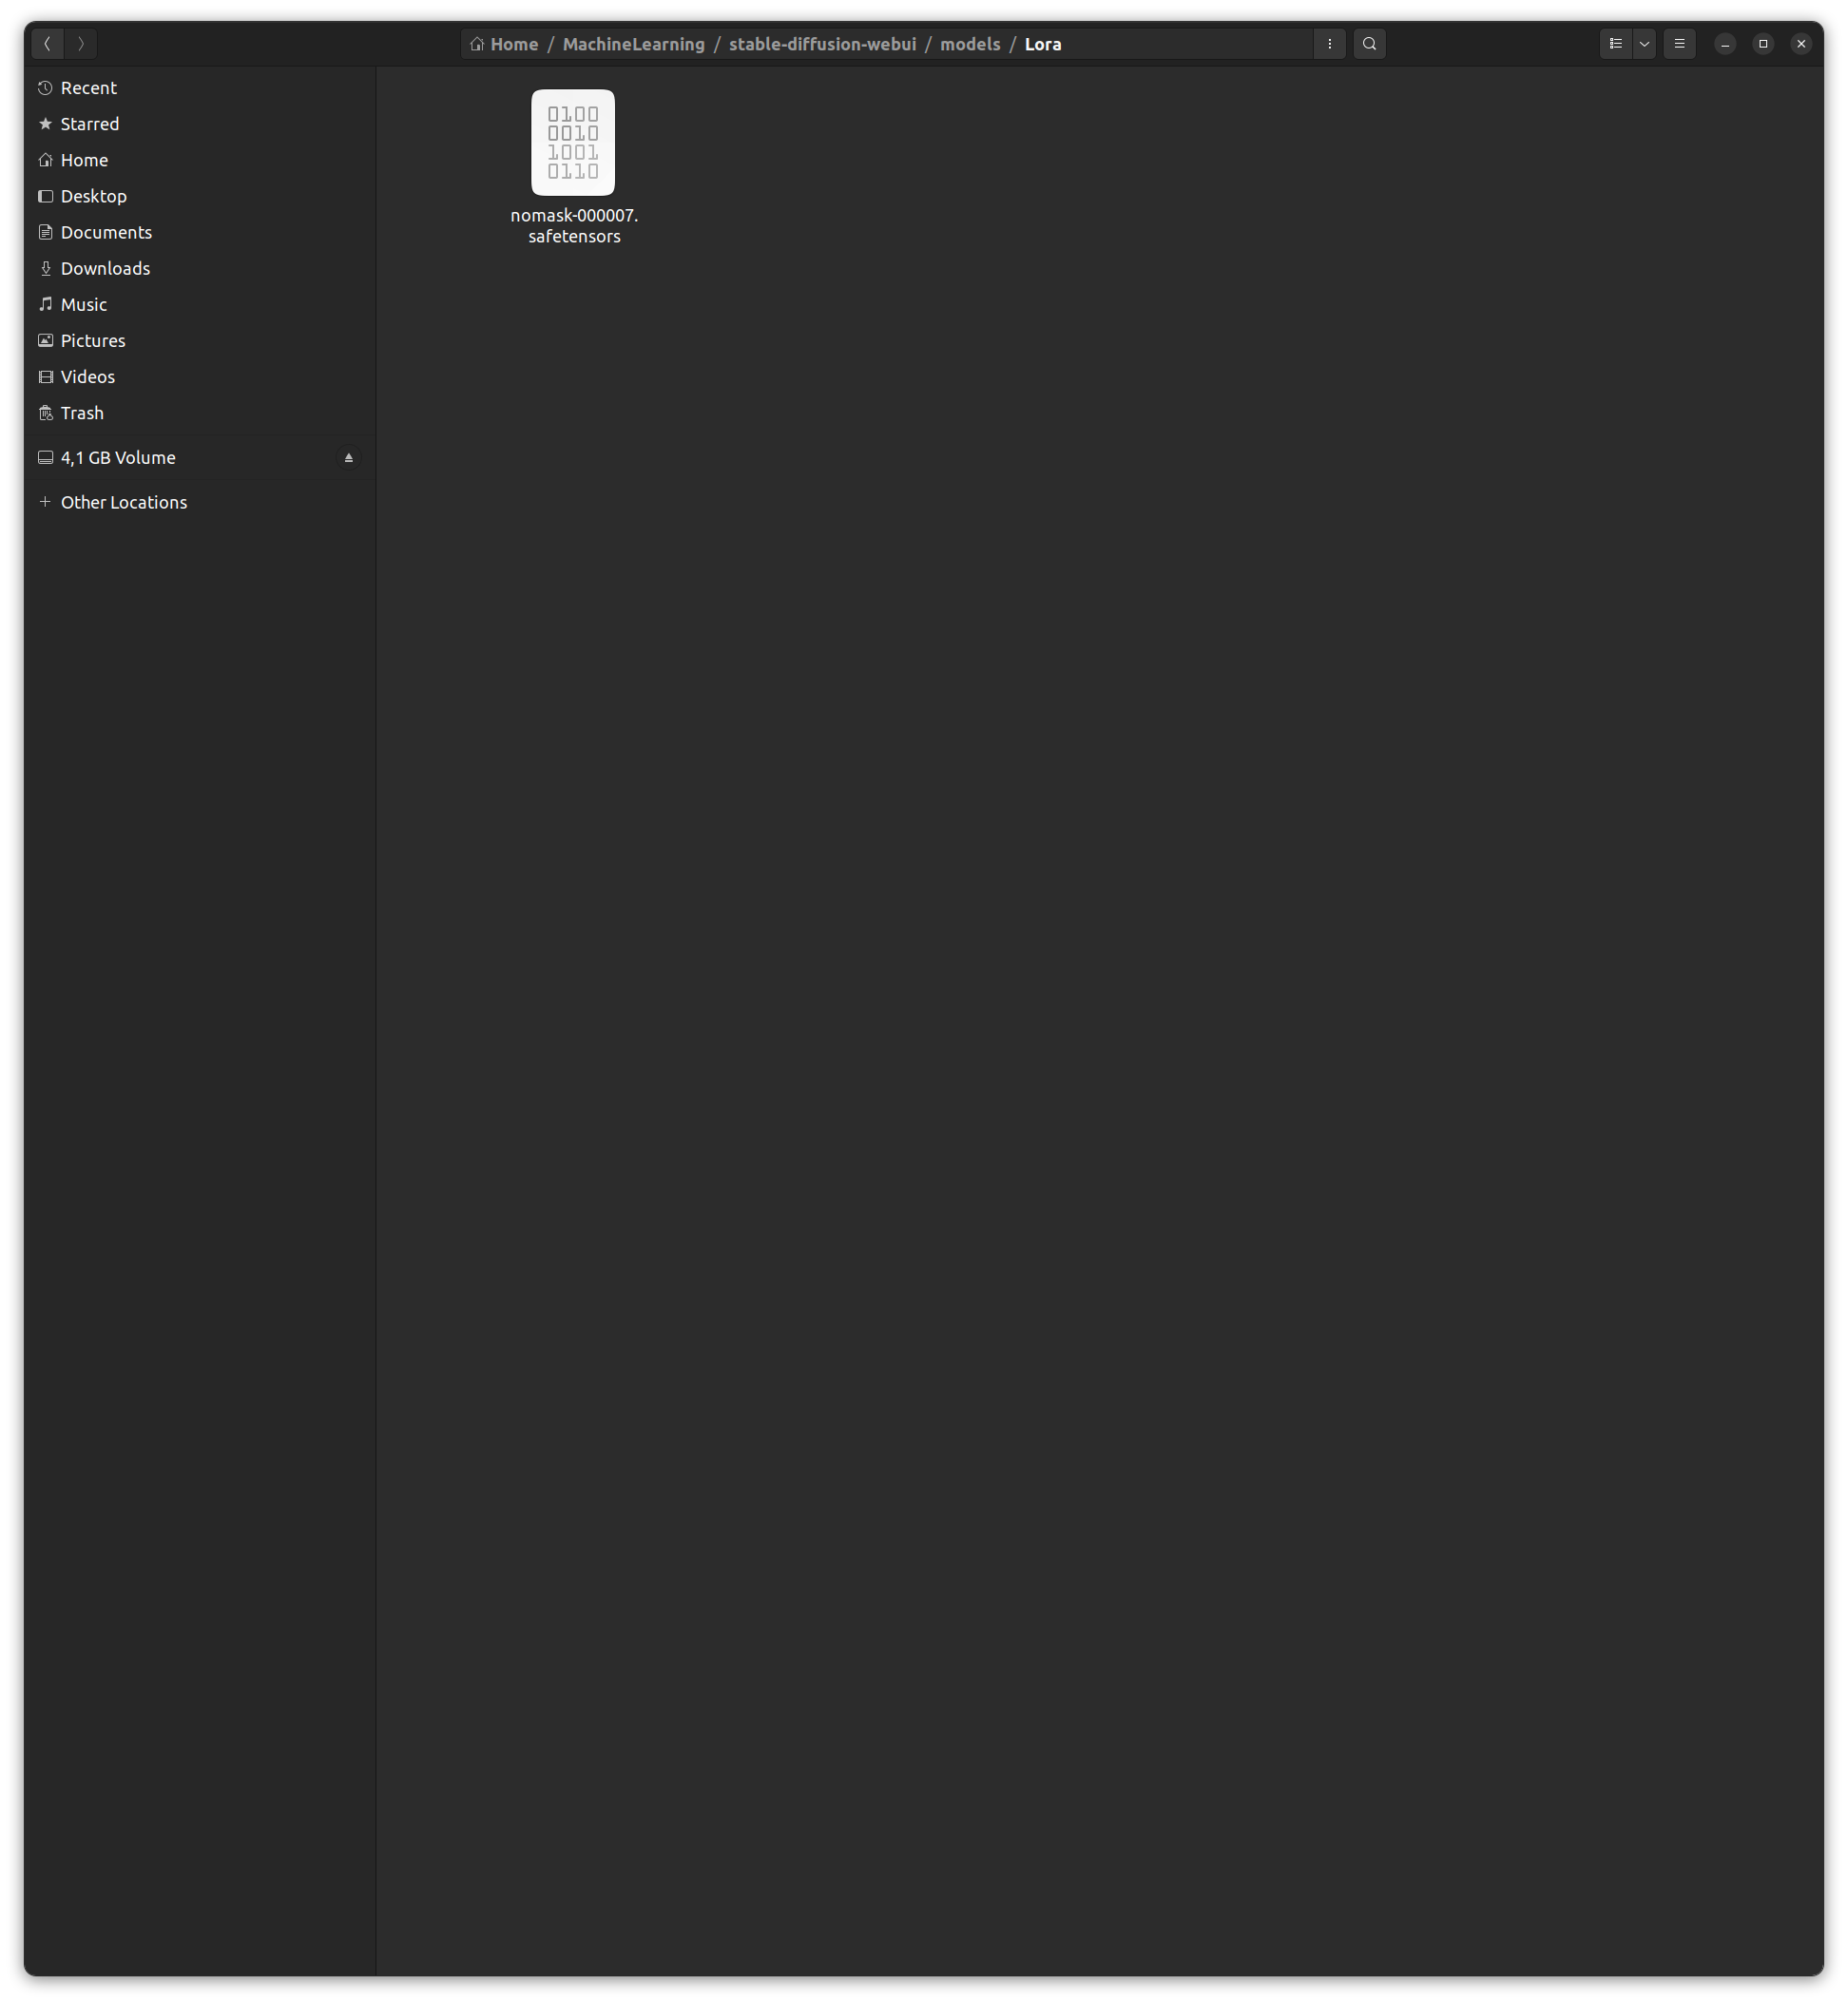
Select the LoRA model in the model folder that looks most promising to you according to the samples, and copy it to the LoRA folder in Stable Diffusion WebUI. That folder is located in /home/interactionstation/MachineLearning/stable-diffusion-webui/model/Lora
Step 7: Test your LoRA
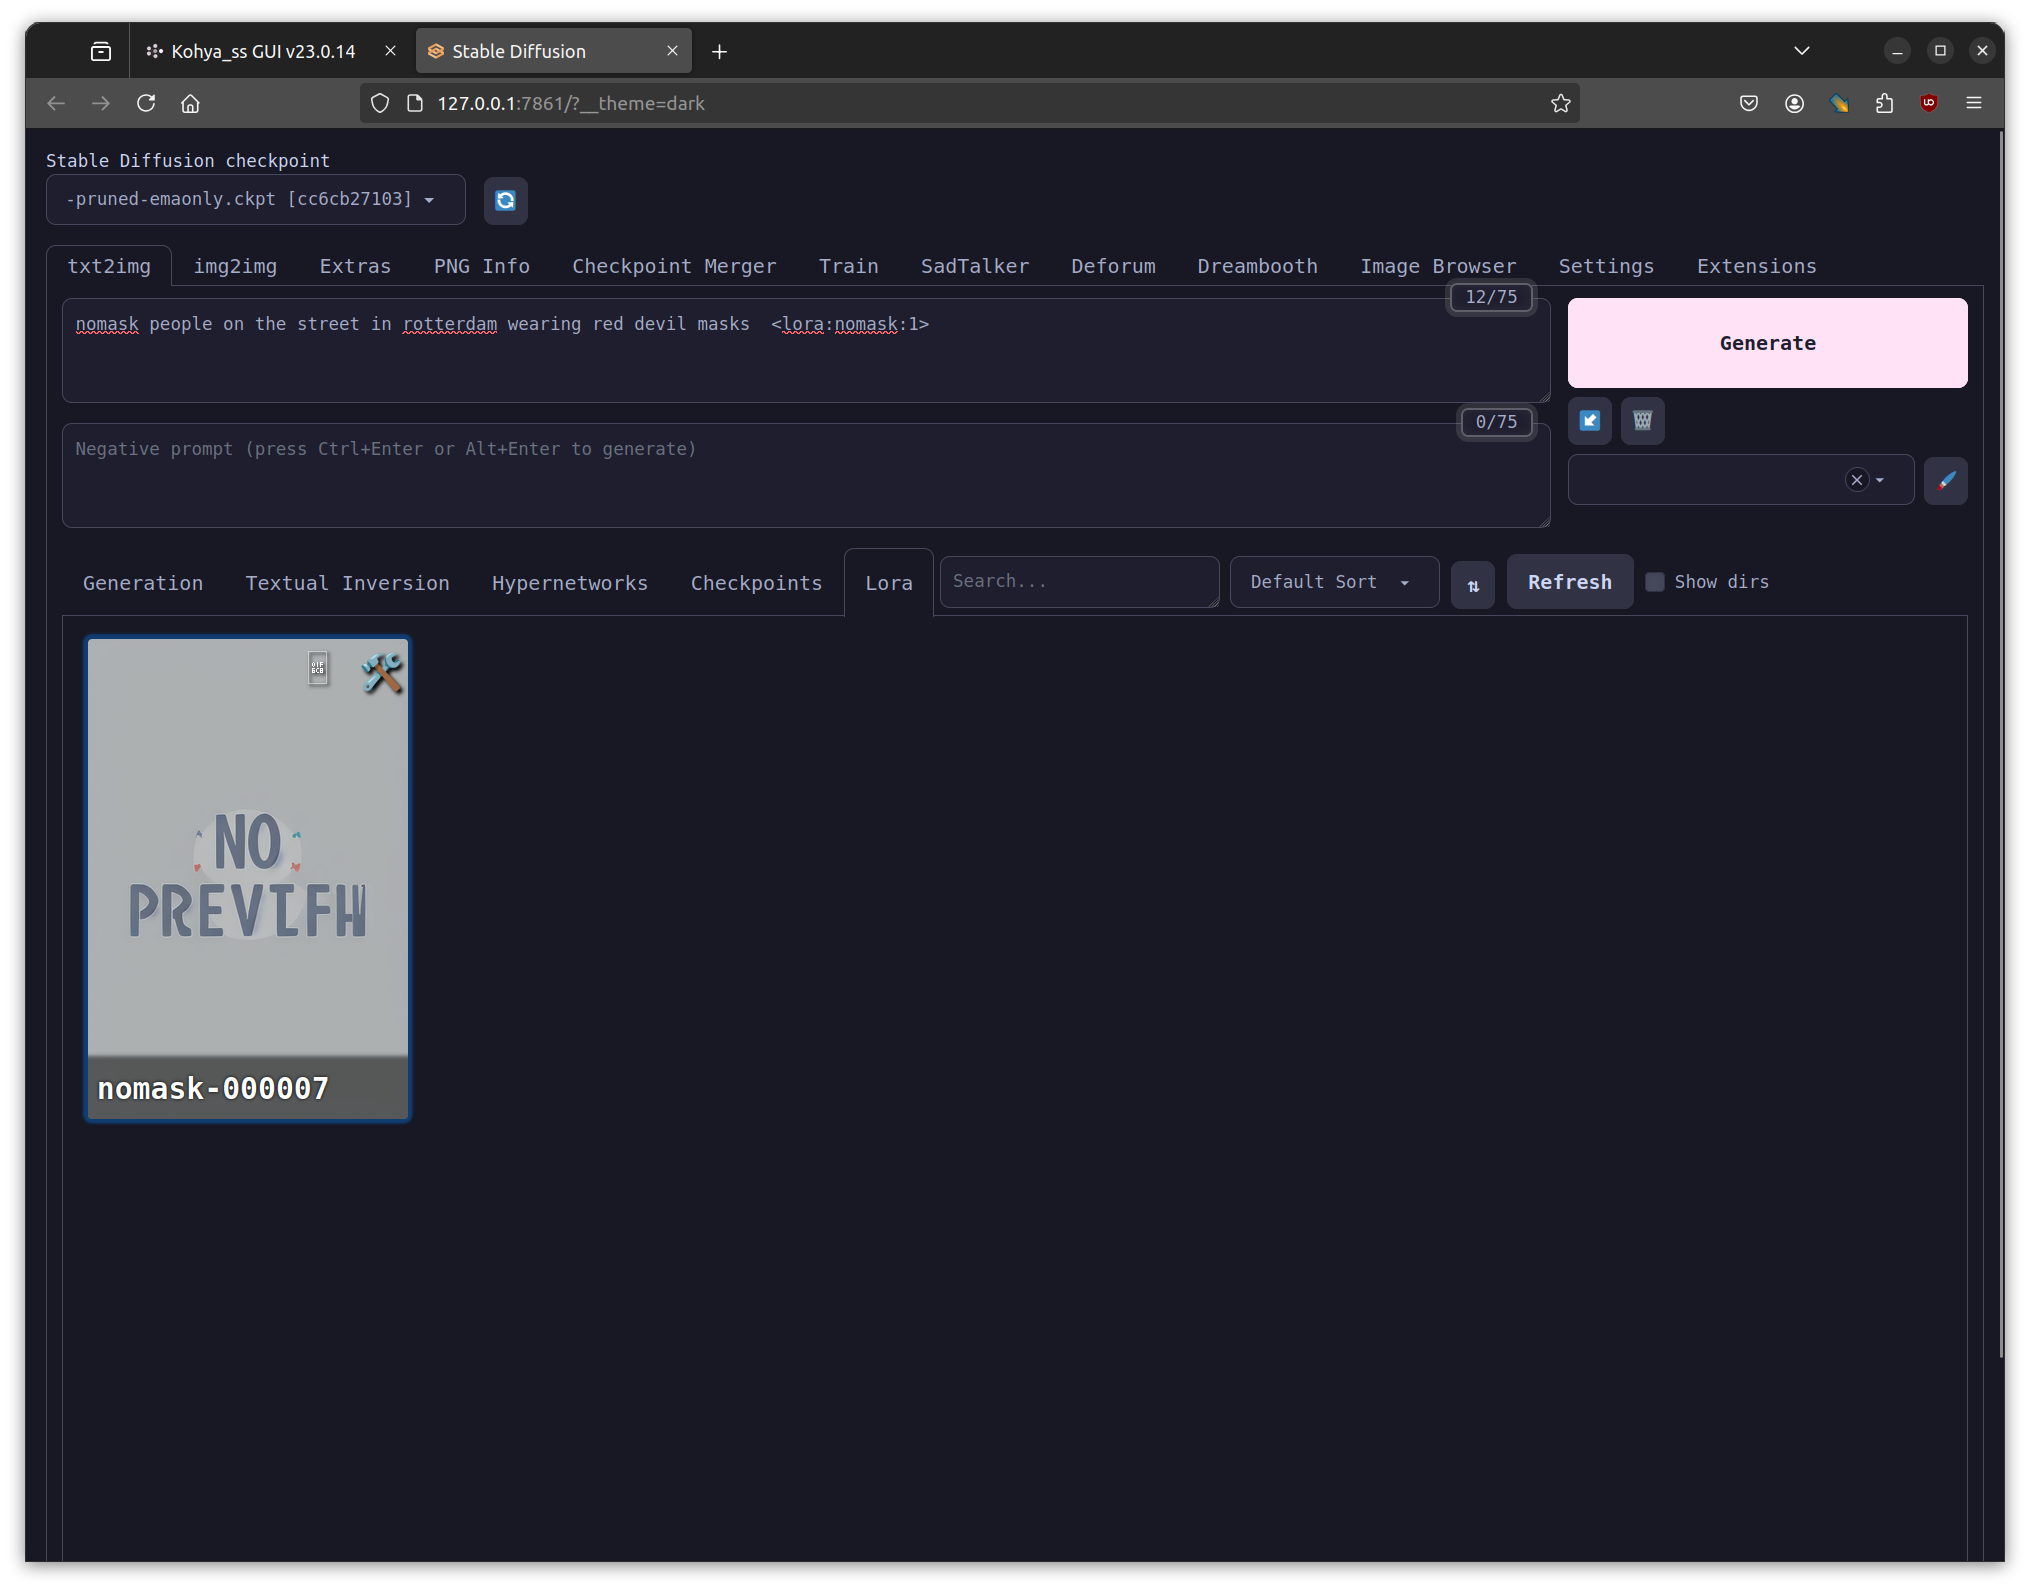
In the WebUI check the LoRA tab, and refresh it to see your model. Clicking on it will add your LoRA to the prompt.
Step 8: Play with your LoRA
You can use your LoRA in combination with different compatible checkpoint models.
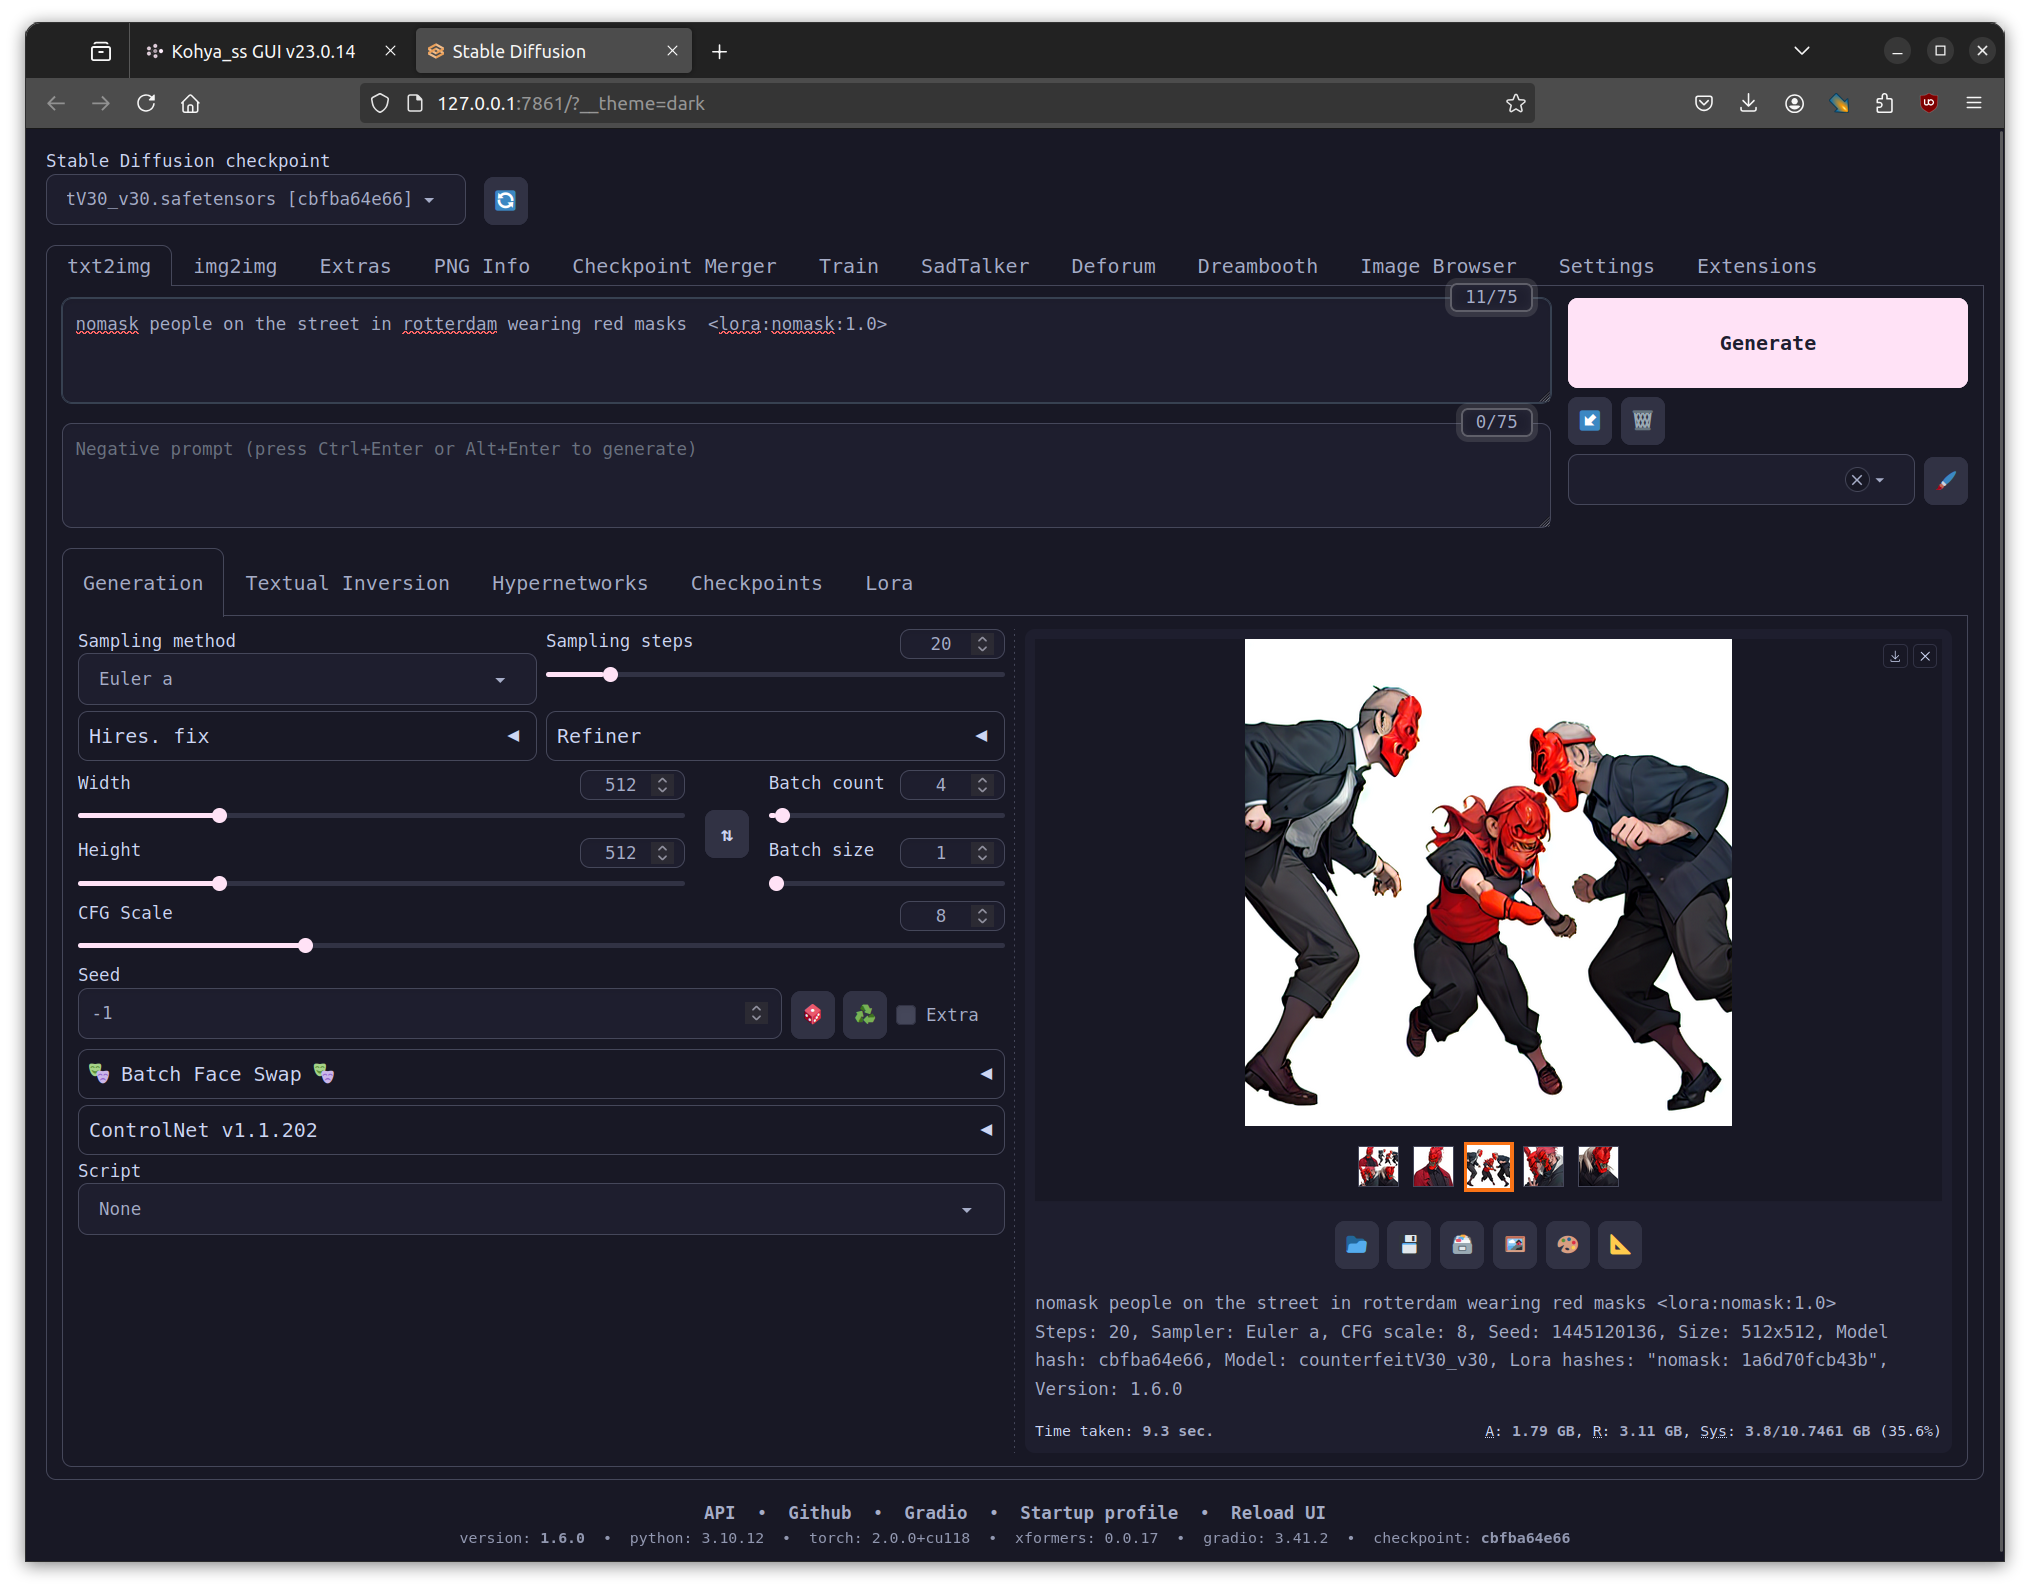
You can also combine multiple LoRA models, and change the weight of the LoRA. Also see what happens when you change the cfg scale.
