Difference between revisions of "Getting Started with Arduino & Lights"
| Line 16: | Line 16: | ||
===Connecting the LED to Arduino=== | ===Connecting the LED to Arduino=== | ||
breadboard | breadboard | ||
| + | [[File:Led_one.jpg|600px]] | ||
| + | |||
===Programming the LED=== | ===Programming the LED=== | ||
blink, delay, fade | blink, delay, fade | ||
Revision as of 10:43, 14 April 2023
Introduction
Are planning to add light to your work?
Do you want the light source in your installation to be controlled by sensor data?
Are you curious about the possibilities of programming lights with Arduino?
During this station skill, you will be introduced to some standard methods of programming lights with Arduino.
Arduino is a microcontroller that makes it easy for us to work with different kinds of hardware like lights, motors and a wide array of sensors. During this station skill, we will use it to work with lights.
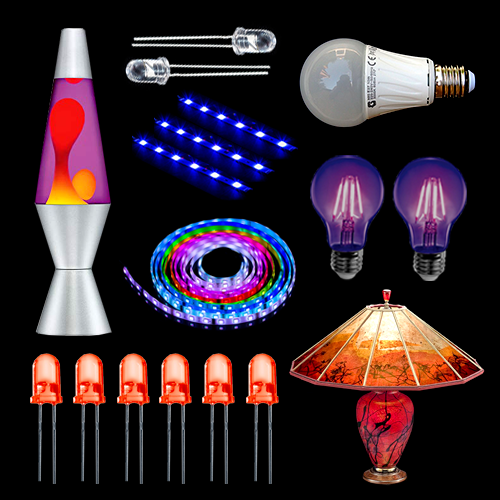
We will do this during three sessions, each one focused on working with different kinds of lights: LEDs, LED strips and light bulbs.
Session 1
Arduino and LEDs
Examples of work
The LED
Arduino: how does it work
board
Connecting the LED to Arduino
Programming the LED
blink, delay, fade
LEDs traffic light
LED Morse code
Resources/More
Arduino reference page more leds : series parallel circuit, calculating resistance
Session 2
Arduino and LED strips
Examples of work
Types of strips
addressable, rgb, one color
Calculate the current
Connecting the LED strip to Arduino
Programming the LED strip
color, intensity, for loop


