Difference between revisions of "Introduction to TouchDesigner"
| Line 151: | Line 151: | ||
--> #Feedback: Now, you take that output image and feed it back into the system as a new input. | --> #Feedback: Now, you take that output image and feed it back into the system as a new input. | ||
--> #Repeat: The system captures this new input (which includes the previous output) and the loop continues. | --> #Repeat: The system captures this new input (which includes the previous output) and the loop continues. | ||
| − | |||
| − | |||
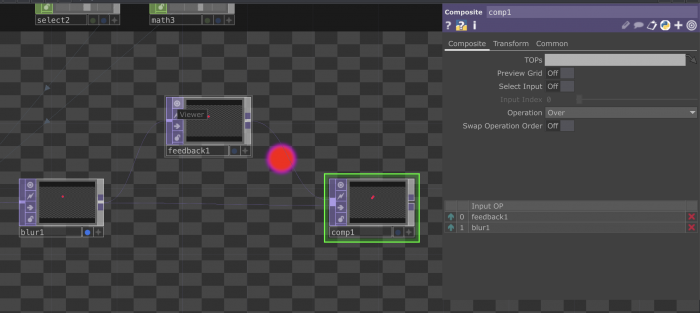
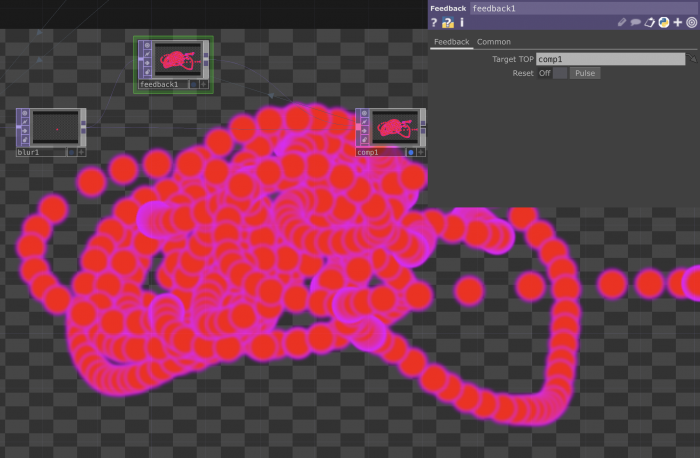
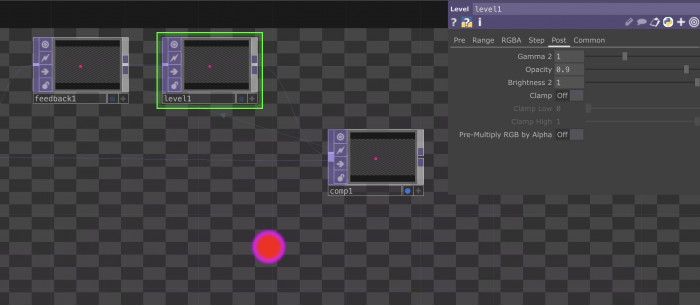
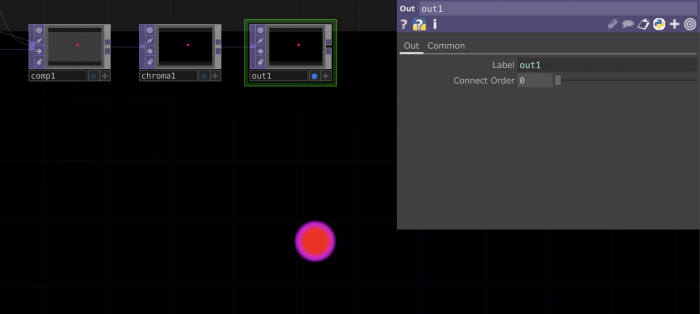
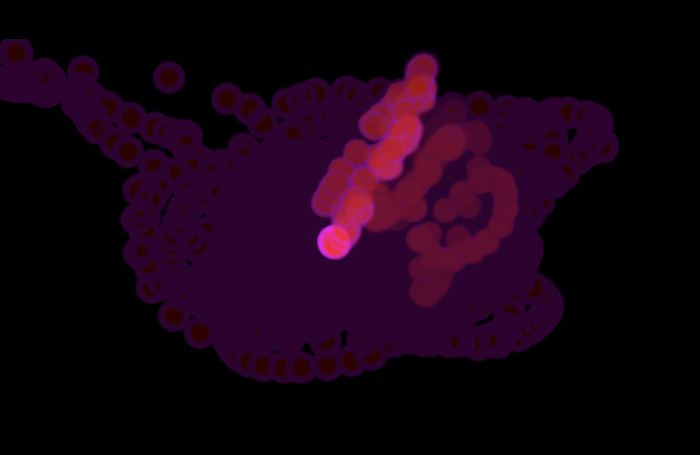
==Making an Interactive brush: Feedback loop in TouchDesigner== | ==Making an Interactive brush: Feedback loop in TouchDesigner== | ||
Latest revision as of 11:03, 5 December 2024
What is TouchDesigner and what you can do it
TouchDesigner is a real-time visual programming software used for creating interactive multimedia and video installations. It is used for a variety of applications, from interactive installations, live events, projection mapping and more. The fact that can run in real time makes it ideal for interactive pieces. As well you can use it to create generative graphics, 2D and 3D animations, soundscapes and so on.
TouchDesigner is a flexible tool that makes it easy to bridge connections between different systems. It supports many devices and protocols.
This ability to communicate between different kind of software and hardware is what we call interoperability and it is one of the main reasons makers and professionals use this tool.
Examples
TouchDesigner is used for a variety of applications including: generative art, projection mapping, audio-visual performances, interactive installations, VJing and motion graphics. Some examples of work that you can do with Arduino:
+ TouchDesigner and electronics
+ TouchDesigner and electronics x 2
+ Audio reactive and body tracking, pepepepebrick
+ Nora Gibson, "Choreographies" in TouchDesigner
+ EINDER, Lumus Instruments
+ Collectif Scale
+ CMD: Experiment in Bio Algorithmic Politics, Michael Sedbon
+ Illustration and Projection Mapping, Ash Kumar
+ Motion Graphics Examples
Let's get started: TD's Interface
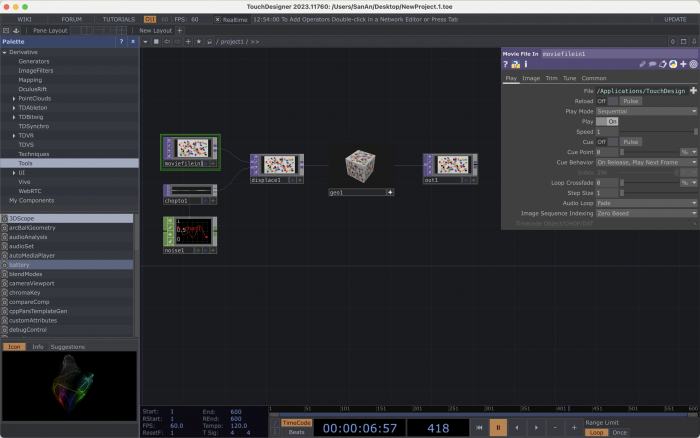
When you open a new TD file you will always see this example showing some capabilities of the software. Let's check what happens here: We have a static image of beans and we have a noise wave. This noise wave is translated into pixel values and applied on the static image to create an animation. The image is then used as a texture for a geometry.
Let's have a look at the main elements of the interface:
Pane : TouchDesigner's work area. If you double click on the pane you will see a menu with the different operators.
Network : a system of operators. The example that we see on the screen is a network.
Operators : the building blocks of your network. You can add a new one by double clicking on the pane.
In TouchDesigner, operators are the building blocks for creating visual effects and interactive projects. They can be used to manipulate images, audio, and video, as well as control other operators and perform calculations. Operators can be connected together in a network, where the output of one operator becomes the input for another.
There are different types:
| _CHOP_ | Channel Operators are used for motion, audio, animation, and control signals. |
| __DAT__ | Data Operators are for ASCII text as plain text, scripts, XML, and tables. |
| __SOP__ | Surface Operators are the native 3D objects of TouchDesigner responsible for 3D points, polygons, and other 3D "primitives" |
| __MAT__ | Material Operators are used for applying materials and shaders to the 3D rendering pipeline. |
| __TOP__ | Texture Operators handle all 2D image operations. |
| _COMP_ | Component Operators represent 3D objects, panel components, and other various operators. These components can house entire networks of other operators. |
When you select an operator you will see a menu with its parameters appearing on the left side of your screen.
Timeline : at the bottom of you workspace. You always see it running as TD is constantly working in real-time. Most of the time you will not need to interfere with it. Especially at the beginning of working with TD it can happen that things do not work as expected: a lot of times you just paused the timeline :)
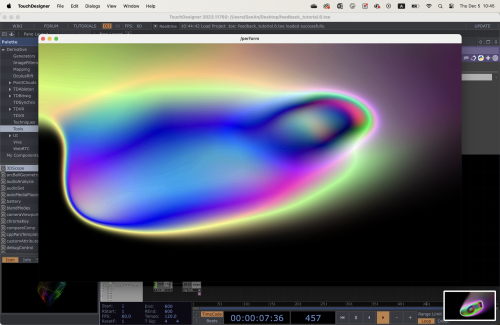
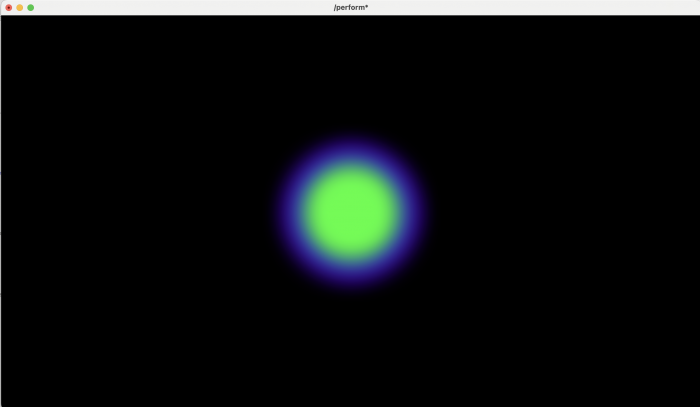
Perform mode : the ^ symbol at the top-left corner. Makes you able to see the content of a out operator in a separate window. This what you are going to project/see on a screen when you finalized your project. To get out of Perform mode press esc on your keyboard. If you close you will close the full project. Be careful.
Palette menu : on the left your screen. Contains special components.
Components : an Operator Family that contains its own Network.
Knowing where you are in the project
As many programming systems TD works with nesting functions which means that you can have several networks happening inside each "block".
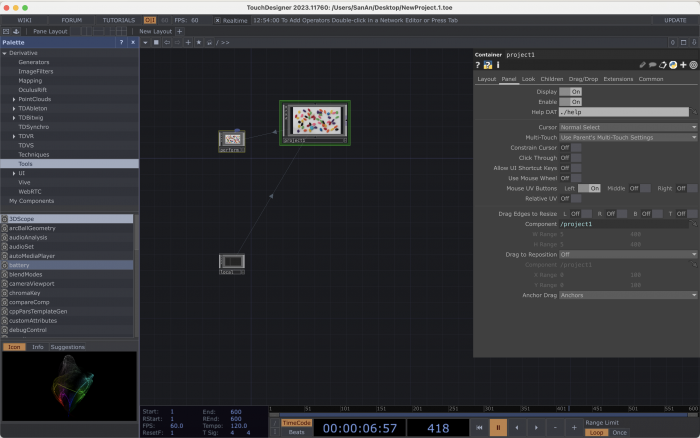
If you check the location bar at the top of the pane you should see the path to your project:
🏠︎/project1/>>
If you start zooming out you will get out of the project1 view and end up the home space.
🏠︎/>>
It looks like this:
If this happens, do not build your network here but go back inside your project and work there. Zoom inside the project1 block to get back to the previous view.
Working with TOPS
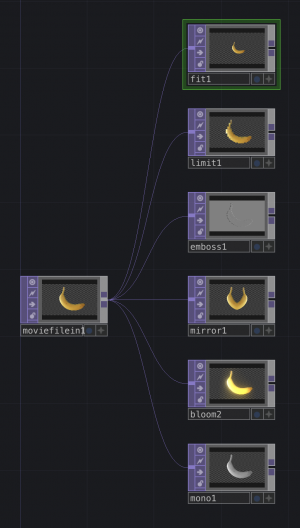
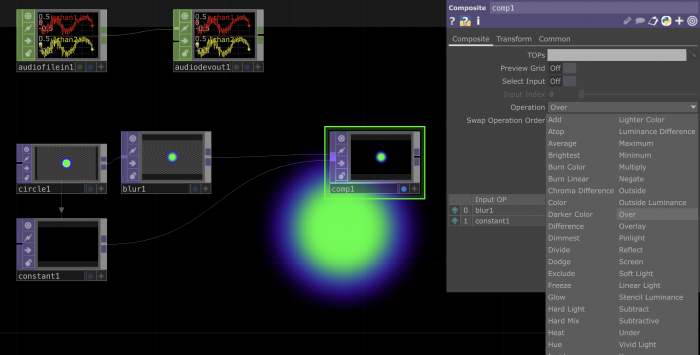
TOPs are texture operators. They handle all sorts of effects and manipulations happening on 2D images.
You can link them to each other to keep adding effects.
Connect an out to the image you want to see on perform mode. Click the ^ symbol at the top-left corner to open the perform window. Press esc to close it.
The Noise TOP
--> Check the wiki for in-depth explanation of the parameters: https://docs.derivative.ca/Noise_TOP
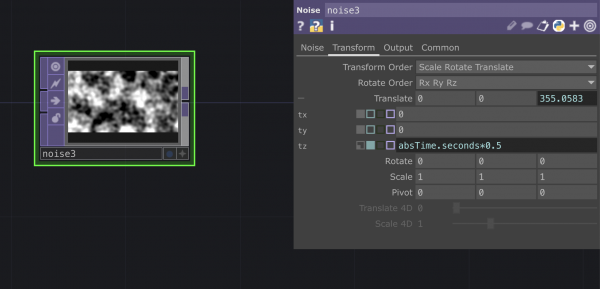
Use the python code absTime.seconds*0.5
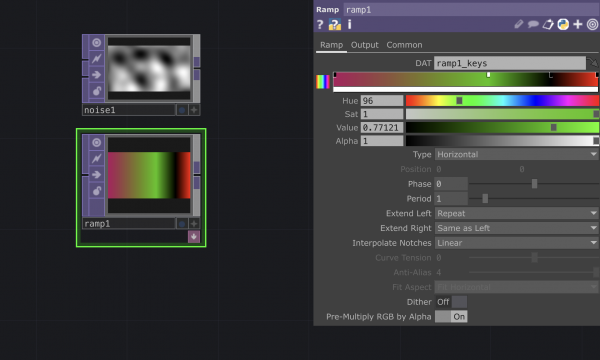
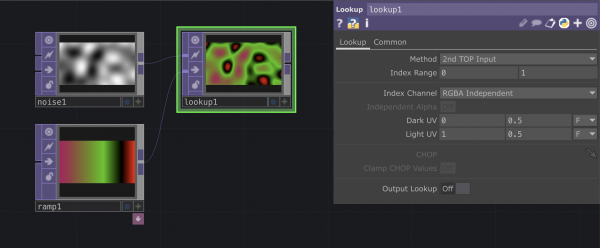
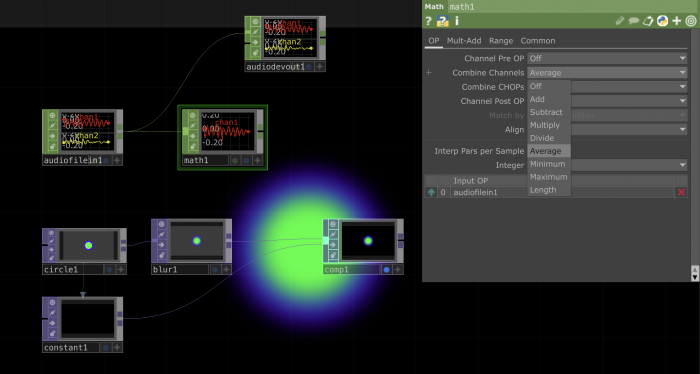
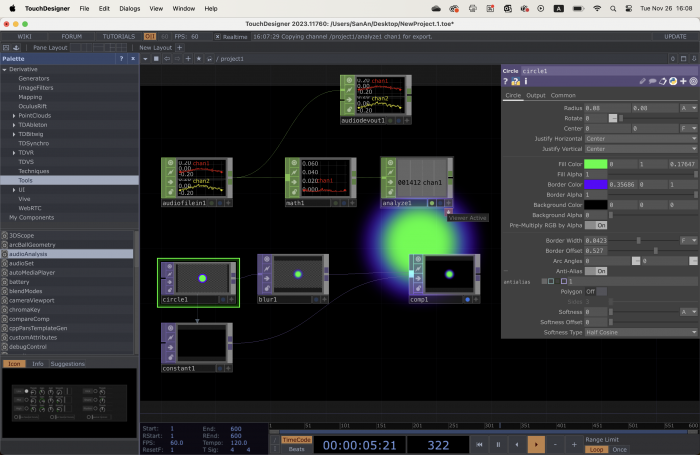
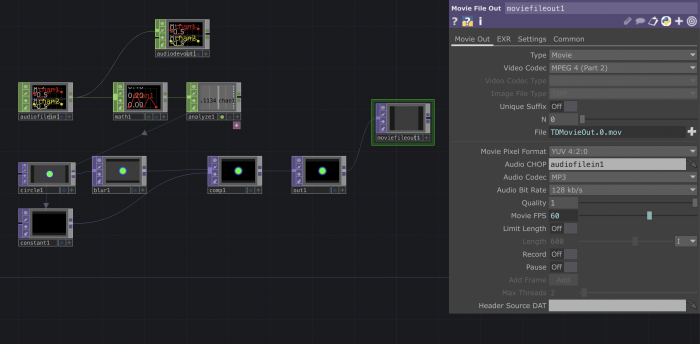
Connecting TOPs and CHOPs: Making an image react to sound
Exporting images & MP4s
- Connect a
movie file out - Select the video/image format
- Turn the record button on to start recording. You will see the file being created when you stop the recording
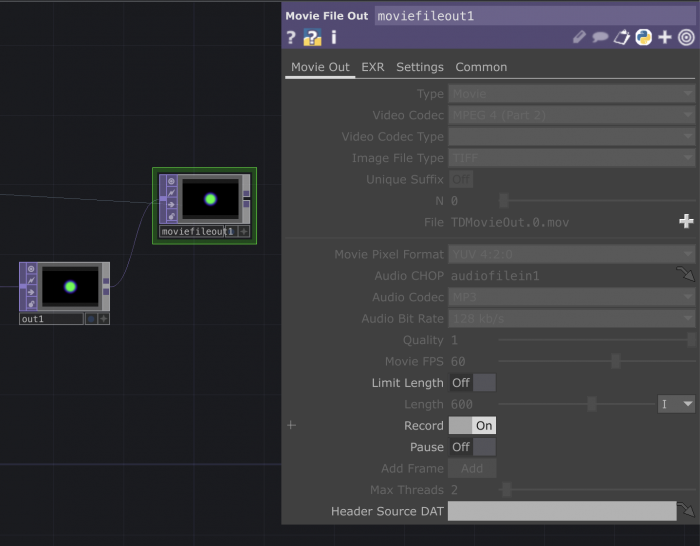
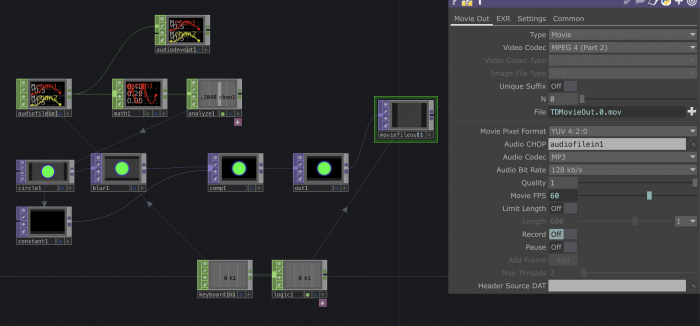
Because we are working with an audio track with a beginning and an end we want to make sure to start recording when the track starts.
- Add a
keyboard in - Export its value to the cue
pulseonaudio file inmenu to restart the sound everytime you hit the key - Connect the
keyboard inwith alogicand select the optionChannel pre op: Toggle - Export this last value on the
recordbutton on themovie file out
The Feedback l∞p
What is a feedback loop?
+ A feedback loop is a process where the output of a system is used as input to refine and improve the system itself.
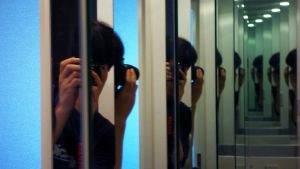
A very well know example of this is the camera in front of another camera or a mirror in front of another mirror.
Here's a simple breakdown:
1. First Camera Captures: The first camera captures the scene, which includes the second camera.
2. Second Camera Captures: The second camera captures the output of the first camera.
3. Display Loop: The output from the second camera is fed back into the first camera’s view, creating a continuous loop.
4. Infinite Loop Effect: This setup results in an image within an image within an image, and so on, creating a tunnel-like or infinite loop effect.
How does it work?
--> #Image: You have an initial image.
--> #Process: This image is then processed. Maybe you apply some effects or transformations.
--> #Output: The processed image is displayed.
--> #Feedback: Now, you take that output image and feed it back into the system as a new input.
--> #Repeat: The system captures this new input (which includes the previous output) and the loop continues.
