How to Solder
A soldering iron is a hand tool that heats up in order to melt solder around electrical connections.
At the interaction station we have 5 soldering stations.
Material needed
Accordingly to what you are going to solder you will need:
- Soldering iron
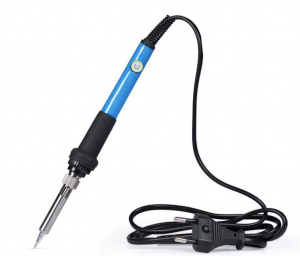
They come with different tips. The fine one is used for precise jobs while the flat one makes the jobs faster.
- Solder
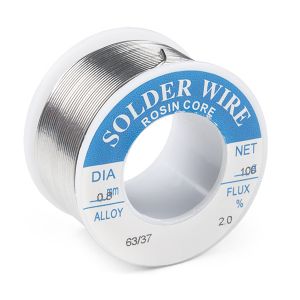
Solder is a metal alloy material that is melted to create a permanent bond between electrical parts. It comes in bobbins and it can have different diameters.
- Sponge
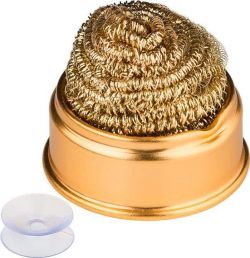
Using a sponge will help to keep the soldering iron tip clean by removing the oxidation that forms. Clean the tip frequently while using the soldering iron.
- Helping hand
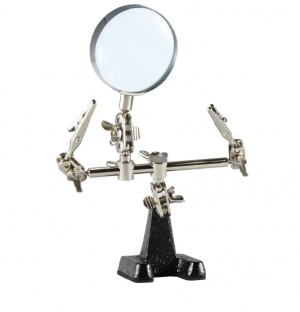
A helping hand is a device that has 2 or more alligator clips and sometimes a magnifying glass/light attached. This clips will assist you by holding the items you are trying to solder while you use the soldering iron and solder.
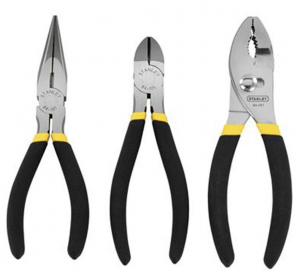
- Plyers and similar
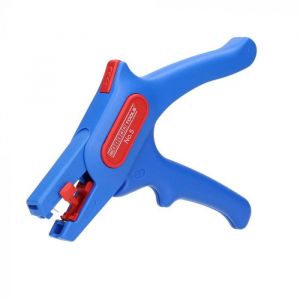
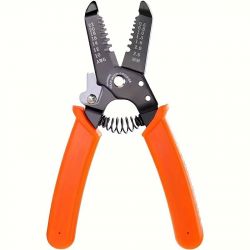
- Wire stripper tool
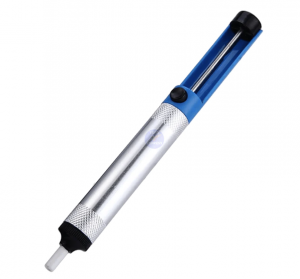
- Solder remover
!!!Warning!!! Some important tips before you start:
- Air circulation
Soldering produces fumes so proper air circulation is important. On the prototyping island (aka the table) there are wooden holes you can open to suck the soldering fumes.
- Hot iron
The soldering iron is really hot so use it carefully to avoid burnings.
- Turn off the soldering iron if not in use
Prolonged heating can damage and oxidate tip. As well, if you leave the iron on when not in use you run the risk of accidentally burning yourself or others.
Soldering instructions
- Prepare your work space!
Make sure you have all you need around you to solder your components.
- Turn on the soldering iron.
Turn the know on the soldering station machine and select the temperature. For common soldering you shouldn't exceed the temperature of 300°. Higher temperature can oxidate the iron.
Solder wires
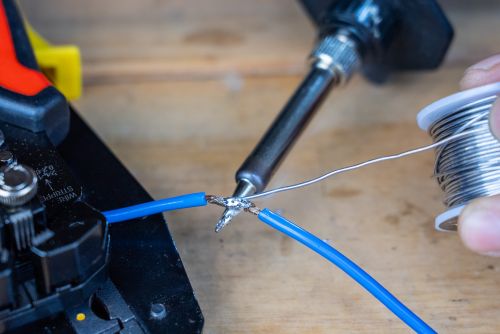
To solder two wires together you first have to remove the plastic insulation layer that is wrapping the cable. You can use a wire stripper tool for this.
2. Twist the wires together
Twist the wire ends together. You can use a helping hand tool to keep those in place before soldering them.
3. Heat the joint
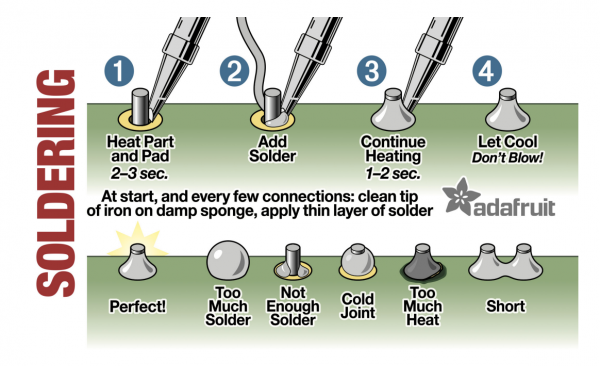
Place the soldering iron tip against the twisted wire joint. Heat both wires until they are hot enough to melt solder. 4. Apply and distribute the solder
The solder should melt and flow evenly around the wires, creating a solid connection.
5. Let it cool
Once you distributed the solder evenly remove the iron and tin. The joint will cool down in a few seconds.
6. Make sure your joint is strong enough
Pull the wire on both sides to make sure your joint is solid.
7. Use heat shrink tube to secure and isolate the joint
Insert a piece of heat shrink tube, place it on the joint and use a heat source to make the tube shrink around it. You can use a heat gun, a lighter or move it close to the soldering iron. Make sure you insert the tube before soldering if you will not have any end open after it.
