Raspberry Pi Streaming Media Server
Jump to navigation
Jump to search
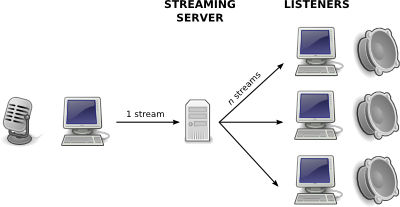
- Diagram:
- We will start from the image "buster_wdka_eduroam.img", based on Raspbian Buster (2020-08-20-raspios-buster-armhf-full.zip). Tested on a Raspberry Pi 4.
Eduroam WiFi connection
- First we are going to setup our user name and password for eduroam.
- Open the terminal and type:
wpa_cli terminate
- Press the key 'Enter'
- Copy the following line and paste it in the terminal:
sudo nano /etc/wpa_supplicant/wpa_supplicant.conf
- Press the key 'Enter'
- This will open up nano (text editor) to allow you to edit the file.
- Use the key arrows to navigate the text file until you reach the line:
identity="studentnumber"
- Replace studentnumber with your student number :)
- Replace the word password in quotes with your WdKA password.
- Press the key CTRL and without releasing it, press the key 'x'.
- Press the key 'Enter' to confirm that you want to save the file
- Reboot the computer by typing:
sudo reboot
- Press the key 'Enter'
Installing Icecast2
Icecast is an open source audio/video streaming media server that can be used to create everything from Internet radio stations to privately running music playlists.
- Open the terminal and type:
sudo apt-get install icecast2
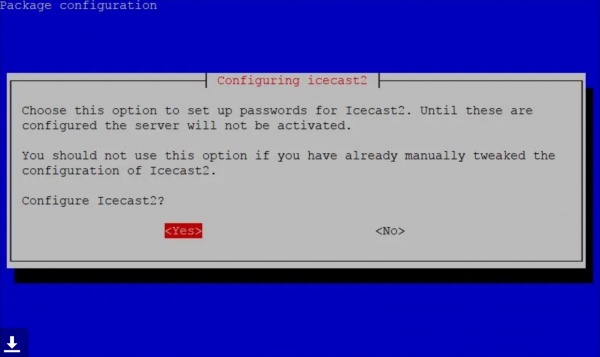
- Select "yes" to configure Icecast2
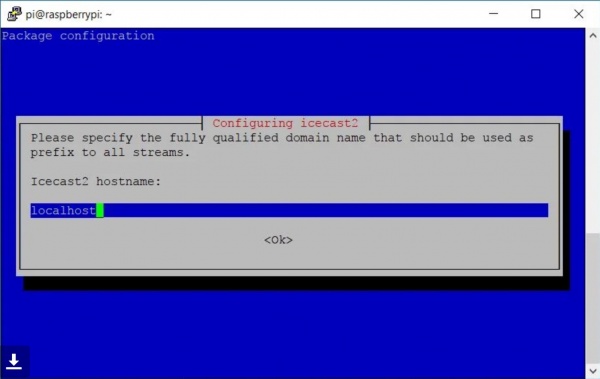
- You will see a screen that says: Icecast2 hostname: locahost. Press the key 'Enter'
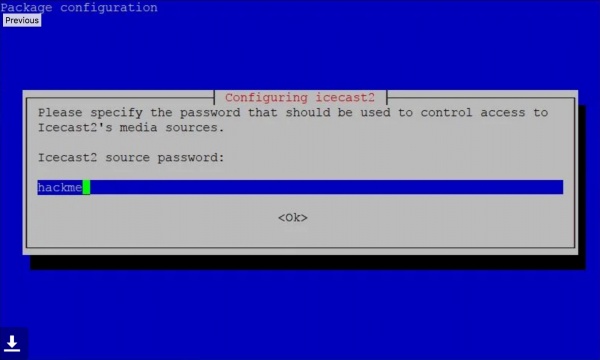
- You will see a screen that says Icecast2 source password.
- Delete the word hackme and type instead:
raspberry
- Press the key 'Enter'
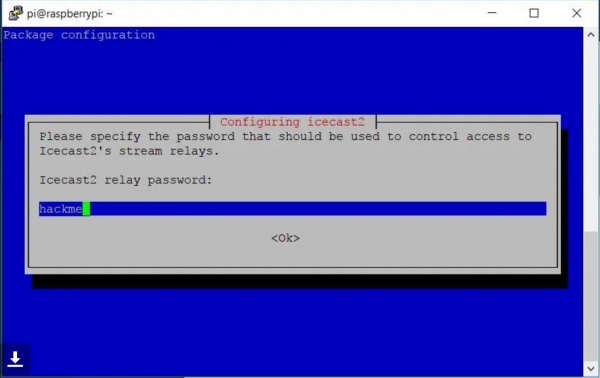
- You will see a screen that says Icecast2 relay password:
- Delete the word hackme and type instead:
raspberry
- Press the key 'Enter'
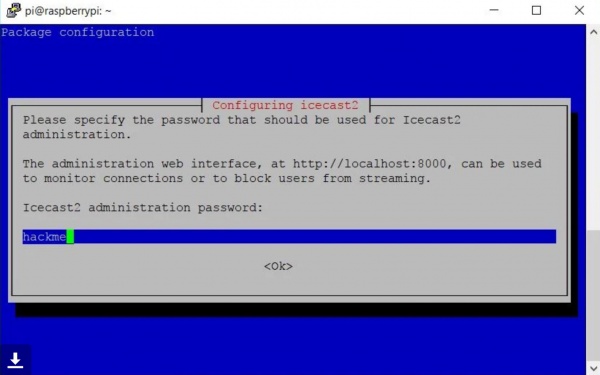
- You will see a screen that says Icecast2 adminitrator password:
- Delete the word hackme and type instead:
raspberry
- Press the key 'Enter'
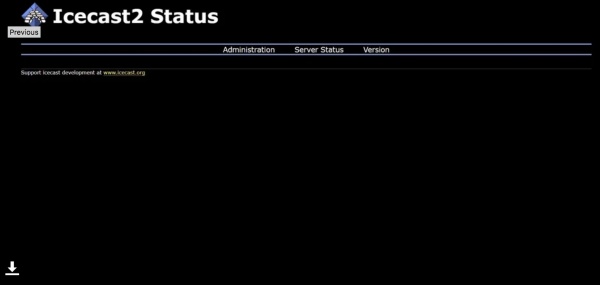
- Open the web browser and type:
localhost:8000
- You should see something like this:
- Exploring ifconfig
- Explore Icecast directory:
- A directory of internet radio stations and other live streams using the Icecast Streaming Server.
