Vlc-sync
vlc-sync is a modern adaptation of OMXPlayer-Sync, using VLC as a replacement for the deprecated OMXPlayer. This implementation facilitates the synchronization of multiple VLC players across a network, following a conductor/follower model. You are also able to use a single conductor or follower for a simple video loop.
In simple terms, this tool makes it possible synchronize videos playing on different computers (usually Raspberry Pi's) using a program called VLC. The conductor computer sends signals to the follower computers, telling them when to start or loop a video so that they all stay perfectly in sync.
This guide exists to replace the outdated Making a video installation with Raspberry Pi tutorial on our wiki.
Getting started
You can use vlc-sync by downloading our ready-to-use Raspberry Pi images from our website. If you want to synchronize videos between two Pi's, make sure to download both the conductor and follower images. For a simple video loop you can download either.
Downloads
Download conductor.img (4.75GB)
Download follower.img (4.36GB)
Looping a video
If you want a simple video loop without synchronization, pick any of the images found at #Downloads and continue with #Flashing the image.
Syncing and looping multiple Pi's
For each screen you wish to display a video on, you will need a Pi with the flashed image in order to loop and synchronize the videos. Every video should be the same and have the same duration in order to sync properly. One Pi in your installation is the conductor and all the other Pi's are the followers. Use the appropriate images found at #Downloads for each Pi. There should always be one conductor and one (or many) followers.
Flashing the image
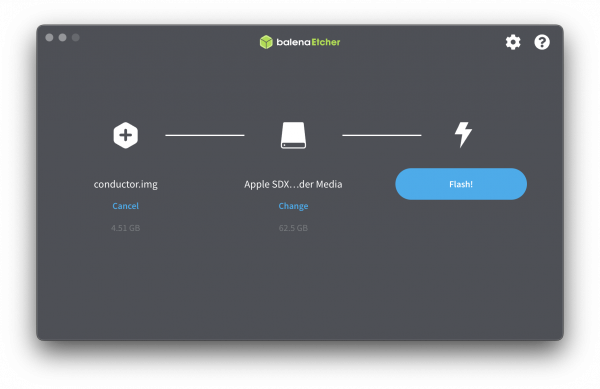
To use the downloaded image, you need to ⚡️ flash ⚡️ it to the micro SD card the Pi will use. The easiest way to do this is with a program called Etcher. Once you've downloaded Etcher, you can insert the micro SD card in your computer and use Etcher to flash the contents of the downloaded image (either conductor.img or follower.img) to the micro SD card.
From left to right: the image you want to flash, the SD card you've plugged in your computer, the button that starts the flashing process.
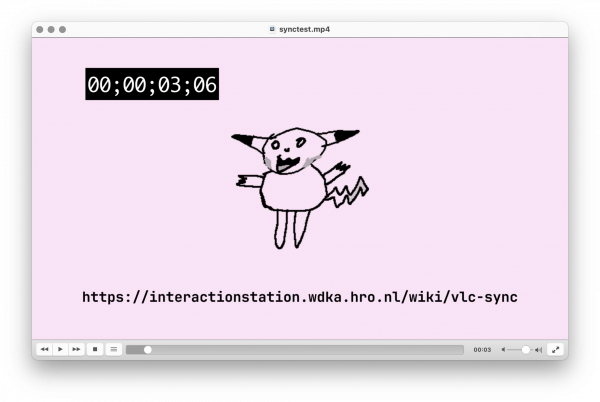
After you've flashed the micro SD card, unplug it from your computer and insert it in the Pi's SD card slot. Connect a screen and power up the Pi using the power cable. After a while you will be greeted by the synctest video, this means everything is working as expected and you can now move on to #Customizing to change the video that plays and various other settings.
Customizing
Both the conductor.img and the follower.img vlc-sync images make it easy to change the settings and the video that should be playing. Insert a thumb drive (USB stick) containing a config.conf and a .mp4 file in the Pi that is running the newly flashed image. A config.conf file must look like the example below but edited to match your intentions. Restart the Pi by unplugging the power cable and plug it back in to load the new configuration and mp4 file.
config.conf
[video]
file_name = synctest.mp4

[audio]
output = hdmi

[options]
verbose = False
conductor = True
destination = 172.24.1.255
Options
Video
file_name should be set to match the filename of the .mp4 file on the thumb drive.
Audio
output can be set to hdmi or analog to use 3.5mm jack as an output device.
Other
verbose can be set to True or False for logging more data to the vlc-sync systemd service. Most users don't need to change this.
conductor can be set to True or False to switch between conductor and follower mode.
destination can be set to a random IP address to avoid conflicts with other installations running on the same network. It is advised to pick a random number between 0 and 200 for the second set of numbers e.g 172.120.1.255. Always end the IP address with 255
FAQ
My video keeps re-syncing
Sometimes your video randomly re-syncs. This usually happens because someone else close to you is probably using the same IP address as your video installation. To fix this, edit you #config.conf file and change the value of destination to another IP address.
How can I stop the video from playing?
Occasionally, you may need to use the terminal to execute commands or troubleshoot issues. However, the video automatically begins to play each time the Pi boots up. In order to stop playing the video on start for the current session, you can run the command stop. On start you should have about 10 seconds to run the command and stop the video from playing.
If you want to disable it for every restart, you can disable the systemd service by running systemctl --user disable vlc-sync.service. To enable it again run systemctl --user enable vlc-sync.service


