DCGAN
Generating images using A "Deep Convolutional Generative Adversarial Network"
In this tutorial we will be using a modified version of Soumith Chintala's torch implementation (https://github.com/soumith/dcgan.torch) of DCGAN - Deep Convolutional Generative Adversarial Network (https://arxiv.org/pdf/1511.06434.pdf) with a focus on generating images.
Getting started
Because training a DCGAN requires a lot of computing power, head over to the interaction station and sit behind the computer with the 'ml machineq' sticker. This computer runs a Ubuntu installation with (almost) every dependencies required to run some machine learning scripts/programs. In this tutorial I will be using blocks to make clear we are pressing some keys or typing some code. Example:
⊞
enter
This would mean you need to press the Windows (⊞) key, follwed by an 'enter'. A code block that begins with a dollar sign means you need to type the command in the terminal window we are using. Example:
python3 test.py
This would mean you need to type 'python3 test.py' in the terminal window and press the key 'Enter'.
DCGAN
Step 1:
Log in to the computer by using the 'interactionstation' account.
username: interactionstation
password: interactionstation
Step 2:
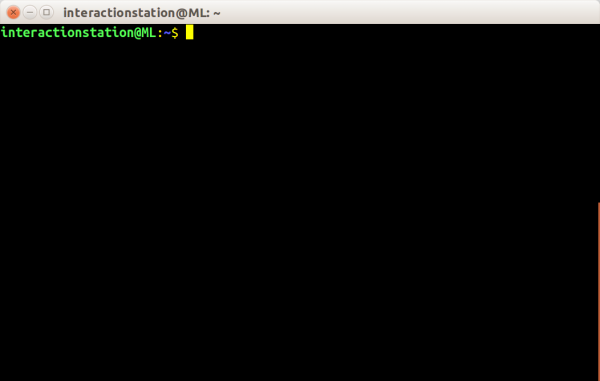
Start a new 'terminal' window by pressing the windows key (⊞) and typing 'term', followed by pressing 'enter'
⊞
term
enter
Step 3:
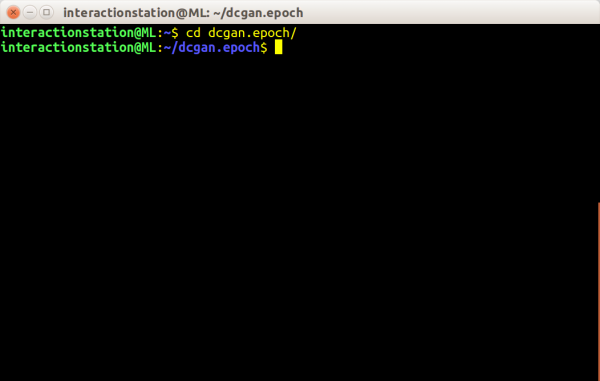
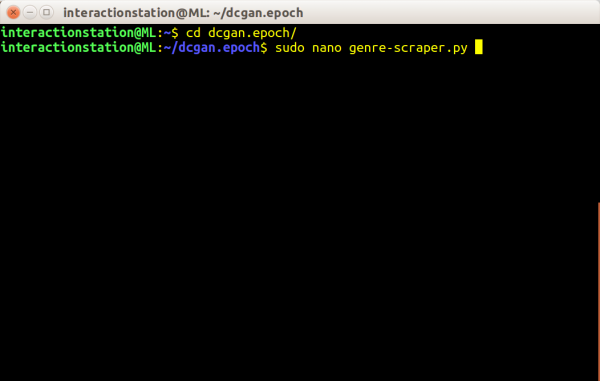
Navigate to the folder where the DCGAN script is stored (/home/interactionstation/dcgan.epoch)
cd dcgan.epoch
Step 4
If you have your own dataset ready, you can skip part 4 till part ...
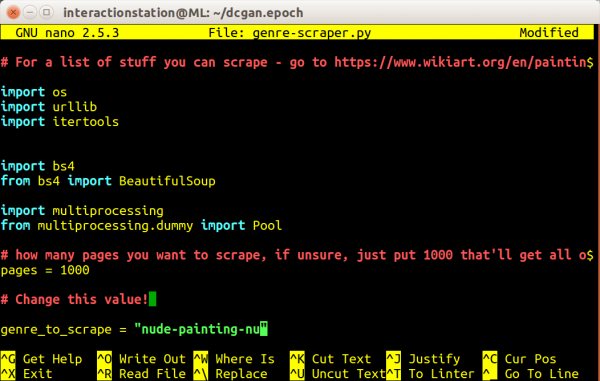
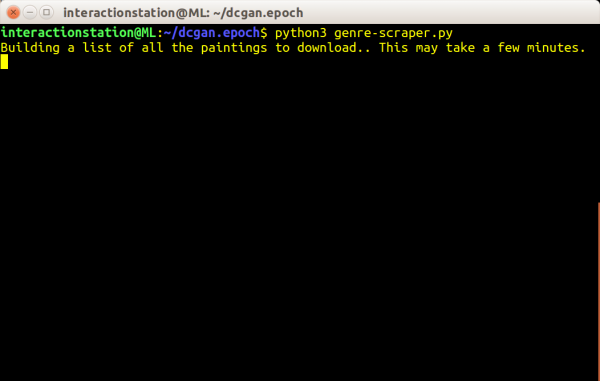
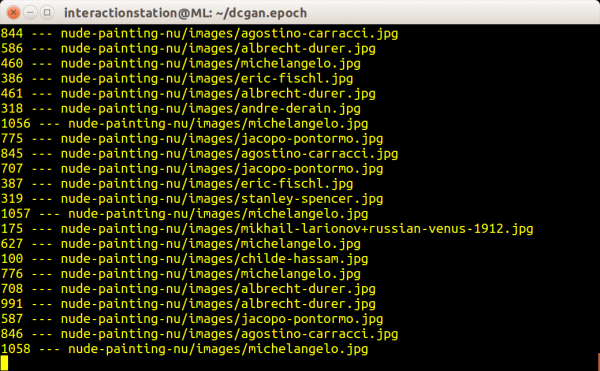
This script also includes a dataset downloader. This allows you to download from Wikiart based on their genres. The usage is quite simple, but requires a bit of attention. In the script 'genre-scraper.py' there is a variable called 'genre_to_scrape' - simply change that to any of the genres listen on the Wikiart [1] website. After changing the variable to the desired genre, run the script with python3. This will create a folder named after the genre inside '/home/interactionstation/dcgan.epoch/', containing all the download images. Note: the script takes a while to finish!
sudo nano genre-scraper.py
Use the arrow keys to move the variable 'genre_to_scrape' and change it to the desired genre from Wikiart. Example:
genre_to_scrape = "nude-painting-nu"
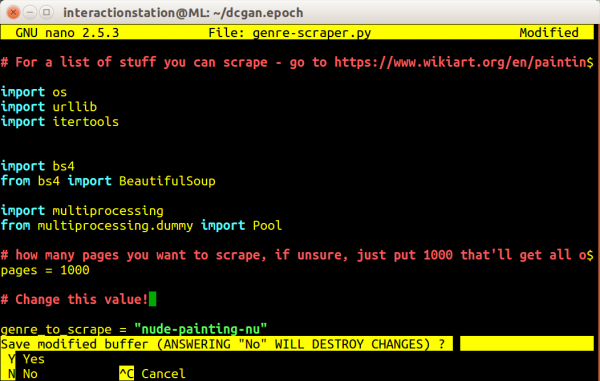
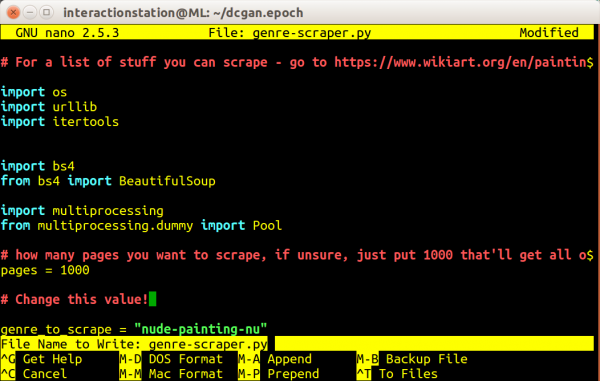
Save the changes you've made by pressing the following keys in the same order
ctrl+X
Y
enter
Run the script! Note: this is going to take a while, grab a coffee.
python3 genre-scraper.py
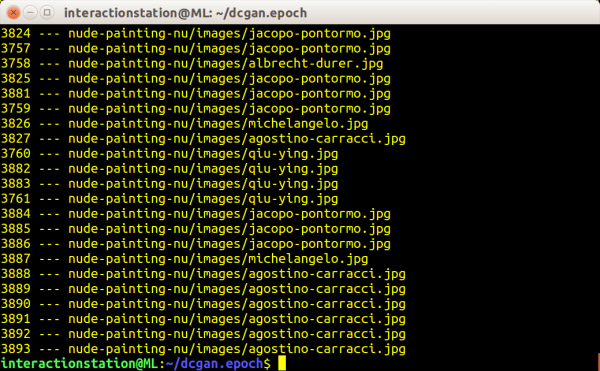
The script is done when terminal allows you to type some new commands.
Step 5 a:
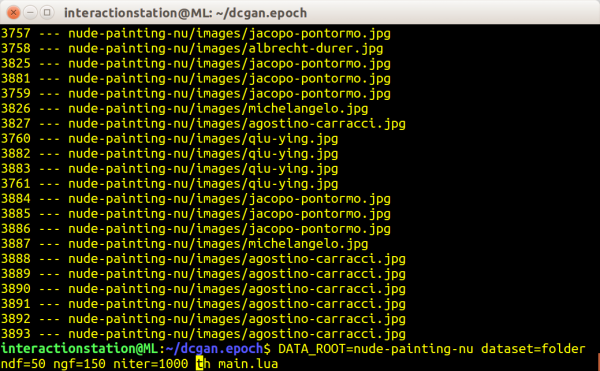
If you want to use a dataset collected by yourself, please move to step 5b. Now we can finally train the DCGAN on our downloaded images! Since the script 'genre-scraper.py' does all the hard work for us, we only need to pass one command through terminal to train the DCGAN. There are a lot of options (arguments) available for you to experiment with, so please try!
Required
- DATA_ROOT=nude-painting-nu
- This needs to be set to the downloaded genre from WIkiart
- dataset=folder
- All the images are in a folder, the DCGAN needs to know that
- ndf=50
- The number of filters in the discriminators first layer
- ngf=150
- The number of filters in the generators first layer, this needs to be around two times the number of the discriminator to prevent the discriminator from beating the generator out, since the generator has a much much much harder job
- niter=1000
- Amount of 'epochs', more epochs means better results but also causes the script to run longer
Optional
- batchSize=64
- Batchsize - didn't get very good results with this over 128...
- noise=normal, uniform
- pass ONE Of these. It seems like normal works a lot better, though.
- nz=100
- umber of dimensions for Z
- nThreads=1
- number of data loading threads
- gpu=1
- gpu to use (1 is default)
- name=experiment1
- just to make sure you don't overwrite anything cool, change the checkpoint filenames with this
Example code to run
DATA_ROOT=nude-painting-nu dataset=folder ndf=50 ngf=150 name=nuuuuuude_paintings niter=1000 th main.lua
enter
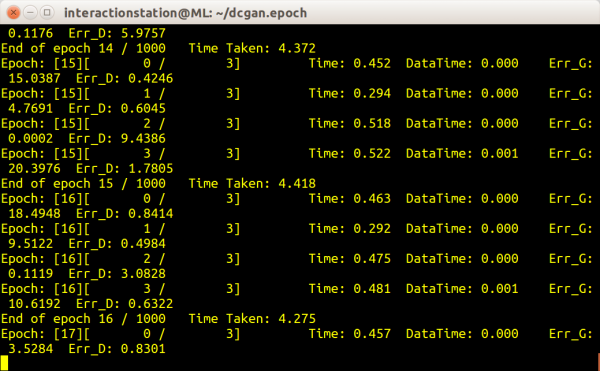
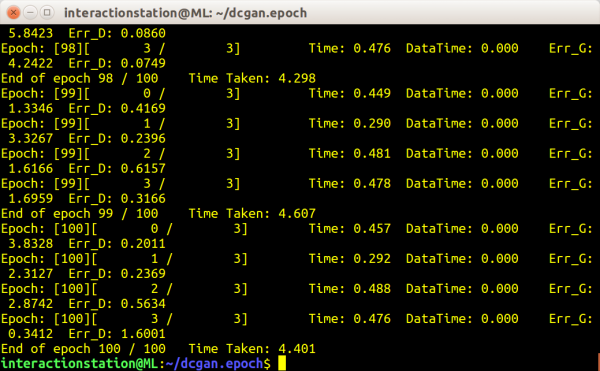
And we're training! This can take up to 3 hours or even days, so get a lot of coffee or do something else in the meantime.
Step 5b:
Create a folder at the location /home/interactionstation/dcgan.epoch/ and give it a name relevant to your dataset (i.g. 'my_own_dataset'). Inside that folder create another folded called 'images'. Do not give it an other name, as the DCGAN will only look for a folder with the name 'images'. Move all your images inside this 'image' folder and make sure nothing else other than image files are present. Now we can finally train the DCGAN on our images! We only need to pass one command through terminal to train the DCGAN. There are a lot of (options) arguments available for you to experiment with, so please try!
Required
- DATA_ROOT=my_own_dataset
- This needs to be set to the the name you gave to your dataset
- dataset=folder
- All the images are in a folder, the DCGAN needs to know that
- ndf=50
- The number of filters in the discriminators first layer
- ngf=150
- The number of filters in the generators first layer, this needs to be around two times the number of the discriminator to prevent the discriminator from beating the generator out, since the generator has a much much much harder job
- niter=1000
- Amount of 'epochs', more epochs means better results but also causes the script to run longer
Optional
- batchSize=64
- Batchsize - didn't get very good results with this over 128...
- noise=normal, uniform
- pass ONE Of these. It seems like normal works a lot better, though.
- nz=100
- umber of dimensions for Z
- nThreads=1
- number of data loading threads
- gpu=1
- gpu to use (1 is default)
- name=experiment1
- just to make sure you don't overwrite anything cool, change the checkpoint filenames with this
Example code to run
DATA_ROOT=my_own_dataset dataset=folder ndf=50 ngf=150 name=chiwawaormuffin niter=1000 th main.lua
enter
And we're training! This can take up to 3 hours or even days, so get a lot of coffee or do something else in the meantime.
Step 6:
After the training has completed, you can use the trained network to generate images. To do this, we need to pass one command through the terminal. Keep in mind that some of the optional arguments do still work here.
Required
- net=nuuuuuude_painting_1000_net_G.t7
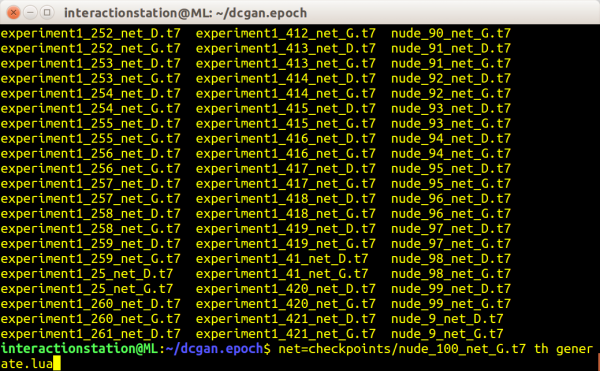
- This points to the network we've trained before. Use the name you used when training the network. At nr. 5 we've used 'nuuuuuude_painting' as a name. The number refers back to the amount of epochs the network successfully trained on. In the previous example we've trained for 1000 epochs. That leaves us with 'nuuuuuude_painting_1000'. We need to add '_net_G.t7' because we want the Generator to generate a new image. We also need to specify the 'checkpoints' folder, because there is where our networks are saved by the DCGAN. We end up with: 'checkpoints/nuuuuuude_painting_1000_net_G.t7'.
Optional
- batchSize=36
- How many images to generate - keep a multiple of six for unpadded output.
- imsize=1
- How large the image(s) should be (not in pixels!)
noisemode=normal, line, linefull
- pass ONE of these. If you pass line, pass batchSize > 1 and imsize = 1, too.
- name=generation1
- just to make sure you don't overwrite anything cool, change the filename with this
Example code to run:
net=checkpoints/nuuuuuude_painting_1000_net_G.t7 name=nudey th generate.lua
To generate larger images, we have an option that 'stitches' different generations together to make a bigger image or collage. An example:
net=checkpoints/nuuuuuude_painting_1000_net_G.t7 bathSize=1 imsize=50 name=nuddyyyypainting th generate.lua
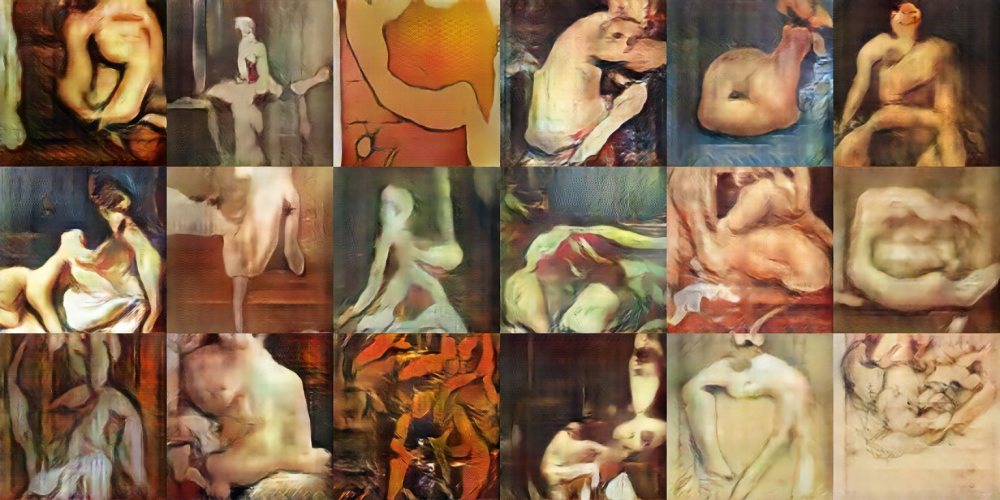
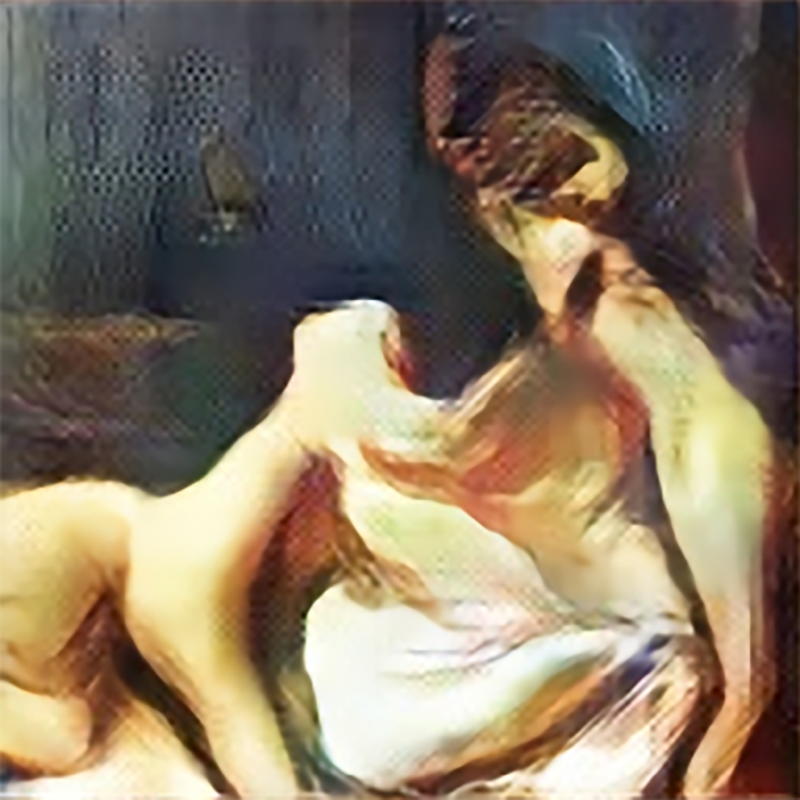
After the script is done, it saves the outcome in the folder '/home/interactionstation/dcgan.epoch', with the name you specified when giving the command. Navigate to the folder and open the image by double clicking to see the outcome of your? hard work.
