Set up VR in Unity
Setting up VR and XR interaction toolkit project in Unity for versions 2019.4,2020.x & 2021.1
This guide will show you how set up you Unity project to be visible inside a VR headset. The guide uses Unity's XR Plugin Management, with the XR Interaction Toolkit, and the OpenXR plugin. This will work on any desktop headset, but the guide assumes you're using an Oculus Quest headset.
In order to test this out on the computers at school, you'll need an Oculus Quest Headset, an Oculus Link usb cable (which is different from the Oculus charging cable), and the Oculus software installed on the computer. If the Oculus software doesn't open correctly you can find a fix here. You'll need to have the Oculus software open and the link mode enabled in the headset.
Please note: If you're using Unity 2021.2 or later please use | this video tutorial instead.
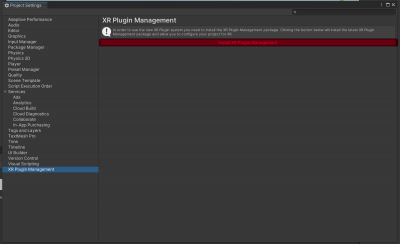
1. Install XR plugin management:
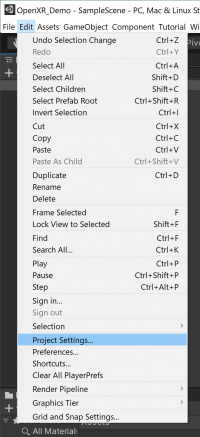
edit / project settings / xr plugin management / install xr pluging management
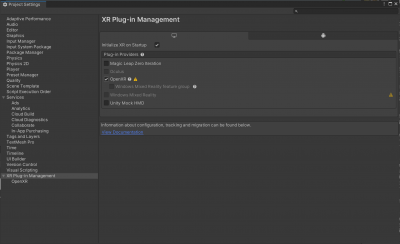
2. Add Oculus to the plugin providers:
tick the Oclus box (if using oculus) or OpenXR if using any other headset
OpenXR will work also with the Oculus on the desktop, but if you want to publish the Quest in standalone mode only the Oculus plugin will work.
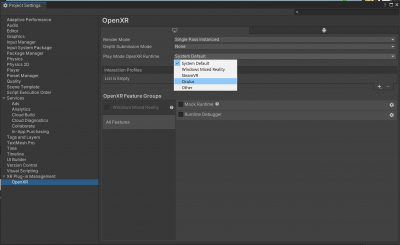
Choose your PlayMode Open XR Runtime
This will be Oculus, or Steam VR if you're using the Index or the Vive.
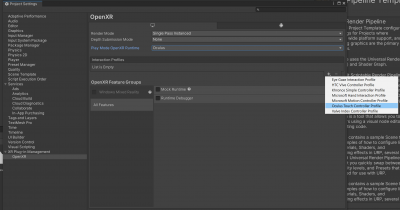
3. Enable the Interaction Profile for Oculus:
Or choose the profile that matches the headset you're using.
4.Enable preview Packages in the Package Manager:
Window / Package Manager
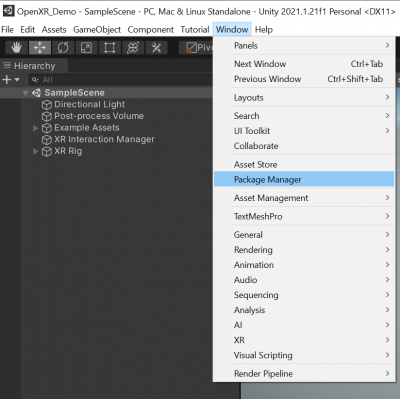
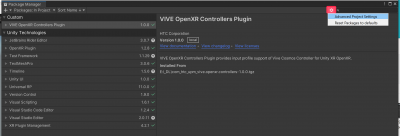
in the package manager click on the gear and choose "advanced project settings"
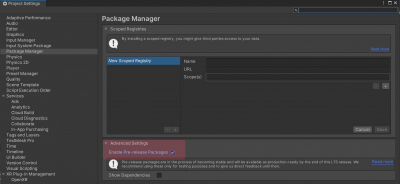
under "Advanced Settings" tick on "Enable Preview Packages"
5.In the package Manager install "XR Interaction Toolkit":
at the top left of the package manager select Packages: Unity Registry
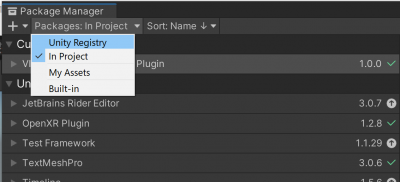
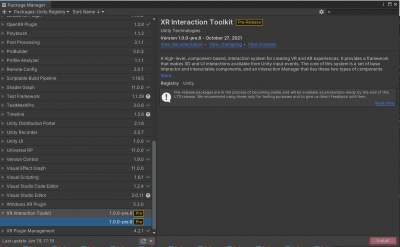
Find and select XR interaction Toolkit
click install in the lower right corner of the package manager
5b. In the XR Interaction Toolkit Package samples, install the Default Input Actions:
Download and import the Default Input Actions
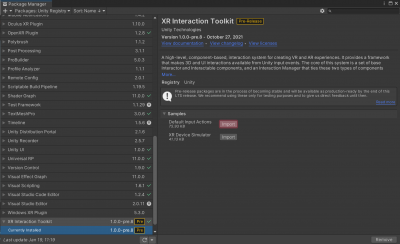
6.Locate the Default Input Actions folder you've just imported:
You'll find this in the Project tab under assets:
Assets / Samples / XR interaction toolkit / 1.*.*.*.* / Default Input Actions /
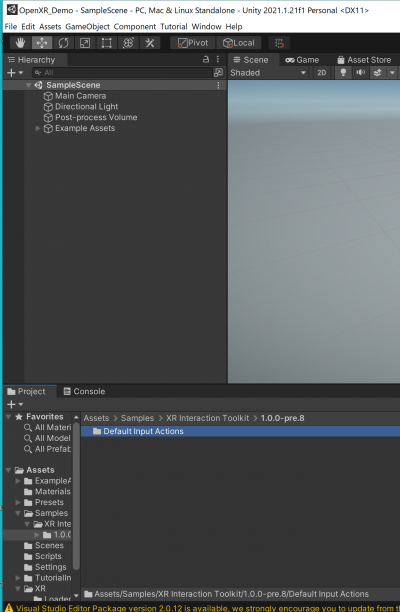
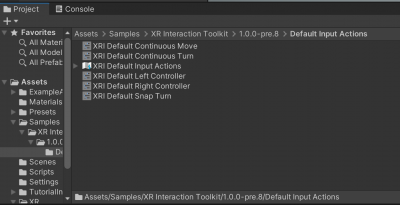
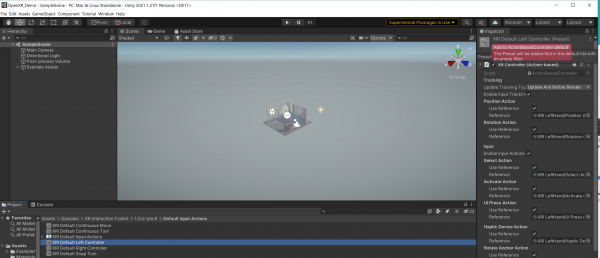
select "XRI Default Left Controller" - In the inspector click "Add to ActionBasedController default"
repeat the same for the right controller
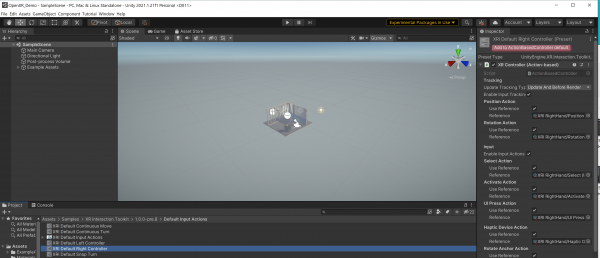
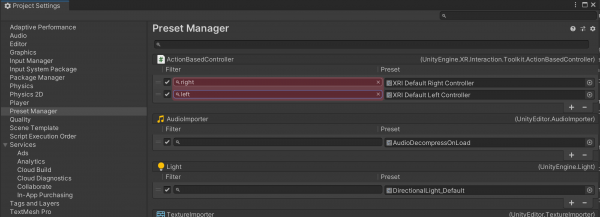
7.Change the filter for the ActionBasedController in the Preset Manager:
edit / project settings
in the project settings window select "preset manager"
under Action Based Controller in the filter add
"left" to the filter for "XRI Default left Controller"
"right" to the filter for "XRI Default right Controller"
8.now you can add an XR Rig - Action Based to your project:
Game Object / XR / XR Rig Action Based
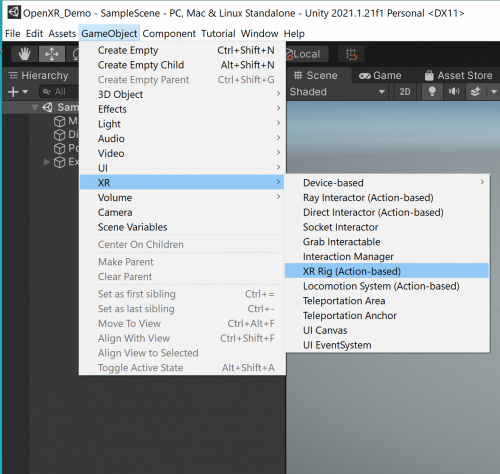
8b.Add "Input Action Manager" to the XR rig:
In the inspector for the "XR rig" Game Object , add a component called "Input Action Manager"
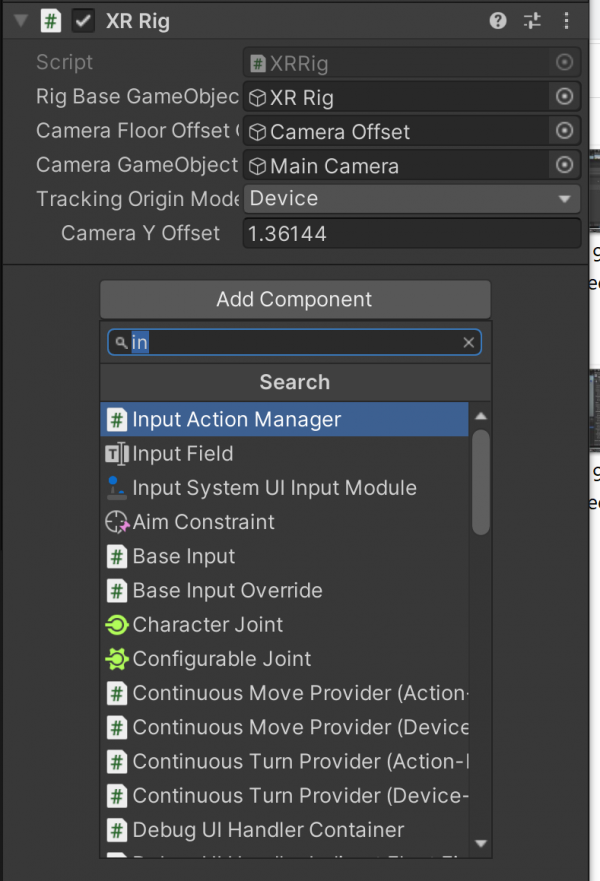
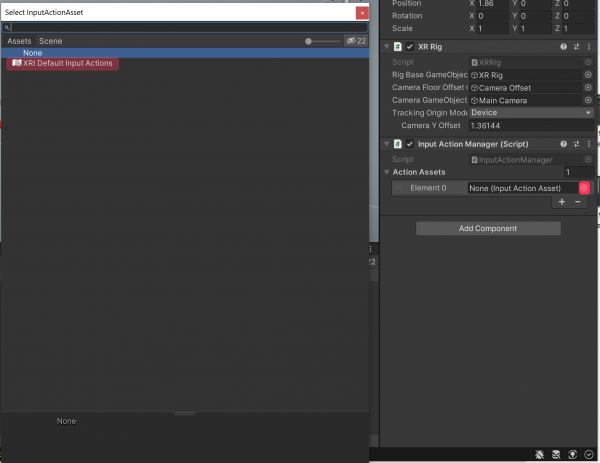
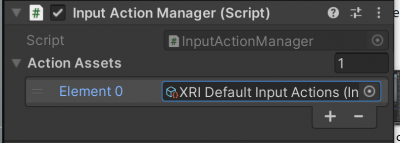
in the component under "Action Assets" change the number to 1 and expand
click on the dot to select "XRI default input actions"
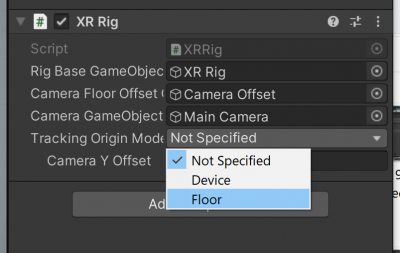
9.Set the XR rig tracking origin mode to Floor:
10.Lock input to game view:
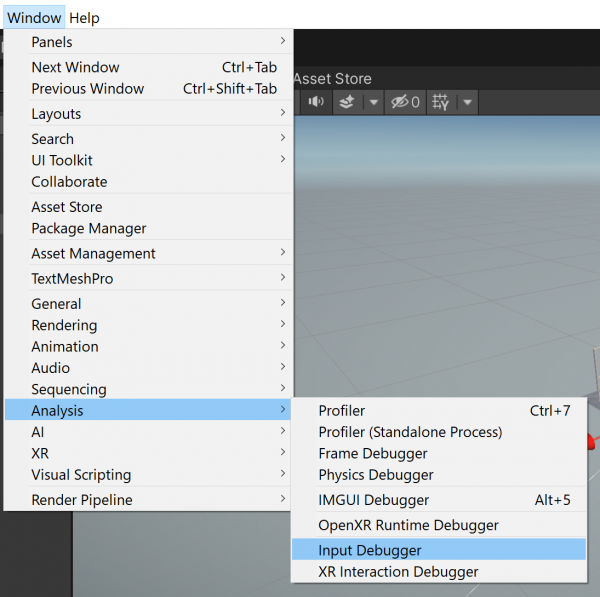
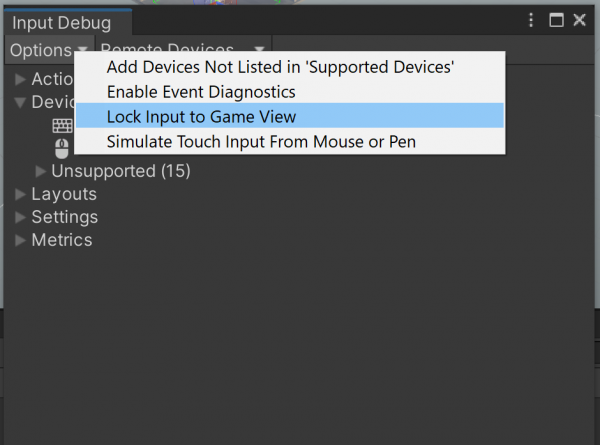
You may have to enable the following setting: "Window/Analysis/Input Debugger/Options/Lock Input to Game View"
11.Enter playmode and put on the headset
It should work now. Reflect on how annoying it is to follow all of these steps. It really should be simpler, shouldn't it?
