Difference between revisions of "Using the CNC mill"
| Line 34: | Line 34: | ||
Here is an even longer [https://www.youtube.com/watch?v=qgx6MW8u2N8&t=3358s tutorial] including the finishing and soldering of a board<br> | Here is an even longer [https://www.youtube.com/watch?v=qgx6MW8u2N8&t=3358s tutorial] including the finishing and soldering of a board<br> | ||
| + | [https://fabacademy.org/2021/docs/tutorials/week06_electronic_design/eagle_english_workflow.html how to prep a file in eagle] | ||
===4. Milling the PCB=== | ===4. Milling the PCB=== | ||
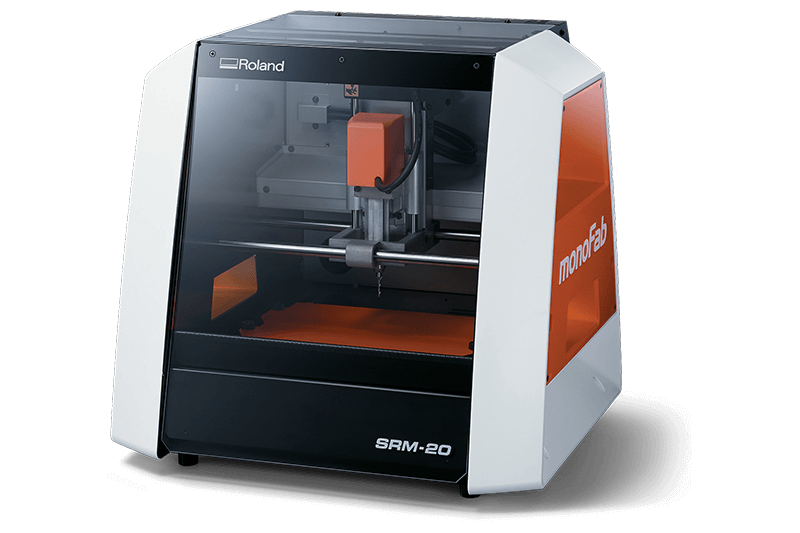
[[File:Srm20.png|800px|center]] | [[File:Srm20.png|800px|center]] | ||
[[Category:Making]] | [[Category:Making]] | ||
[[Category:CNC Mill]] | [[Category:CNC Mill]] | ||
Revision as of 11:53, 22 September 2023
1. Designing the PCB
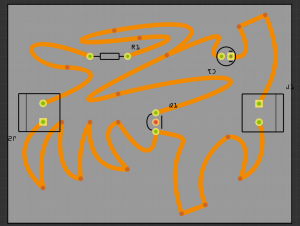
There are several ways for designing PCB. For example you can use the following softwares:
- Fritzing (easy to use) https://fritzing.org/
- Kicad (more professional) https://www.kicad.org/
Lets start with Fritzing.
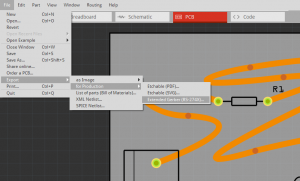
That looks already quite good. After you finished the PCBs you have to export it as a "Extender Gerber (RS-274X)"-Format! Select the folder where you would like to save it.
2. Generating the G-code
In this step you have to generate G-code with the Gerber files. G-code or sometimes called nc-code (numeric controll code) tells the CNC mill when to turn on the spindle or to which position it should move.
We will use FlatCam (http://flatcam.org/) to generate the G-Code.
- Start FlatCAM
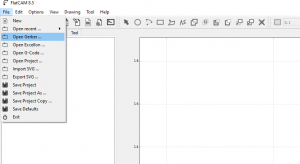
- Click on [File] -> [Open Gerber ...]
- Select the ".gbl" (copper bottom) file
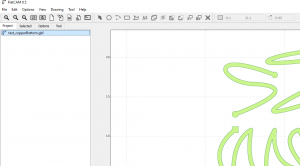
- Now select the file in the Project list and click on [selected]
settings flatcam:
- cut Z: -0.1 mm
- feedrate: 30 mm (is slow try 90)
3. Using Mods
Alternatively we can use Mods (web based software from Fab Academy) to generate paths from .SVG or .PNG files
Mods project is a module based software with a web interface that already has a SRM-20 preset
Here is a good in depth tutorial how to use it but bare in mind that the interface has changed a bit and you may find differences
Here is an even longer tutorial including the finishing and soldering of a board

