ResistanceKnitting
This page is showing knitting tubes with conductive thread.
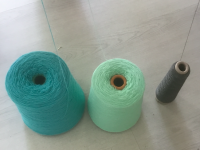
Cones with conductive thread and normal yarn.
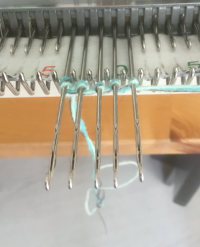
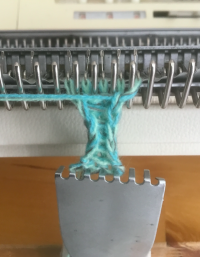
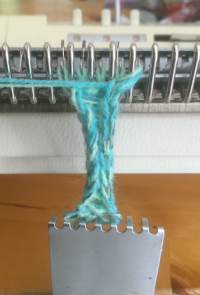
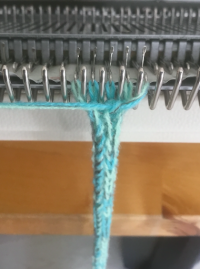
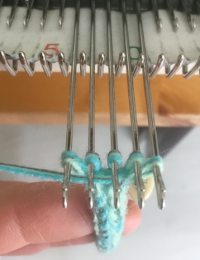
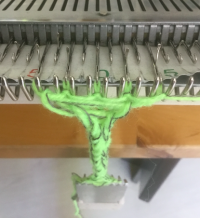
The tube is knitted on 5 needles. The E loop mounting is used for all threads.
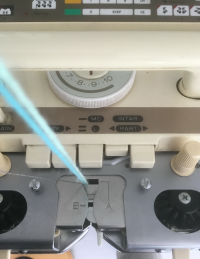
Setting of the slider, with one of the part knobs set. The tension 8-10, depends a bit on the thickness of the yarn.
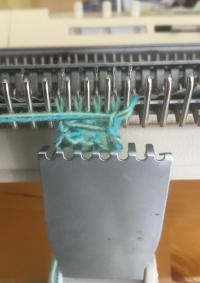
The knitting is done only to one side, in a few tours, the tube is formed. Ending in tension 10 (maximum) and take of as usual.
With thicker yarn, the five needles are a needle apart.
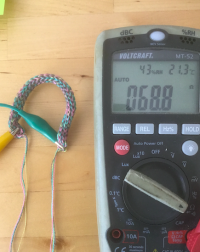
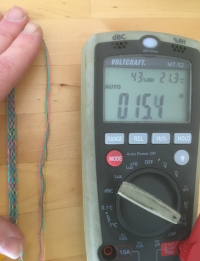
Measuring the resistance in a relaxed and a stretched state.
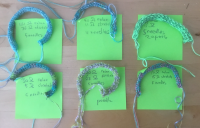
Sic examples and the values.
As can be seen the values are all under 120 Ohm. This is because of the kind of conductive thread used: the sticky metal wire.
See http://interactionstation.wdka.hro.nl/wiki/Swatch_Making for more details on conductive yarns.
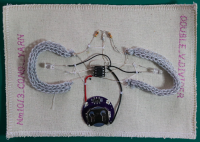 The tube which is stretched, will light up the LED at that side.
An example of a swatch using the variable resistance of the knitted tube.
