Thermochromic
Thermochronic
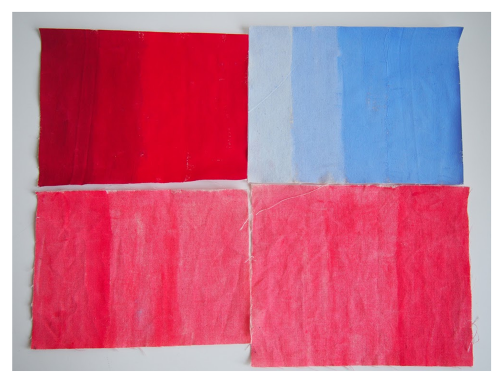
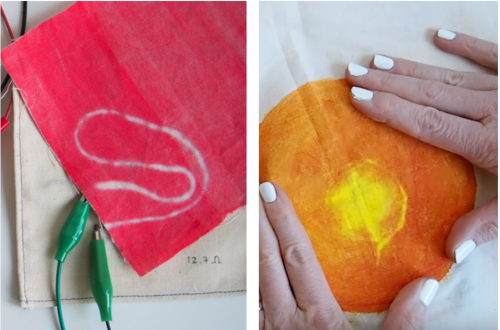
Thermochromic inks or pigments change state in the presence of heart.
Once they reach temperature, the inks become colorless pigments can be mixed with different substrates like paint, glue, resin, Polymorph, Sugru, etc.
Thermochromic pigments start to vanish at 29°C by the time it reaches 31°C it turns translucent,
returning to normal when the temperature reduces.
{{#ev:youtube|https://www.youtube.com/watch?v=q_LFXGXZvUk&feature=emb_title}}
You can buy them online:
https://www.sfxc.co.uk/collections/thermochromatic-thermochromic-pigments-ink-paint
https://hgdipping.nl/shop/webshop/58-62/Thermochromic-pigments
Example projects:
{{#ev:vimeo|https://vimeo.com/138025527}}
2.[tapestry changes colour in response to Wi-Fi signals] {{#ev:youtube|https://www.youtube.com/watch?v=7-vZllNIZAk&feature=emb_logo}}
3.[Dynamic Skin]
{{#ev:youtube|https://www.youtube.com/watch?v=i7CPlyT0GyY&feature=emb_logo}}
4. [T H E U N S E E N selfridges]
Variables:
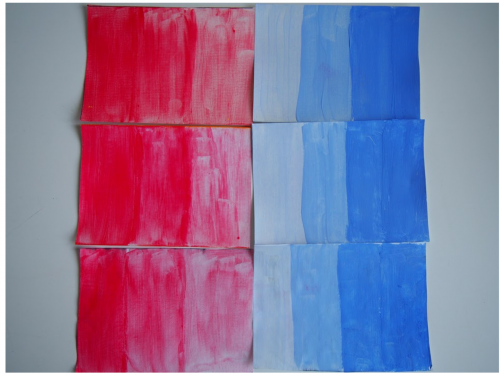
During thermochromic ink or pigment application, there are few variables affect the outcome and the appearance of the textile.
Let's take a look.
1. what amount of pigment will you use?
if you have a higher ratio of pigment to base, it may take more time and/or energy to change.
2. base color: what will you mix it with?
Different bases will affect transformation time. You can combine different colors to create different effects.
3. What material will you apply it too?
For example, the tracing paper reacts more quickly than canvas.
4, How will you apply it?
Paintbrush? Silkscreen? the uniformity will determine how evenly it changes.
5. What is the room temperature?
if the room is already warm, it will impact your pigment(e.g. hot summer is not the best time for the Thermochromic projects).
Heating Elements:
Do you still remember What is the resistance?
You want your conductive material to have just the right amount of resistance.
Too high and it won't change. Too low and you might create a short circuit.
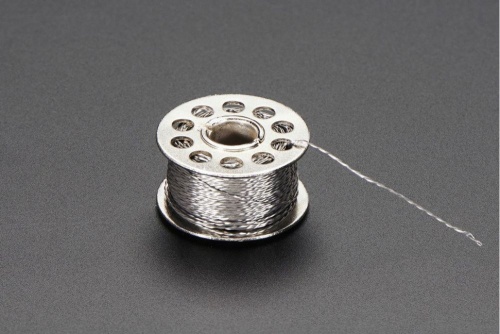
1. conductive thread:
Different kinds of conductive threads have different resistance.
And the lengths of the thread also affects the resistance.
Make sure you have at least 2.5-3 ohms of resistance.
2. conductive fabrics
Most have a very low resistance, so you need to use enough to create some resistance.
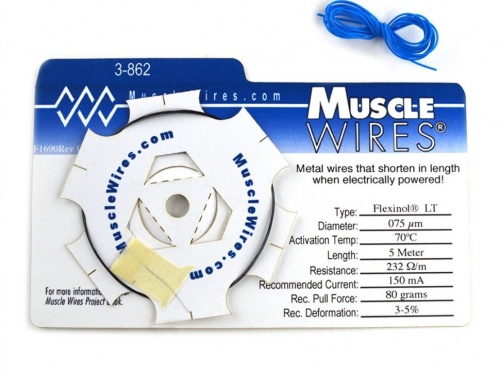
3.Flexinol wire or muscle wire.
Medium resistance, high heat tolerance.
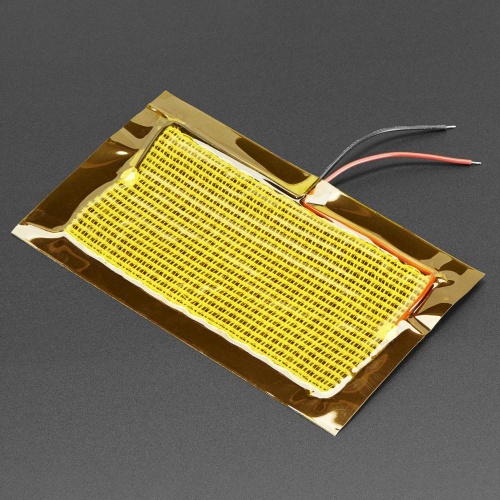
4. Heating pad
One heating pad is rated for 5V, and draws about 600mA.
Calculating current:
What are your power considerations?
We can use ohm's law to determine how much current we will draw from a power source depending on its resistance.
Ohm's Law: V=I x R
This heating element, Let's say stainless steel conductive thread, has a resistance of 6.5 ohms.
you can use your multi-meter to measure the resistance.
1. For a Lithium battery 3.7 V
Start by plugging in the values we know. We know the Lithium battery has 3.7 volts and e know that the thread has 6.5 ohms of resistance.
3.7 V = I x 6.5ohm I = 3.7 / 6.5 = 0.5692 Amps = 569 mA
2. if you are using 9v power supply:
9v = I x 6.5 ohm I = 1.38 Amps =1380 mA
3. For 5v power supply:
5v = I x 6.5 ohm I = 0.7692 Amps = 769mA
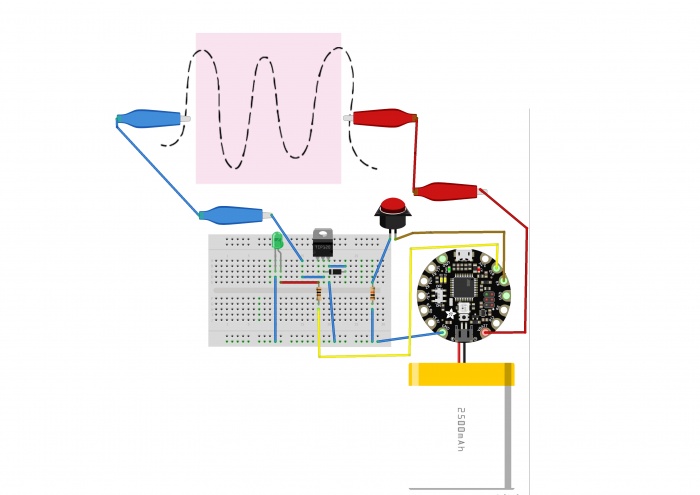
Circuit:
Let’s move on to the circuit:
You don’t want too much current running through the circuit all the time - it would get too hot.
So you can either:
Use the blink sketch or analogWrite() to pulse current on and off.
Since Arduino can't provide enough currents for the heating elements.
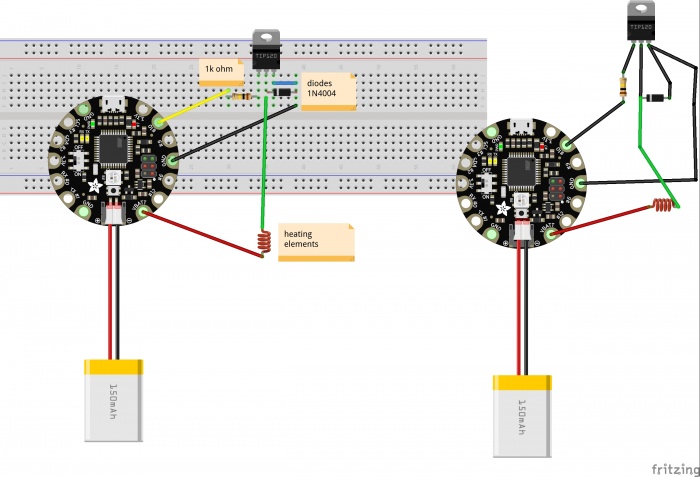
We will need additional components to build a circuit with the usage of the "blink" sketch to control the amount of current going through it.
We will need:
1. TIP 120 transistor
2. 1K resistor
3. 1N4004 diode
4. Heating elements and Thermochromic textiles or paper.
5. a power supply
6. Arduino or Flora
7. jumper wires and alligator clips
Arduino code:
const int heatPin1 = 10;
void setup() {
pinMode(heatPin1, OUTPUT);
}
void loop(){
   digitalWrite(heatPin1, HIGH);
   delay(300);
   digitalWrite(heatPin1, LOW);
   delay(300);
}
note:
you can change the delay time to control the temperature. If you shorten the millisecond in the delay function, the heating elements will heat up faster. and vice versa.
Arduino code:
const int buttonPin = 9;
const int heatPin1 = 10;
int buttonState = 0;
void setup() {
pinMode(heatPin1, OUTPUT);
pinMode(buttonPin, INPUT);
}
void loop(){
 buttonState = digitalRead(buttonPin);

 if (buttonState == LOW) {

   digitalWrite(heatPin1, HIGH);
   delay(3000);
   digitalWrite(heatPin1, LOW);
   delay(3000);
 }
 else {

   digitalWrite(heatPin1, LOW);

 }
}


